As an online eCommerce seller, understanding shipping labels is essential for delivering products efficiently and accurately to customers.
This guide covers key aspects of shipping labels for eCommerce businesses, including:
Essential Shipping Details on a Shipping Label
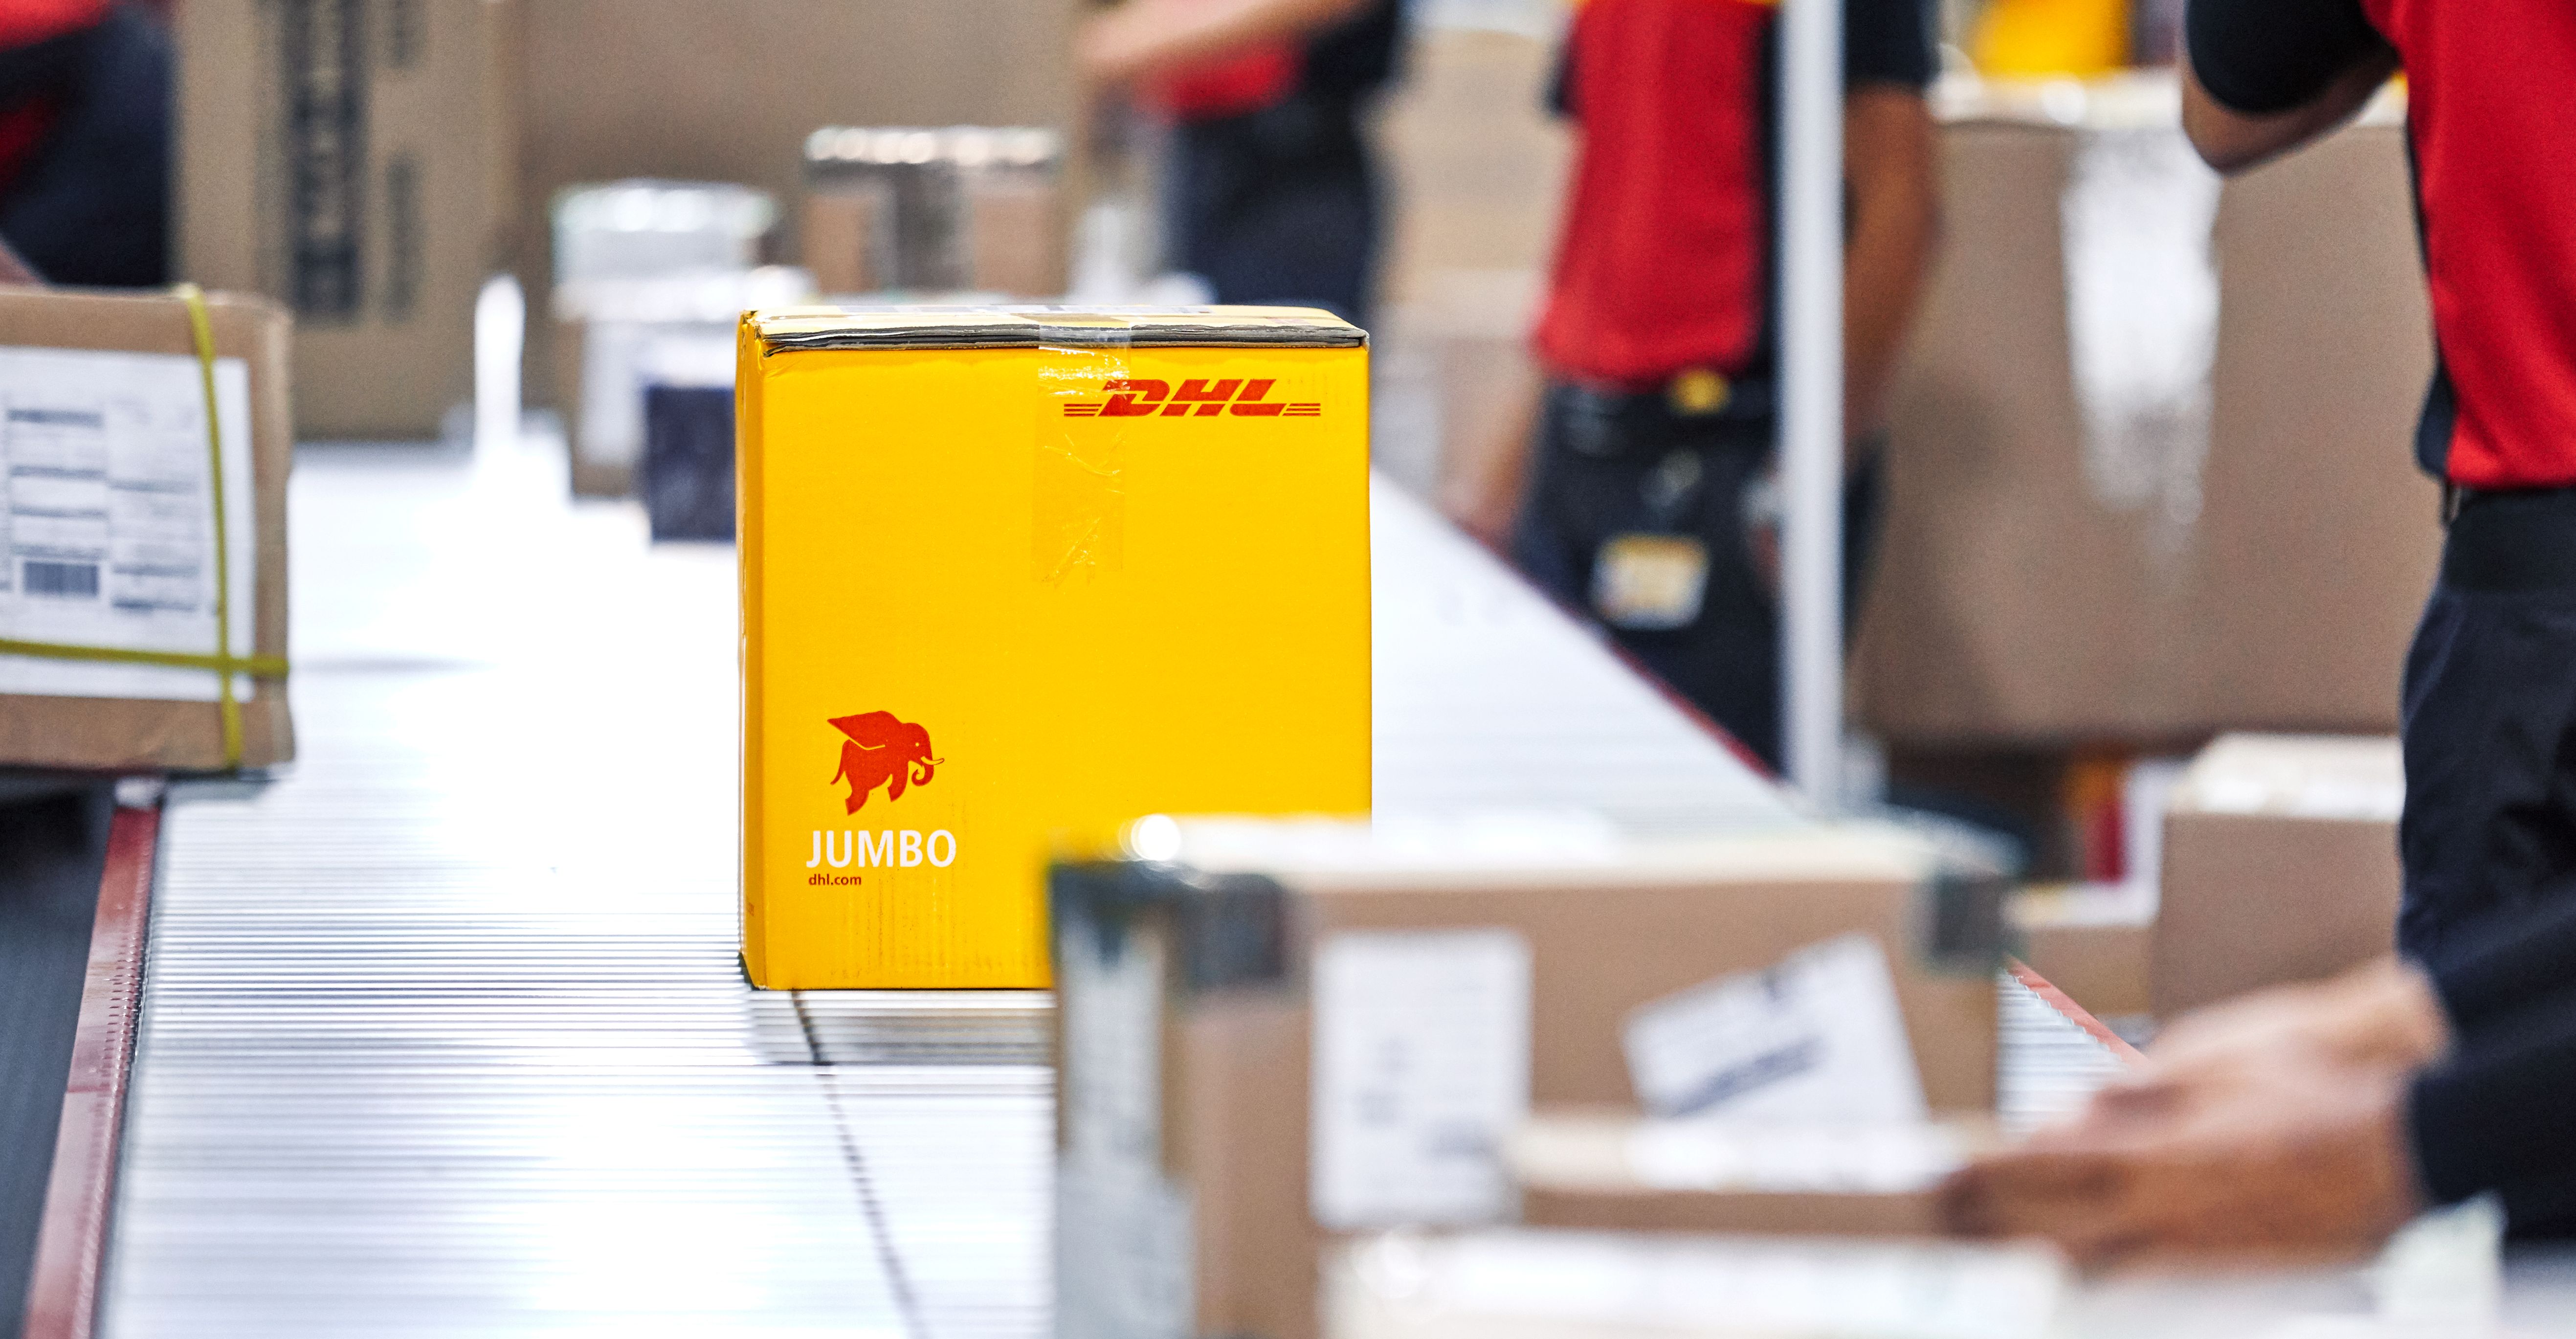
A shipping label—also known as a waybill, air waybill (for air shipments), or consignment note—is a key shipping document that enables accurate transport, tracking, and delivery of goods to customers.
Customs, couriers, and other key stakeholders involved in the shipping process rely on this document to identify, assess, and handle the shipment efficiently.
To support smooth processing, the following key details must be included on the shipping label:
Sender Information
Include the full name, company name, origin address, phone number, and email address. This information is essential for identifying the shipper and serves as a fallback if the shipment is delayed, the recipient is unreachable, or delivery fails. It allows the logistics provider to contact the sender for next steps.
Delivery Information
Provide the recipient’s full name, company name (if applicable), complete and properly formatted delivery address, valid phone number, and email address. All details must meet the logistics provider’s requirements and be accurate to ensure secure and on-time delivery. For example, DHL Express does not deliver to postal (P.O. Box) addresses.
Shipment Content
Clearly state the contents of the shipment (e.g., One piece of cotton long pants) to help logistics providers and customs officers assess the shipment accurately. Vague or incorrect descriptions may result in delays or clearance issue.
Weight and Dimensions
Include precise weight and dimensions, as these are used for handling, cost calculation, and space planning during transit. Inaccurate or vague information may cause delays, additional charges, or clearance issues.
Tracking Number
The waybill number is automatically generated by the logistics provider when a shipment is booked. For example, when booking a shipment with DHL Express, a unique 10-digit numerical code will be assigned upon confirmation. Ensure the number is clearly visible on the shipping label for easy reference, especially when creating the label manually.
Shipping Instructions
Any special handling or delivery instructions should be clearly stated on the shipping label for courier reference.
How to Create a Shipping Label
Custom Shipping Label
If you prefer to create your own shipping label, whether for branding or operational reasons, you can customize a template to suit your needs. However, ensure that all key shipping information is clearly included, as couriers depend on the shipping label for delivery and customs use it for shipment assessment and clearance.
Standard Shipping Label from Shipping Company
Every logistics company has its own shipping label format.
The booking process may vary slightly between providers, the required information is largely the same across couriers like DHL, FedEx, and UPS. This is because all shipments go through a similar delivery journey, including customs clearance, and the shipping label must serve its purpose to ensure smooth processing.
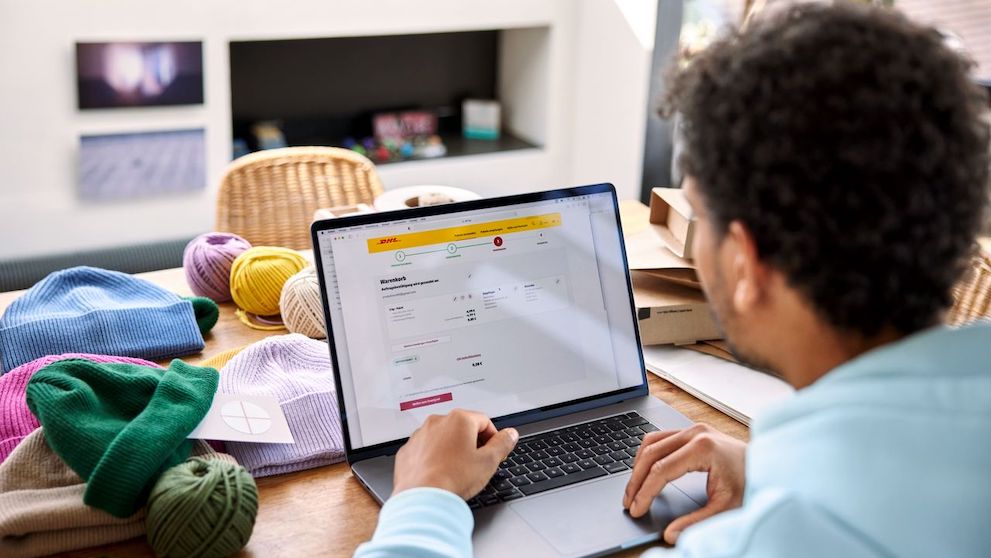
Shipping labels are typically generated directly through the courier’s booking platform. For example, if you're using DHL Express, the label is created via MyDHL+.
While it’s possible to create your own shipping label using a template, it’s recommended to generate it through the logistics service provider’s system to avoid potential shipping issues.
How to Create a DHL Express Shipping Label
For Quick and Instant Shipping
All shipment bookings with DHL Express must be made through MyDHL+.
While creating a MyDHL+ account is not required for one-time shipments, it is recommended for business shippers. An account helps speed up the process and reduce errors by saving your shipping details for repeat use.
Follow this step-by-step guide to start creating a shipping label for your exports.
For Efficient Business Shipping
A DHL Express business account is ideal for frequent, high-volume shipping, whether it's a single item or multiple packages.
Not only do all shipment records will be saved to your account, you'll have access to business-exclusive tools like ProView for managing multi-account shipments across multiple stakeholders.
Along with that, you'll benefit from one-on-one support from a dedicated account manager.
This is especially valuable for businesses shipping items that involve strict customs requirements or need controlled handling, such as electronics, temperature-sensitive goods, or food, where clear and accurate labeling is essential for smooth shipping and customs clearance.
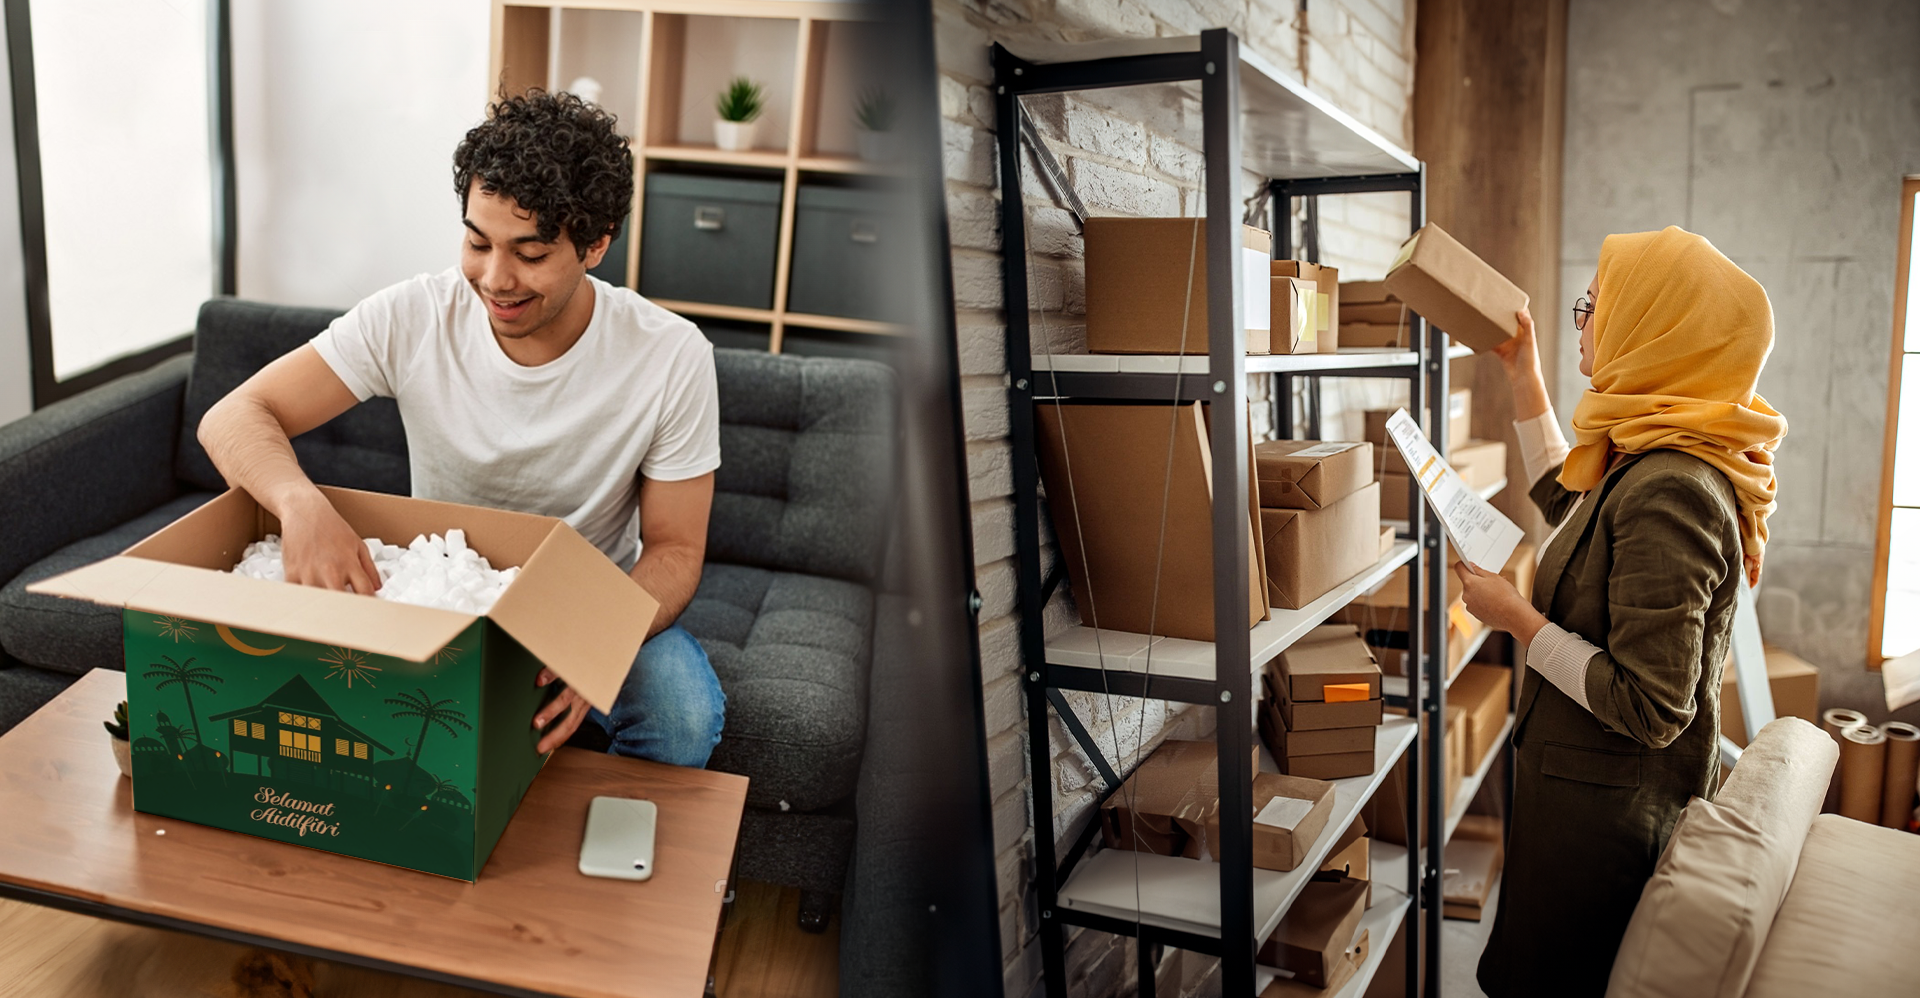
Proper Way to Print and Attach a Shipping Label
Once you've created your shipping label, the next step is to handle it properly to ensure your shipment moves smoothly through the delivery process. This includes printing the label clearly, packing it securely, and attaching it correctly to the package.
How to Print a Shipping Label
For smooth order fulfillment and fewer delivery issues, it's important to print your shipping labels correctly.
Use a Laser or Thermal Printer
For clear, scannable labels, a laser or thermal printer is recommended—especially for high-volume shipping. Thermal printers are ideal for eCommerce businesses as they produce durable, smudge-free labels without requiring ink.
Choose the Correct Label Size.
Print on A4 or 4x6-inch label paper, depending on your printer and platform settings. This ensures the label fits properly on the package and meets courier requirements.
Print at Actual Size (100%)
Avoid resizing or scaling the label. Printing at full size prevents barcode distortion and ensures all information remains legible.
Check Print Quality
Ensure all barcodes and text are sharp, dark, and easy to read. Faded, blurry, or smudged labels can cause scanning failures and delivery delays.
Avoid Folded or Damaged Paper
Always use clean, flat label sheets. Do not fold or wrinkle the label, as it can interfere with barcode scanning.
A properly printed label reduces the risk of failed deliveries, ensures smooth customs clearance, and helps maintain a reliable shipping experience for your customers.
How to Pack and Seal a Shipping Label
Proper packing ensures the label stays protected and readable throughout the shipping process. Following standard courier practices helps prevent damage, misrouting, or delivery delays.
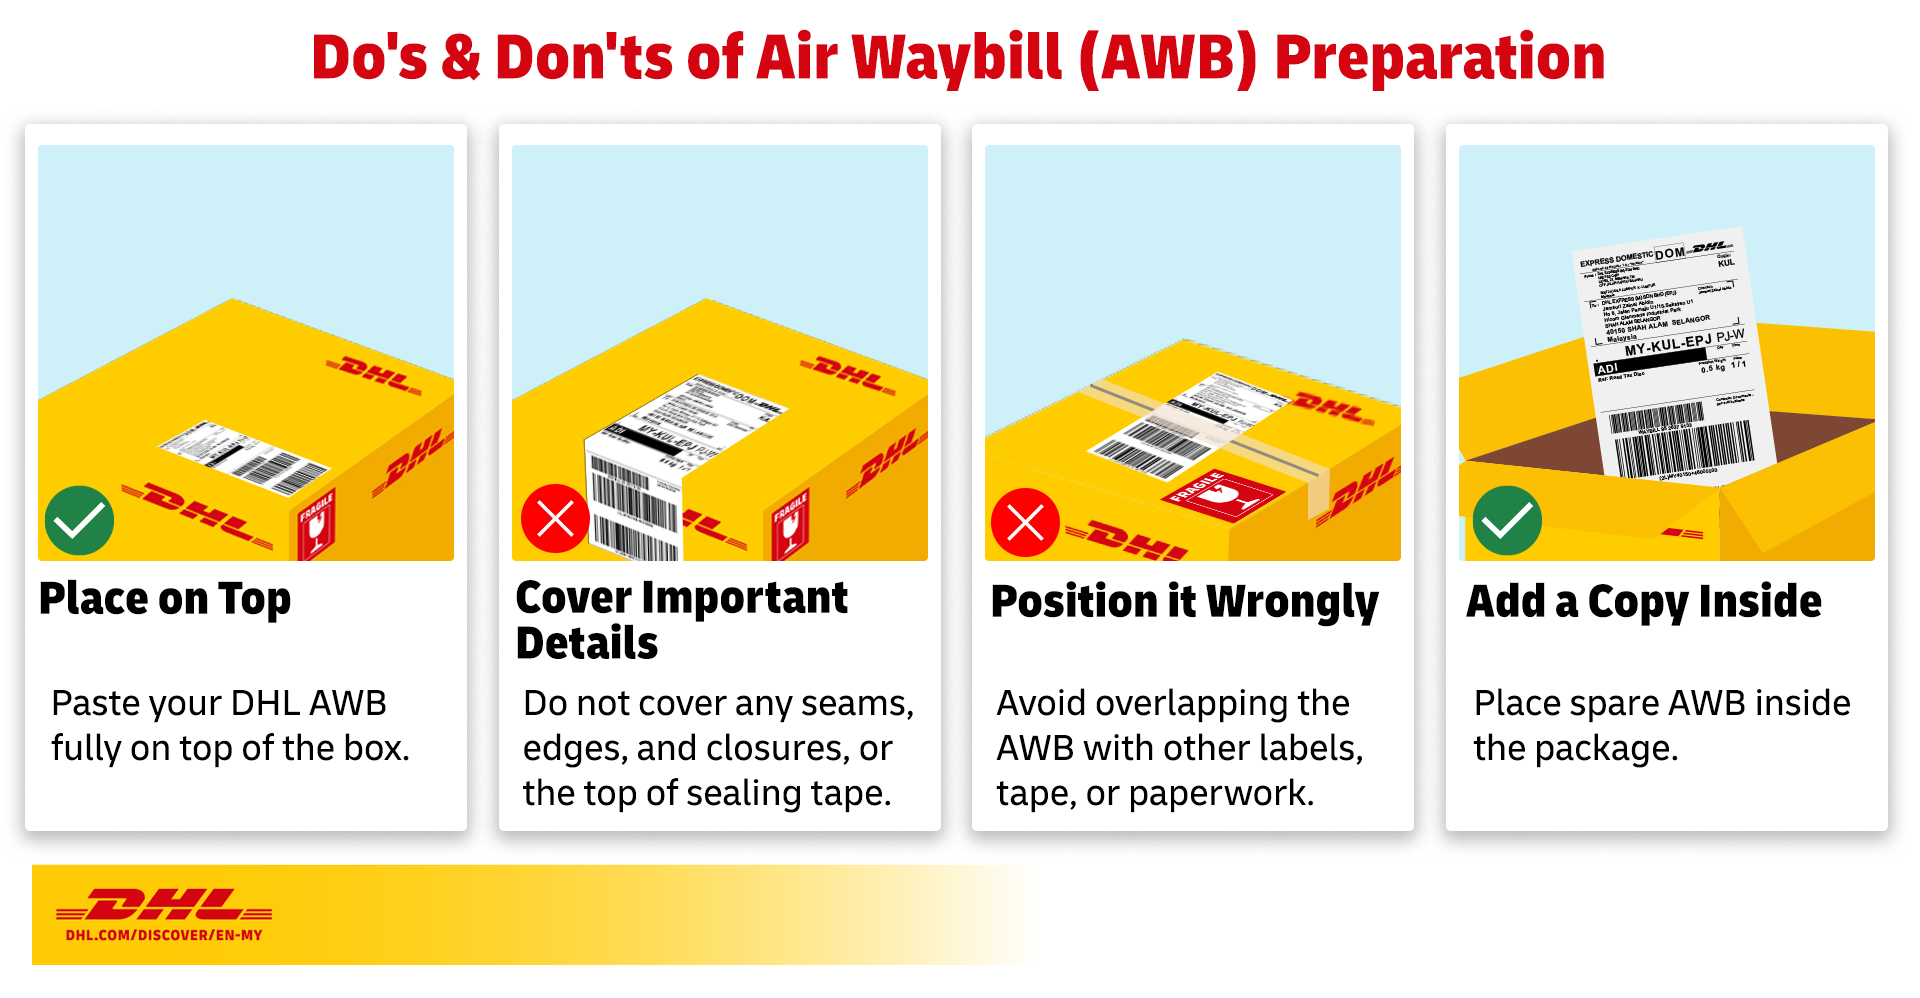
Avoid Placing Multiple Labels on the Package
Only one shipping label should be visible on the outside of the box. Remove or cover any old or duplicate labels to avoid confusion during transit.
Ensure the Label is Fully Visible
Do not cover the label with tape, straps, or other packaging materials. The entire label—especially the barcode—must be clearly visible for scanning.
Place the Label in a Clear Self-Adhesive Pouch
For added protection, place the label inside a clear self-adhesive pouch, especially if shipping internationally or in wet or dusty conditions. This prevents smudging and tearing during transit.
Include a Duplicate Label Inside the Package
Place a backup label or packing slip inside the box in case the outer label is lost or damaged.
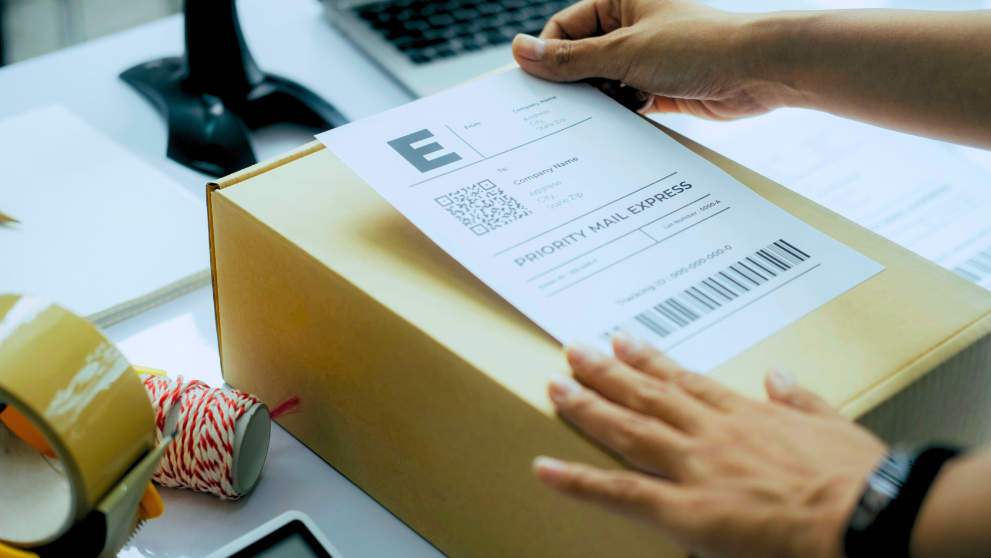
How to Attach a Shipping Label
Correctly attaching the label is just as important as printing it. A well-placed, secure label ensures your shipment can be scanned and processed efficiently at every stage.
Place the Label on the Top Surface of the Box
Apply the label to the largest, flattest area to ensure it’s visible and scannable throughout transit.
Do not Tape over Barcodes or Key Details
Avoid placing tape over the barcode or text, as it can interfere with scanning.
Ensure the Label Lies Flat and Wrinkle-Free
The label must be applied smoothly to ensure barcode readability. No folds, bubbles, or peeling edges.
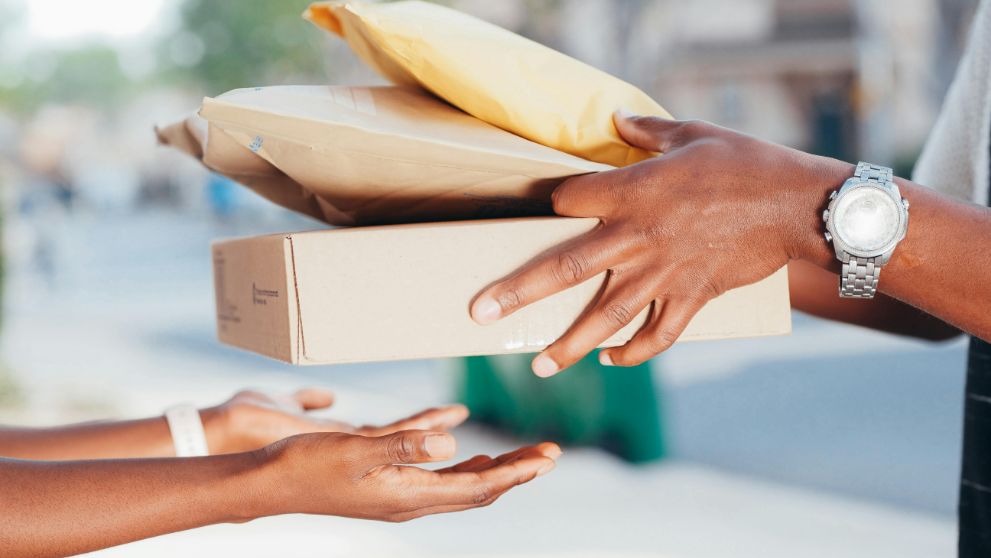
Share a Copy of Shipping Label with Customers
Keeping customers informed about their shipments is important for enhancing their experience. After you create the shipping label and dispatch the package, ensure you share the tracking information with your customers.
- Email Notification: Send an email to your customers with the tracking number and a link to track their shipment. This way, they can monitor the package's progress.
- Customer Portal: If your online store has a customer account feature, consider allowing customers to log in to view their order status, including tracking information.
Providing tracking information not only keeps customers informed but also helps build trust and transparency in your business.