International dropshipping has become a popular way for Malaysians to run a global eCommerce business with minimal upfront costs.
While there are several ways to start a dropshipping business, whether through a marketplace or a standalone store, Shopify stands out as a strong option.
It not only gives you full control over branding and operations, but also lets you manage both local and international sales from a single platform. Whether you're starting with a Malaysian audience or planning gradual expansion into global markets, Shopify supports your business at every stage.
This guide walks you through the steps to start a Shopify dropshipping business from Malaysia, specifically if you plan to use DHL Express:
Step 1: Set Up Your Shopify Store
To get started, visit Shopify and sign up for a Shopify account.
Shopify offers a 3-day free trial, which gives you time to explore the platform before choosing a paid plan.
Here’s how to set up your store step-by-step:
- Create Your Shopify Account Sign up using your email and create your store name (e.g. yourbrand.myshopify.com).
- Choose a Theme Go to 'Online Store > Themes' and choose from free or paid themes. Select one that fits your niche and is mobile responsive.
- Customize Your Store Design Use the drag-and-drop editor to adjust the homepage, header, and footer. Add your logo, brand colours, and banner images.
- Set Up Basic Pages Create essential pages: About Us, Contact, Privacy Policy, Refund Policy, and Shipping Policy. Shopify provides templates you can customize.
- Create Product Categories (Collections) Go to 'Products > Collections' and group products by category (e.g. New Arrivals, Bestsellers, Accessories).
- Configure Store Settings Set your store currency (e.g. MYR or USD)
- Configure your store language if needed Set your store name, contact details, and checkout preferences under Settings.
- Connect a Payment Gateway Shopify Payments isn’t available in Malaysia, so you’ll need to connect:
- PayPal (via Business Account)
- HitPay (popular local payment provider)
- Manual Bank Transfer (for local orders)
- Set Up Taxes and Legal Settings Go to 'Settings > Taxes' to enable auto tax collection or set manual rates. Use Shopify’s legal templates for policy pages.
You don’t have to go through it alone. Shopify offers strong customer support to help you along the way. From 24/7 live chat and email assistance to an active, moderated community forum, there are plenty of channels to get help when needed.
If you're on a higher-tier plan like Shopify Plus, you'll also be assigned a dedicated Merchant Success Manager who can provide personalized guidance throughout your store setup and growth journey.
Tip: Keep your product and checkout process simple for testing. You can refine it later based on customer feedback.
Step 2: Choose a Dropshipping Model
Before choosing your dropshipping setup, it’s important to understand the structure of your business, specifically whether you own and manage inventory yourself, or rely entirely on a third-party supplier to fulfill orders.
This distinction determines whether you're using a supplier-fulfilled model (commonly referred to as classic dropshipping) or a self-fulfilled model where you handle shipping directly.
Classic Dropshipping (Suppliers Fulfill Orders)
In this model, you do not hold or own inventory. Instead, you partner with third-party suppliers who handle product storage, packaging, and direct shipping to your customers.
This setup is typically enabled through dropshipping platforms like DSers (AliExpress), CJ Dropshipping, or Zendrop. You list the products in your Shopify store, and once a customer places an order, the supplier takes care of fulfillment. That said, you'll have minimal control over the fulfillment process.
This model is scalable and cost-effective to get started. However, you're limited to the shipping options supported by your suppliers and in most cases, you do not have the flexibility to choose your preferred delivery courier.
This model suits you if:
- You want to run a lean operation without managing stock
- You're okay with longer delivery times
- You’re focused on testing products or validating a niche quickly
Self-Fulfillment Dropshipping (You Handle Shipping)
In this model, you purchase inventory in advance or on demand, store it locally (even in small quantities), and fulfill orders yourself using DHL Express. This allows you to offer faster, more reliable delivery and have control over packaging and branding.
In this model, you purchase and own the inventory — either in bulk or on demand. You are responsible for packing and shipping orders yourself.
This model is commonly used by sellers who want more control over shipping time, packaging, and customer experience.
Although this model requires more manual involvement, it gives you the flexibility to choose faster, premium shipping options for global orders. This setup is often adopted by sellers targeting premium markets, offering custom packaging, or fulfilling orders from high-performing products sourced in small batches.
This model suits you if:
- You want full control over shipping and packaging, such as adding custom touches to each order
- You’re targeting high-value or time-sensitive customers
- You source high-performing products in limited quantities to cater to seasonal demand or niche customer segments
- You prioritize customer experience and prefer using reputable couriers to ensure fast and secure delivery
There’s no one-size-fits-all approach. The right model depends on the nature of your dropshipping business.
If you're running a classic dropshipping business, the supplier-fulfilled model is the most straightforward and cost-effective option. But if you manage your own inventory, the self-fulfilled model gives you greater flexibility and control over the delivery experience.
In fact, many sellers adopt a hybrid approach — using supplier fulfillment for certain products while self-fulfilling others, especially high-performing or time-sensitive items.
Step 3: Add Products to Your Shopify Store
Once you've chosen your dropshipping model, it's time to start populating your store with products.
This step is crucial, your product listings are what customers will judge first, so attention to detail matters.
Classic Dropshipping
If you're using a supplier-fulfilled model, dropshipping apps like DSers, CJ Dropshipping, or Zendrop let you browse products and import them into your store with a few clicks.
These apps allow you to:
- View product details (cost, shipping time, reviews)
- Choose product variants (sizes, colors, etc.)
- Set your preferred suppliers
- Automatically sync inventory and pricing
After importing, customize each product listing in Shopify to reflect your brand:
- Edit product titles – Use clear, SEO-friendly titles that describe the item and benefit the customer.
- Refine product descriptions – Rewrite supplier-provided descriptions to sound natural and trustworthy.
- Optimize images – Use high-quality visuals and arrange them in a logical, appealing order.
- Set pricing rules – Account for supplier costs, shipping (especially if using DHL Express), and profit margins.
- Create collections – Group products by category, use cases, or themes to make browsing easier.
Tip: Even if your supplier syncs inventory automatically, periodically check listings for accuracy and competitor comparisons.
Self-Fulfillment Dropshipping
If you're using the self-fulfillment model, you’ll need to upload your own products manually:
- Go to Products > Add product and input your own product details.
- Upload product images taken from your actual stock.
- Write original titles and descriptions.
- Set your own SKUs and inventory levels.
- Define shipping weight and dimensions accurately — this is crucial for generating correct DHL Express shipping rates.
- Group your products into collections just as you would for supplier-imported items.
This method gives you full control over how your products are presented, and is essential if you're sourcing items locally or storing inventory in your own space.
Once your product listings are ready, you're one step closer to launching your store.
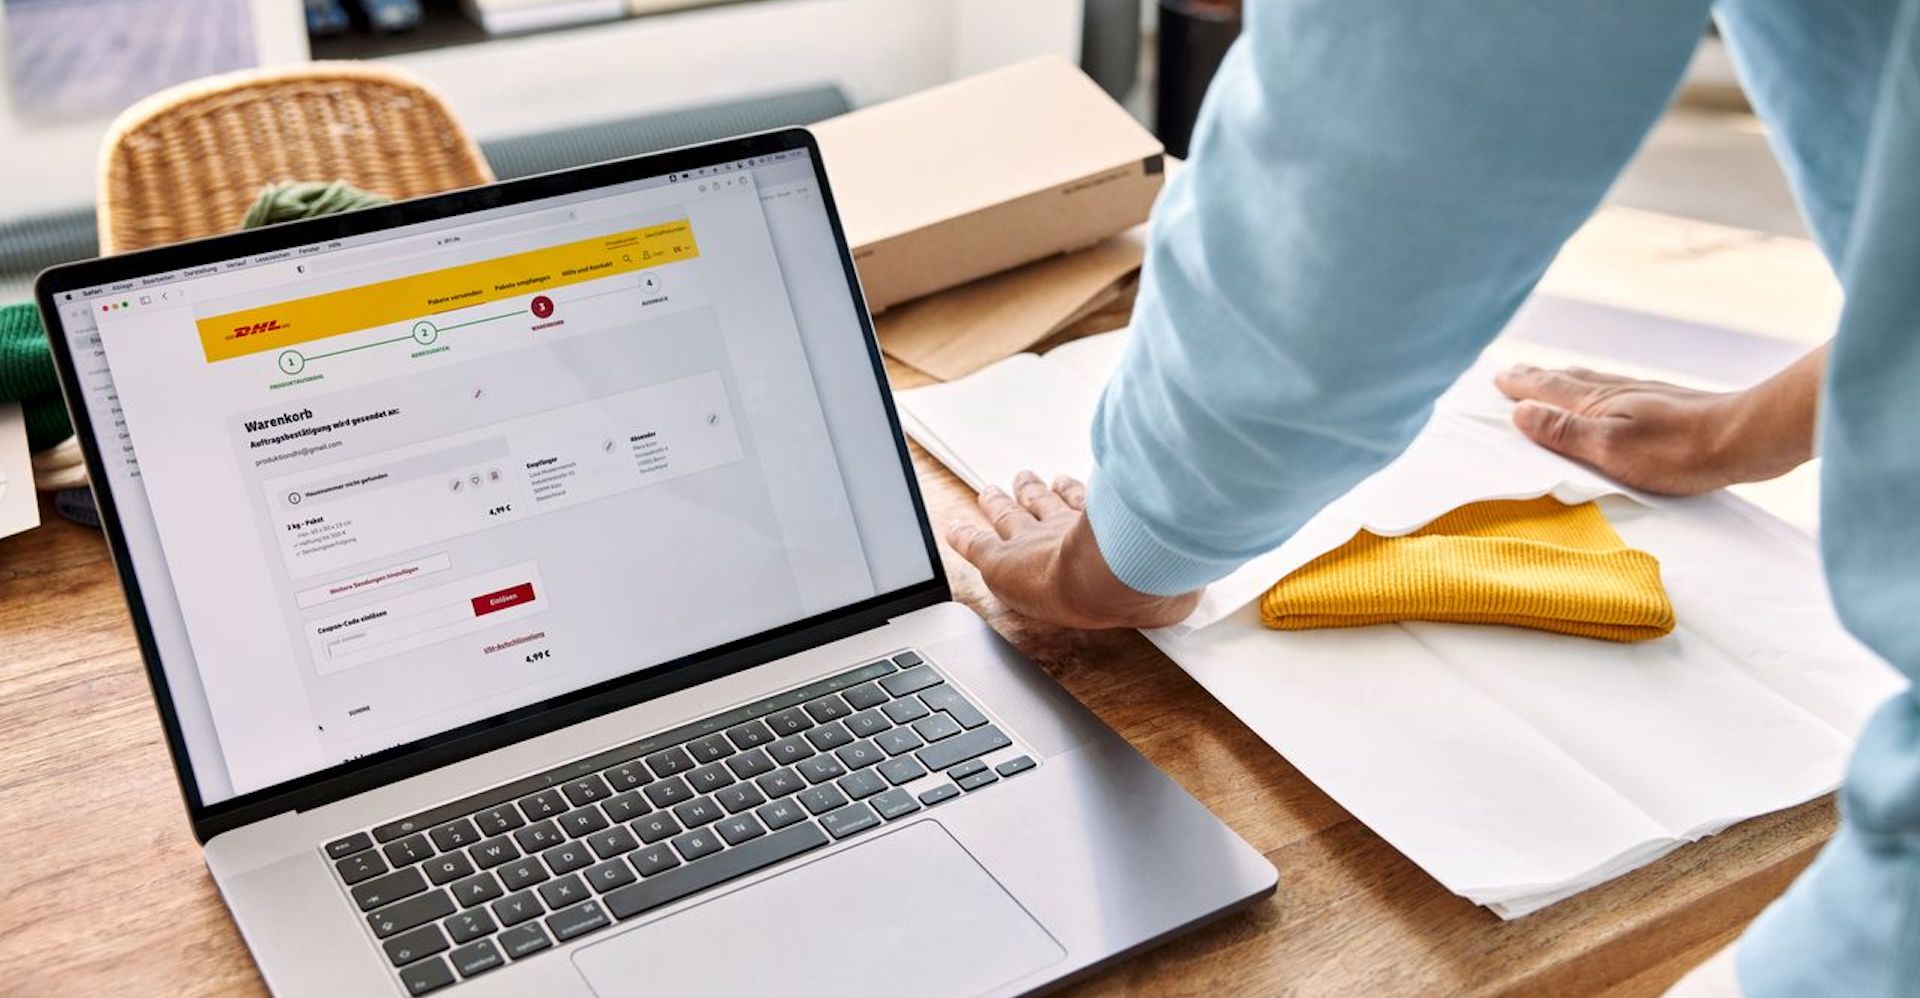
Step 4: Set Up Shipping With DHL Express
Self-fulfillment dropshipping doesn’t have to be daunting, especially with DHL Express.
DHL Express Commerce (a dedicated integration tool for retailers) allows you to connect DHL Express shipping services directly to your Shopify store.
Once integrated, you can automate key parts of the fulfillment process, including real-time shipping rate calculation, shipping label generation, and order tracking.
This not only simplifies your logistics workflow but also gives you full control over delivery speed, packaging, and customer experience, without needing a team or warehouse setup.
Here's how to integrate DHL Express with Shopify:
- Register for a DHL Express business account
A DHL Express business account is required, as the integration tool is designed specifically to support smooth, scalable global eCommerce operations. Registration is free and can be done within 1-3 days.
- Sign up for DHL Express Commerce (self-serve integration)
Visit the DHL Express Commerce platform to register for a free account. This self-serve portal guides you through the Shopify integration process step-by-step.
- Connect your DHL account to Shopify
Once registered, follow the setup prompts in DHL Express Commerce to link your DHL Express account and Shopify store. This enables real-time shipping rates, label generation, and tracking within your Shopify backend.
- Request API credentials (alternative option)
If your business requires custom API integration or additional setup support, you can request credentials from your DHL Express account manager.
If you prefer not to integrate DHL Express with your Shopify store and only plan to use it occasionally for critical shipments that require faster delivery or special handling, you can create shipments manually on MyDHL+.
Here are the steps:
- Book an export service on MyDHL+
- Print shipping labels
- Drop off packages at your nearest DHL Express point or schedule a pickup
For a detailed guide on booking export shipments, check out our step-by-step walkthrough for either drop-off or pickup.
Tip: DHL Express API gives you scalable automation for high-volume shipping. Manual bookings work well for low-volume fulfillment or when starting out.
If your dropshipping business relies on suppliers to handle fulfillment, you can still choose DHL Express as your preferred shipping option for quicker and more reliable shipping, as long as your supplier supports it.
You can confirm with your supplier and request DHL Express at the sourcing stage.
Step 5: Configure Shipping Rates and Checkout
Shipping configuration works differently depending on your fulfillment model.
Classic Dropshipping
For classic dropshipping, your supplier typically handles logistics, and shipping fees are either built into the product price or calculated automatically through the app (e.g. DSers or CJ Dropshipping).
That said, Shopify won’t auto-populate how this appears on your storefront. You’ll still need to define what the customer sees at checkout, such as “Free Shipping,” “Standard Shipping,” a flat rate, or tiered by region, to ensure a clear, consistent customer experience.
If you offer more than one shipping option, it’s also a good idea to display estimated delivery times to manage expectations.
Self-Fulfilled Dropshipping
For self-fulfillment, especially when using DHL Express, this step becomes even more essential.
You'll need to configure real-time rates, delivery zones, and expected timeframes so that your Shopify store accurately reflects the shipping service you provide.
Once DHL Express is integrated, set up your shipping zones and checkout experience to reflect your delivery capabilities following the below steps:
Go to Settings > Shipping and Delivery in your Shopify dashboard.
Under "Shipping profiles," choose the profile that applies to your products.
Create or edit shipping zones (e.g. United States, United Kingdom, Australia) where you plan to offer DHL Express delivery.
Add DHL Express as a shipping method:
If you’ve integrated DHL Express via API, enable real-time shipping rates so customers can see exact pricing.
Alternatively, set flat rates (e.g. RM75 for express international delivery) based on your DHL pricing agreement.
Under each zone, configure estimated delivery times (e.g. "1–3 business days") to set clear expectations at checkout.
Save your settings and test them by simulating a customer order to ensure DHL Express rates display correctly.
Step 6: Test and Launch Your Store
Before you publish your Shopify store and start accepting real orders, it's essential to run a full test of your storefront and fulfillment process.
This ensures your customer experience is smooth, your payment and shipping setups are functioning as intended, and your backend processes (especially if you’re using self-fulfillment or a hybrid model) are running without errors.
Run a Full Operational Test
Here’s what to check before going live:
- Domain setup: Ensure your custom domain is properly connected and is set as the primary domain on Shopify.
- Payment gateways: Double-check that PayPal, HitPay, or your chosen method is active and functional.
- Product readiness: Confirm your products are visible, properly tagged in collections, and display correct pricing, images, and variants.
- Place a test order: Use Shopify’s Bogus Gateway or a real payment method to simulate an actual customer experience from start to finish.
- For DHL Express (self-fulfillment): Ensure your real-time shipping rates, delivery zones, and estimated delivery windows are displaying correctly at checkout. Run a test fulfillment by creating a shipping label and verifying tracking updates.
- For classic dropshipping or alternative couriers: Make sure your supplier’s shipping rules are reflected clearly at checkout, whether you offer free, flat rate, or tiered shipping. Double-check if delivery timeframes are communicated well to avoid confusion.
- Review automated emails: Check all system-generated emails, including order confirmation, shipping updates, and tracking, to ensure they’re branded properly and free of errors.
- Check policy and legal pages: Make sure your privacy policy, refund policy, and terms of service are accessible and aligned with your store's operations and regional requirements.
Launch Your Store
Once everything is ready, your products are live, payments are working, shipping is configured, and you've tested the full customer journey, you can proceed to go live by following these steps:
- Remove password protection:
By default, all new Shopify stores are password-protected. Disabling the password will instantly make your storefront publicly accessible.
- Choose and activate a Shopify plan:
To start accepting real orders, your store must be on a paid Shopify plan. If you’re just starting out, the Basic plan is usually sufficient. Once a plan is activated, your checkout will be fully functional for live transactions.
Tip: After launching, monitor customer feedback closely and be ready to refine your listings, shipping setup, or marketing strategy to improve conversion and retention.
Once these are done, your store is officially launched! You're set to shift focus toward traffic generation, conversion, and scaling.
If this setup doesn’t fully align with your business goals right now, starting on a marketplace could be a practical alternative. Before deciding, take time to explore how marketplaces differ from standalone platforms like Shopify and weigh the real pros and cons of each approach.