When shipping with DHL Express, a copy of waybill is mandatory for all shipments, be it documents or packages.
For packages, you must also provide two copies of the customs invoice along with the waybill.
All documents must be ready at the time of shipment handover.
If you do not have access to a printer, opt for the label-free shipping service for a digital option.
Follow this guide for detailed instructions.
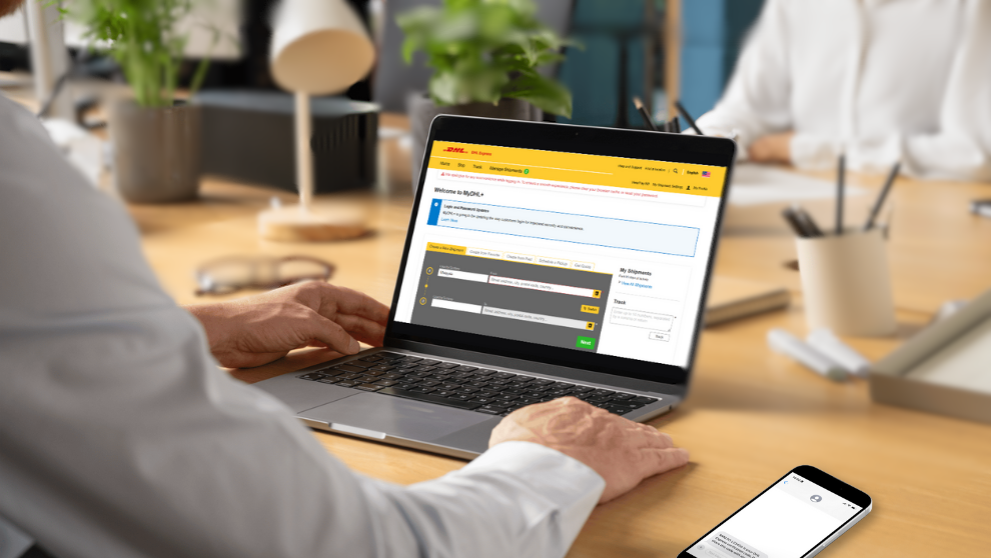
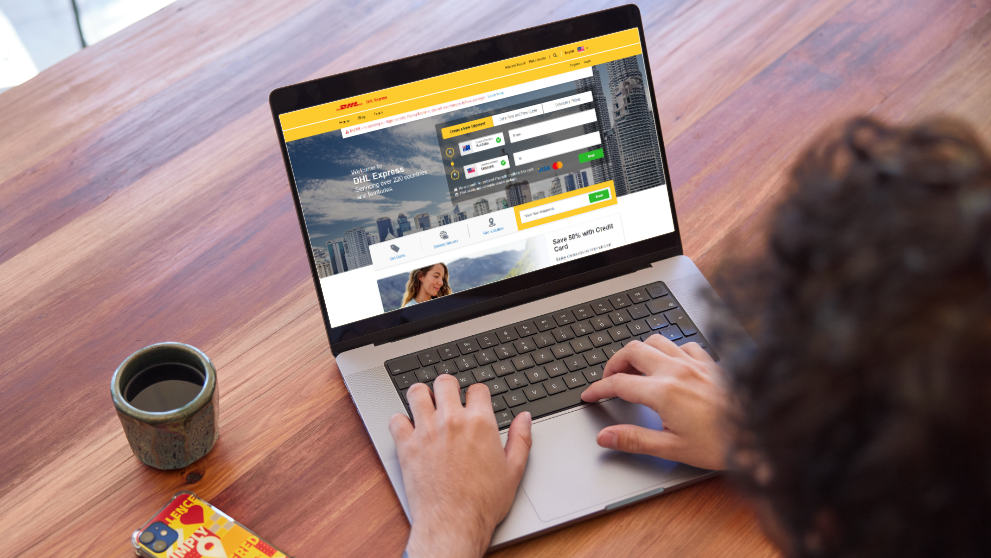
To get started, visit MyDHL+.
Fill in the shipper and consignee information, provide shipment details, create or upload a customs invoice, and select a DHL Express service as usual.
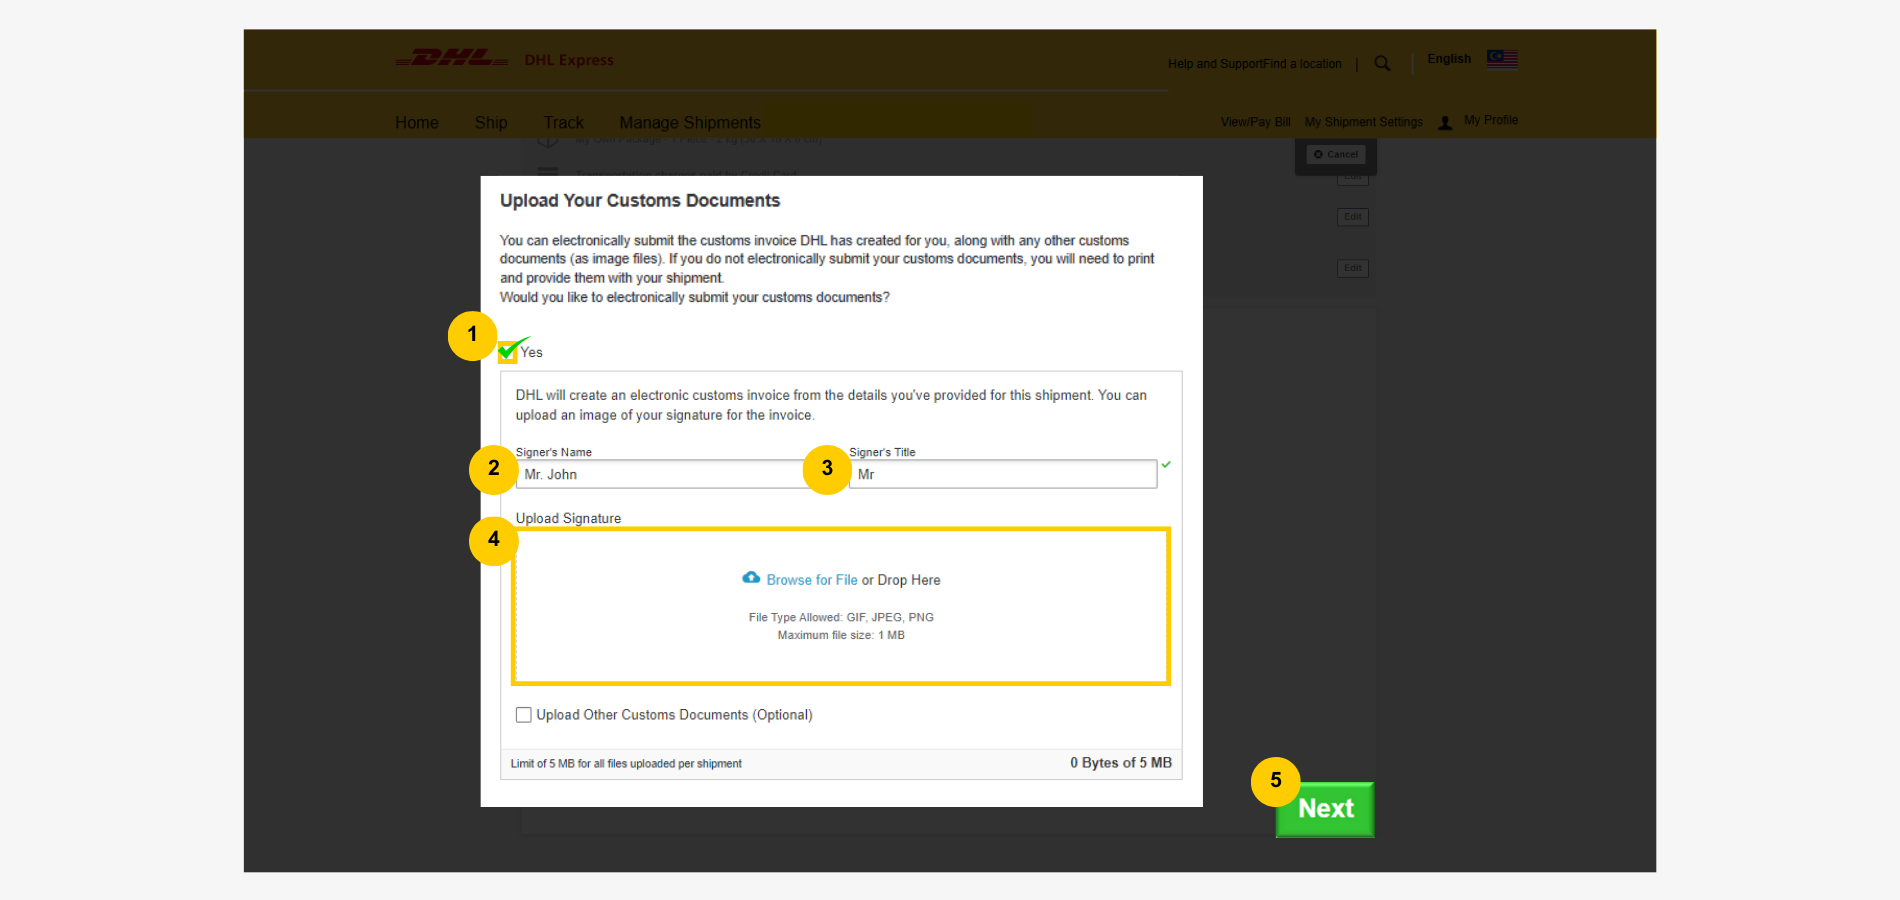
When you get to the 'Upload Customs Documents' section, ensure you declare the need for the Label-Free service.
- Tick 'Yes' for electronic submission field.
- Enter 'Signer's Name' and 'Signer's Title'.
- Upload signature of signer (optional).
- Click 'Next' to proceed to choose a shipment handover option.
Note that label-free service is only available for 'shipments with pickup' or those booked with the 'drop-off option'.
Each option has its own specific information requirements for label-free service.
Option 1: Label-Free for Shipment Pickup
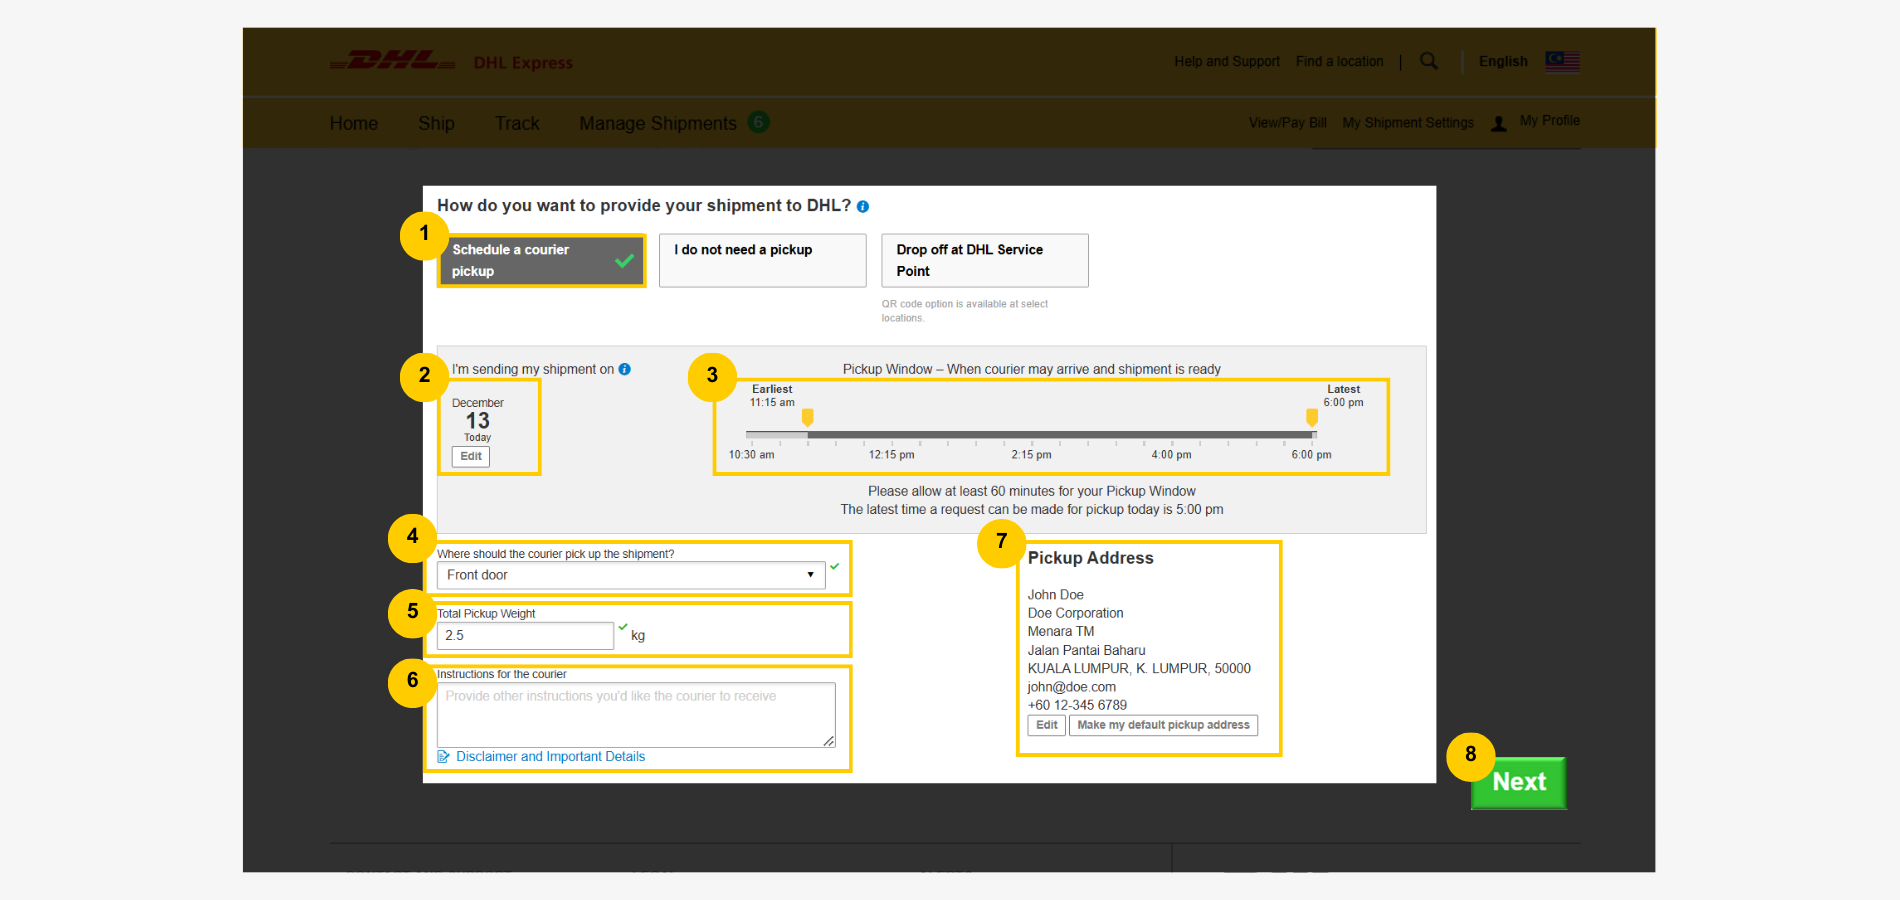
Step 1: Schedule a Pickup
- Select 'Schedule a Courier Pickup'.
- Set the pickup date.
- Set a time window for pickup.
- Specify the pickup point within the address compound.
- Enter the shipment weight in kilograms (KG).
- Provide any special instructions for the courier.
- Confirm the address.
- Click 'Next' to proceed.
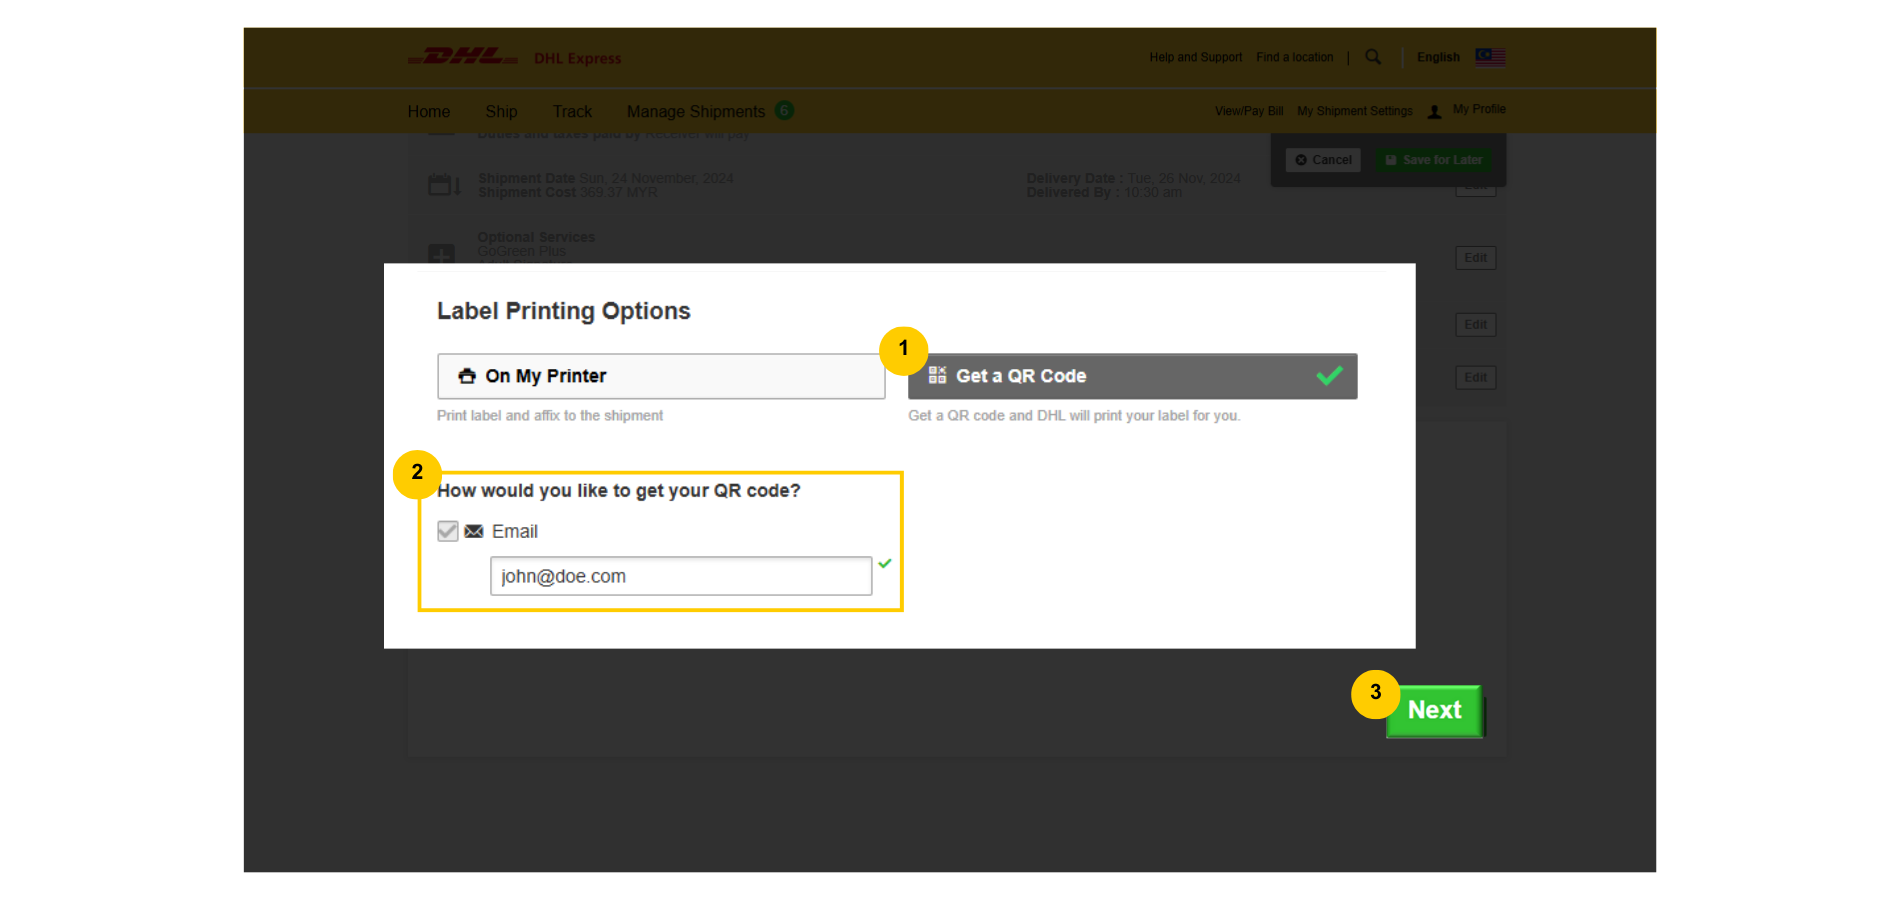
Step 2: Label-Free Selection
- Select 'Get a QR Code'.
- Enter email for QR code receipt.
- Click 'Next' to proceed.
Then, proceed with the remaining steps to complete the shipment booking.
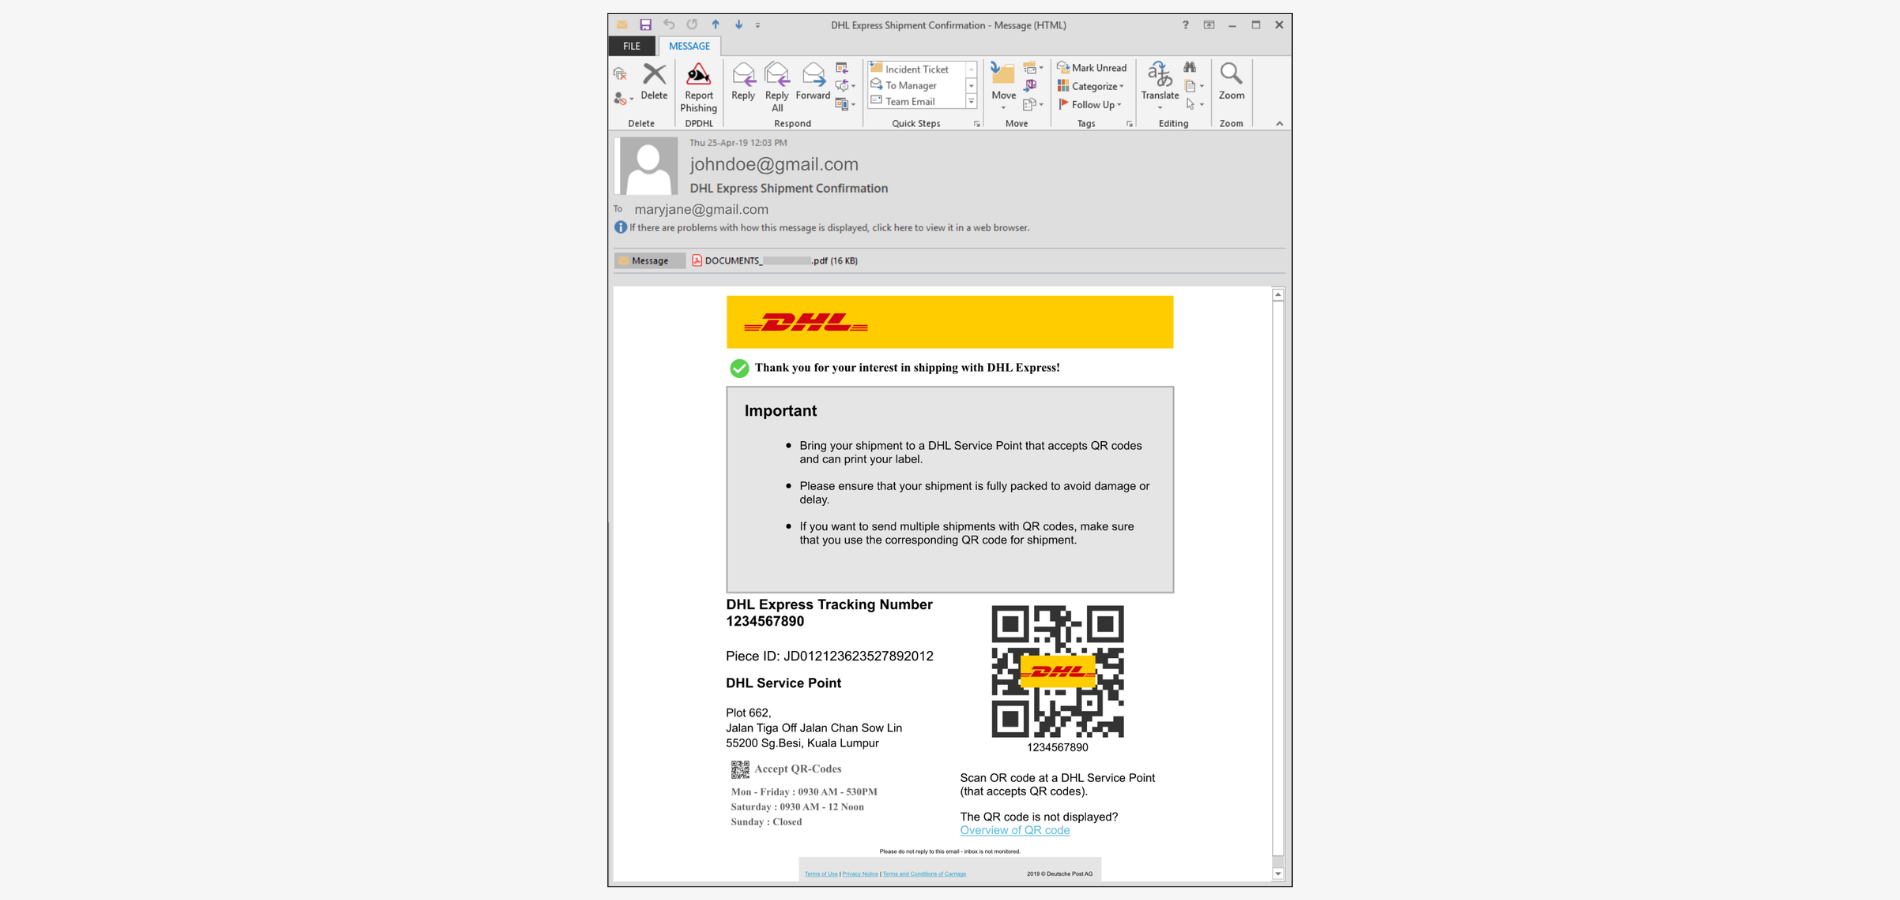
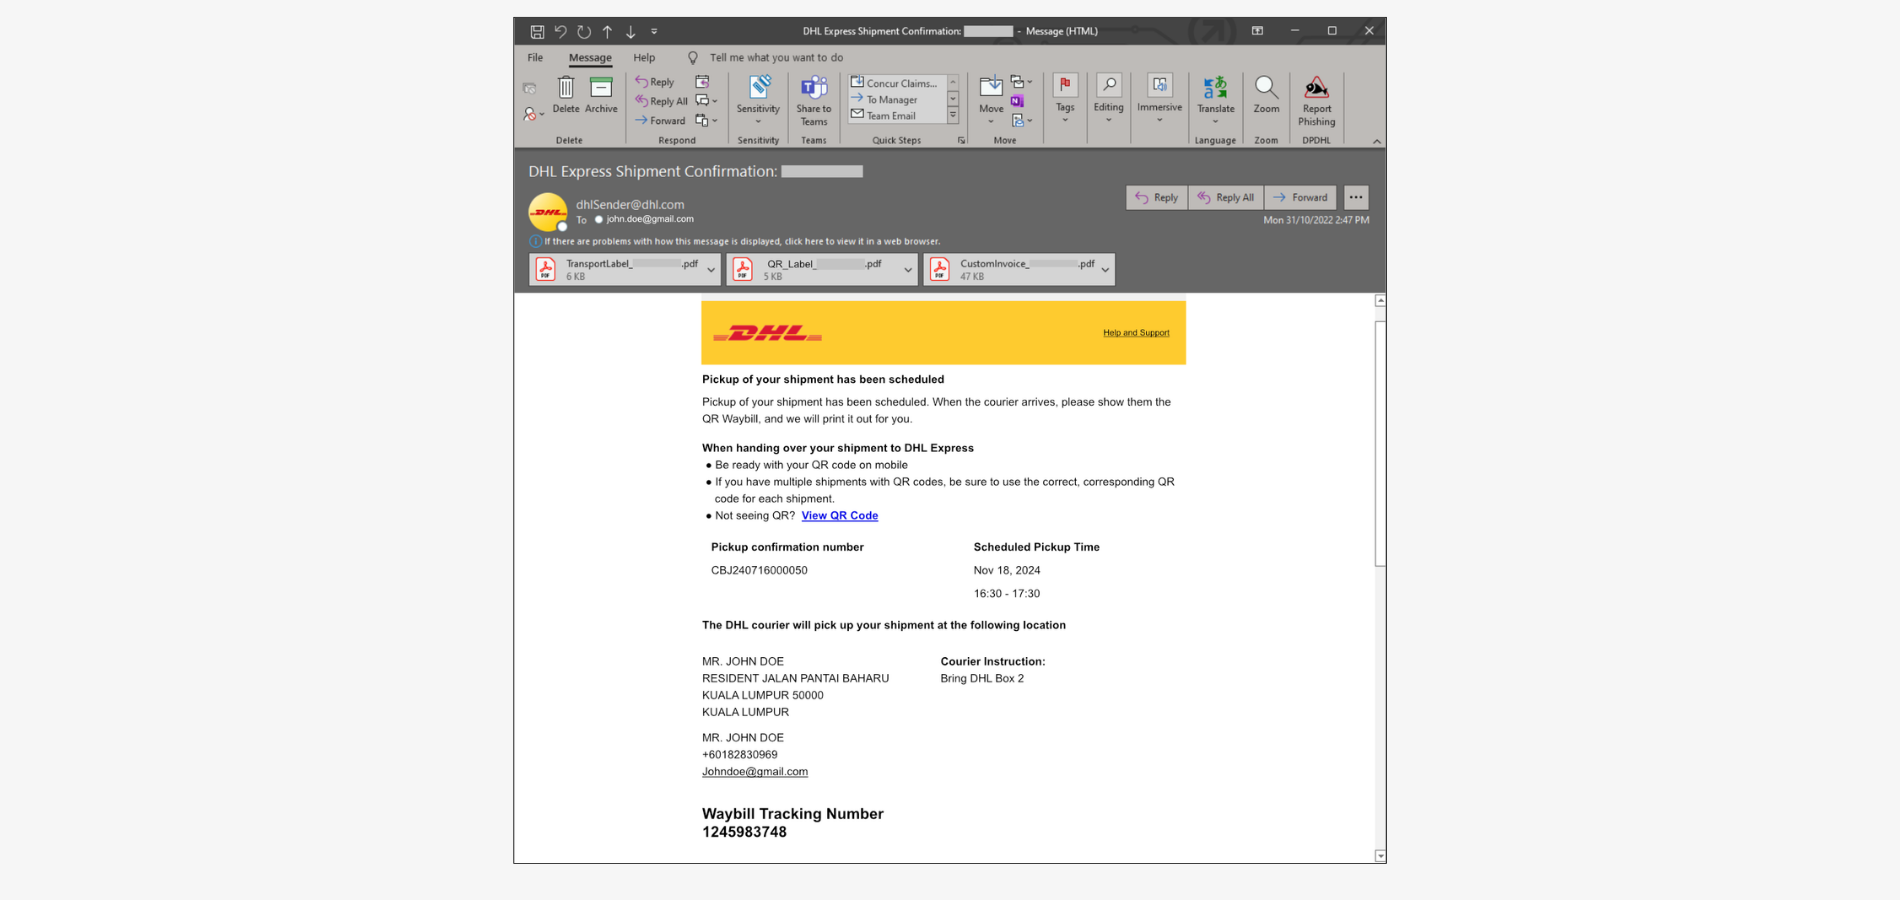
A confirmation email, including the QR code as an attachment, will be sent to the designated email address after the shipment is booked.
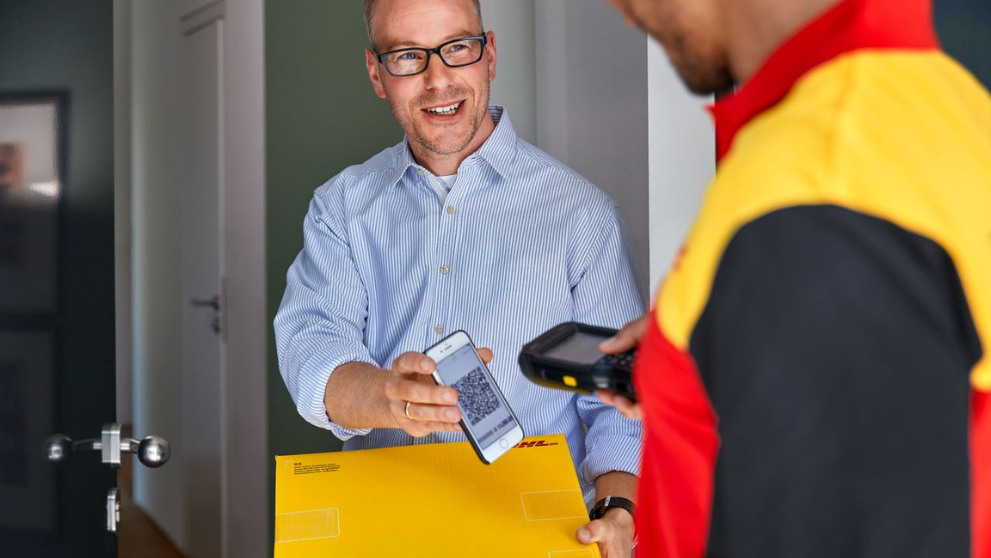
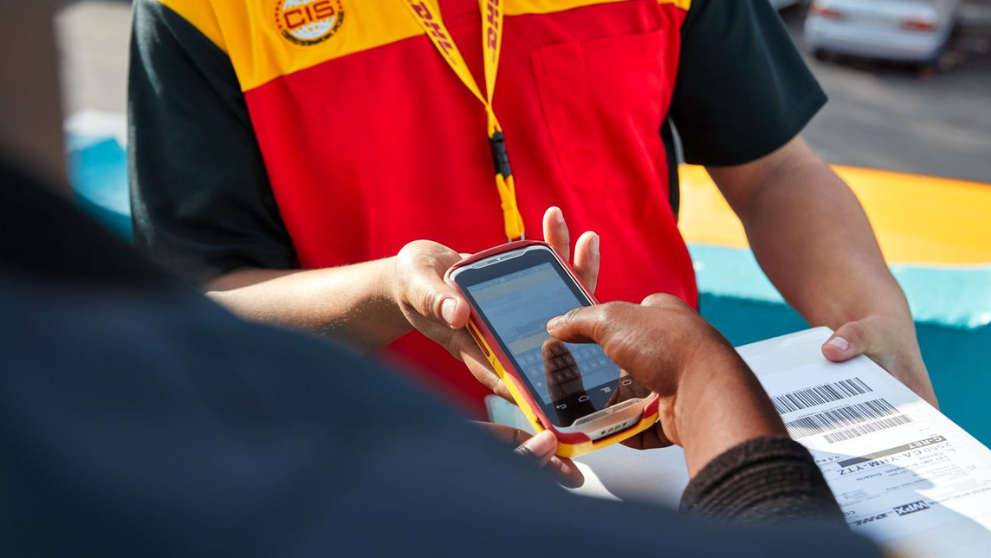
Show the QR code to the courier at the time of shipment handover.
Option 2: Label-Free for Shipment Drop-Off
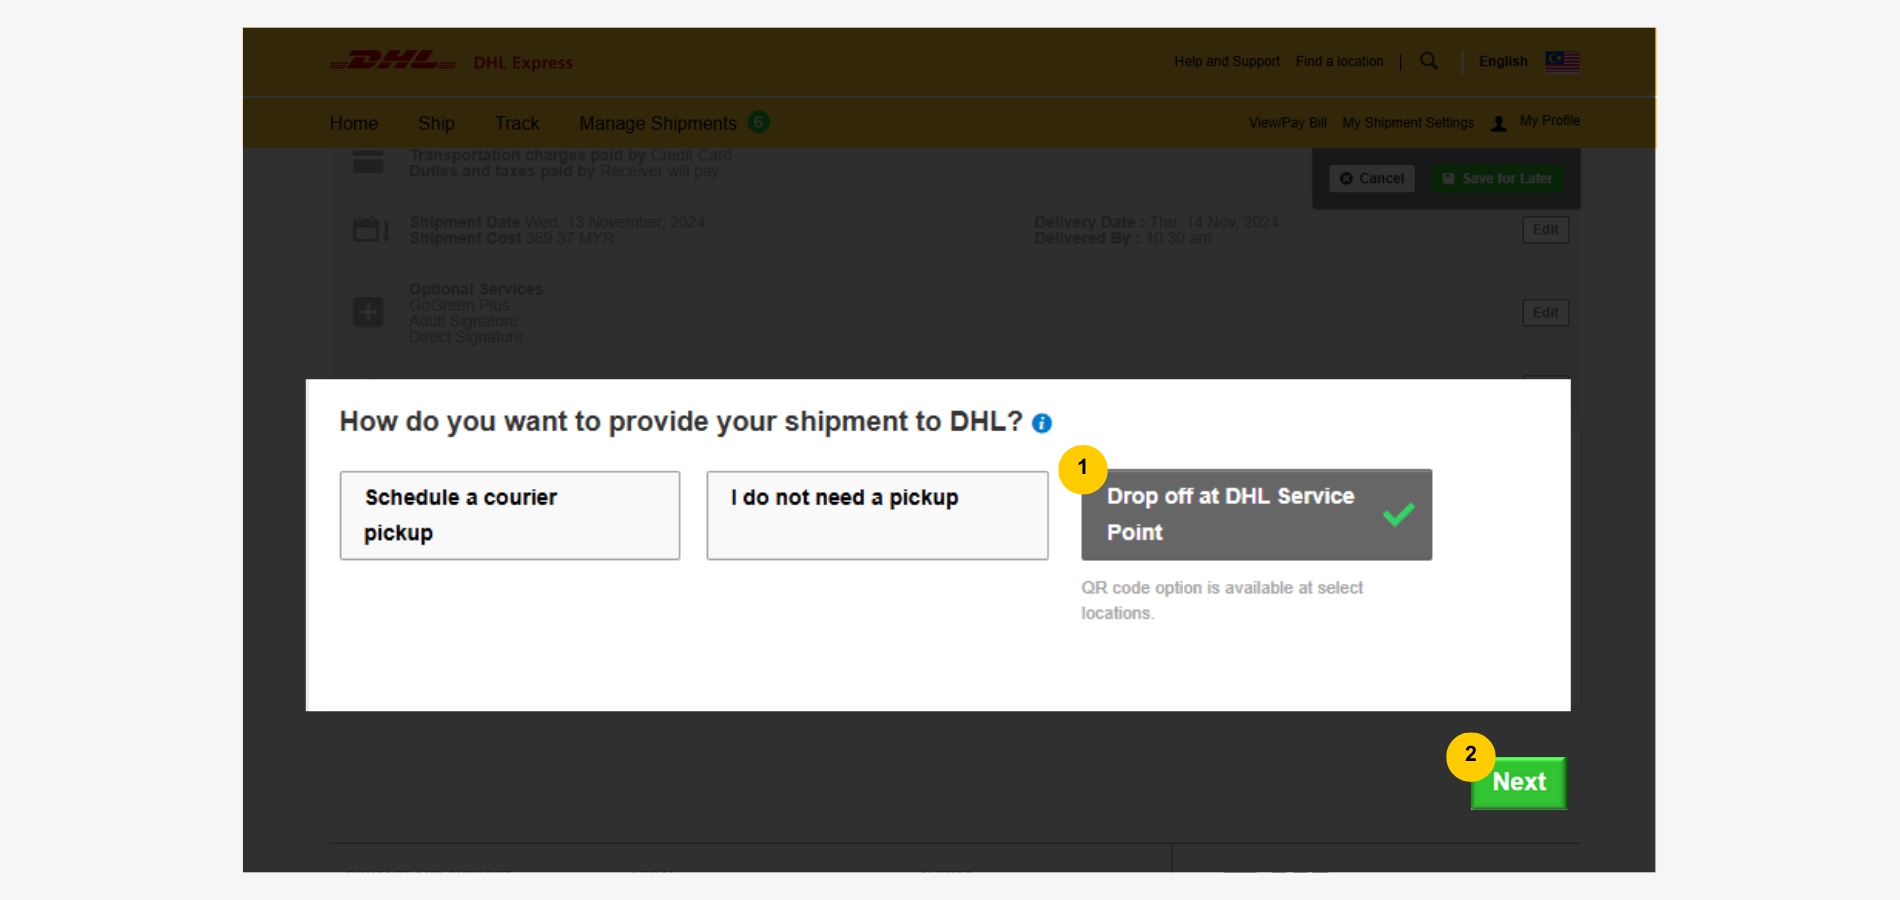
Step 1: Choose the Shipment Drop-Off Option
- Select 'Drop off at Service Point'.
- Click 'Next' to proceed.
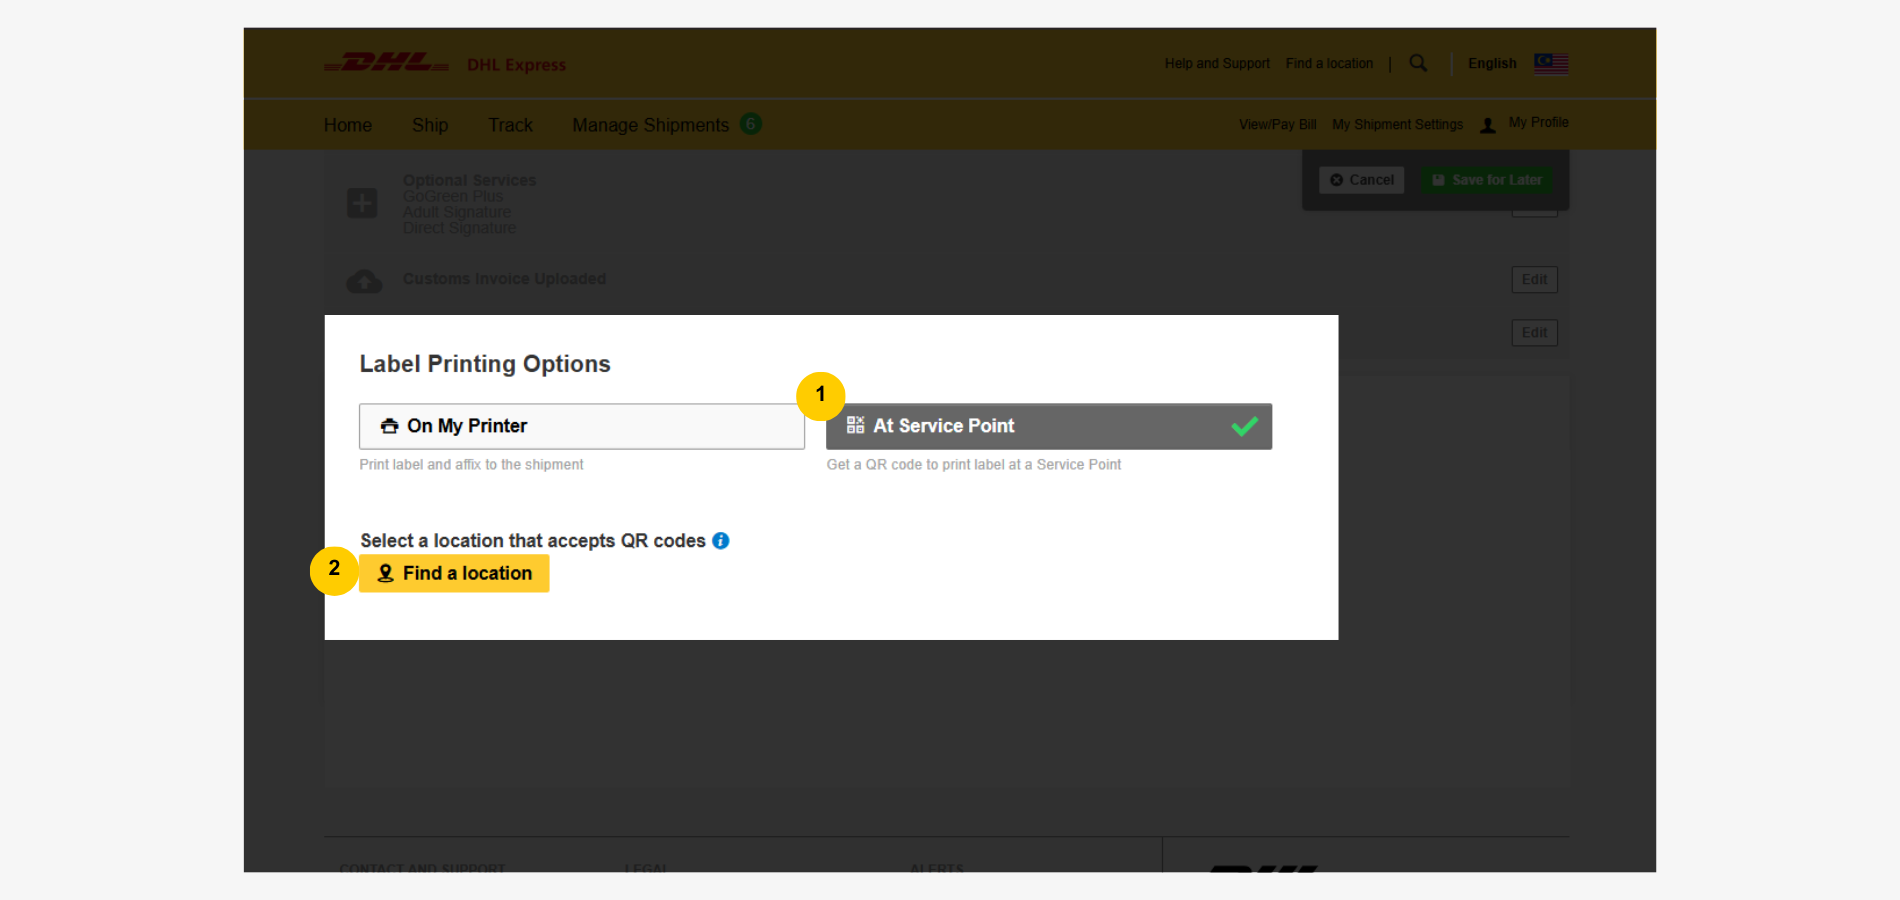
Step 2: Select Label Printing Option
- Click 'At Service Point'.
- Click 'Find a Location'.
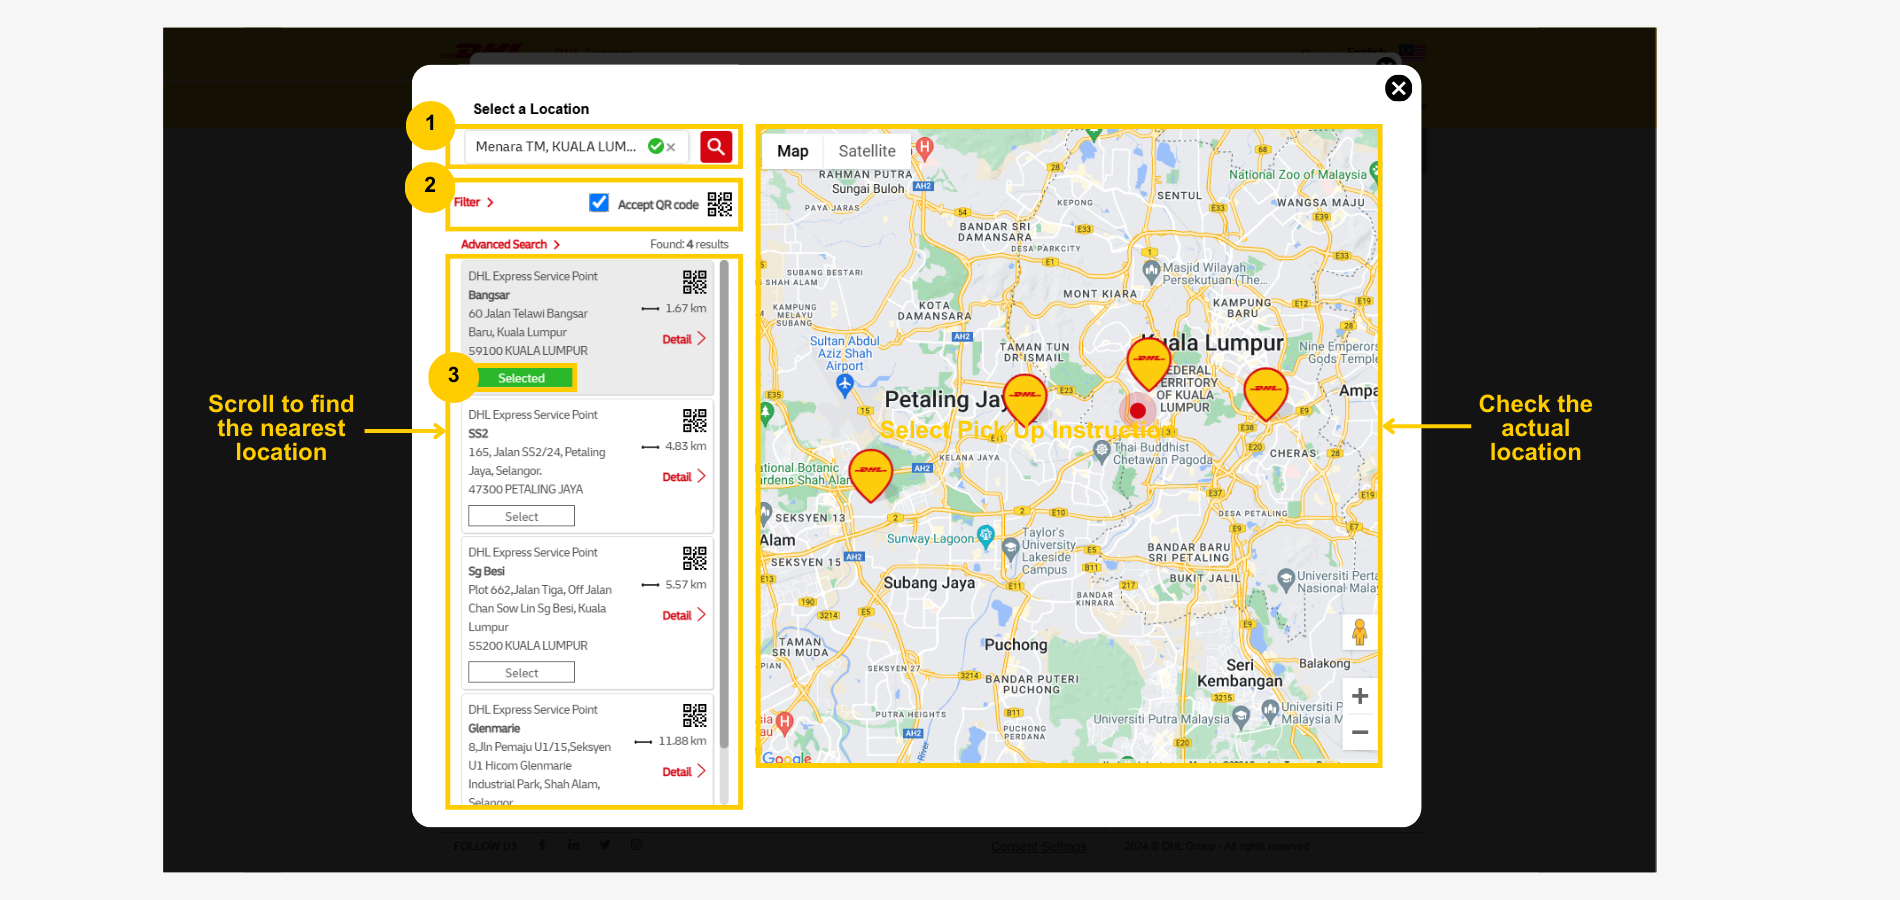
Step 3: Find a Service Point
- Enter address to search (optional).
- Tick the 'Accept QR code' box to filter for service points with label free service.
- Scroll to look for preferred service point and click 'select'.
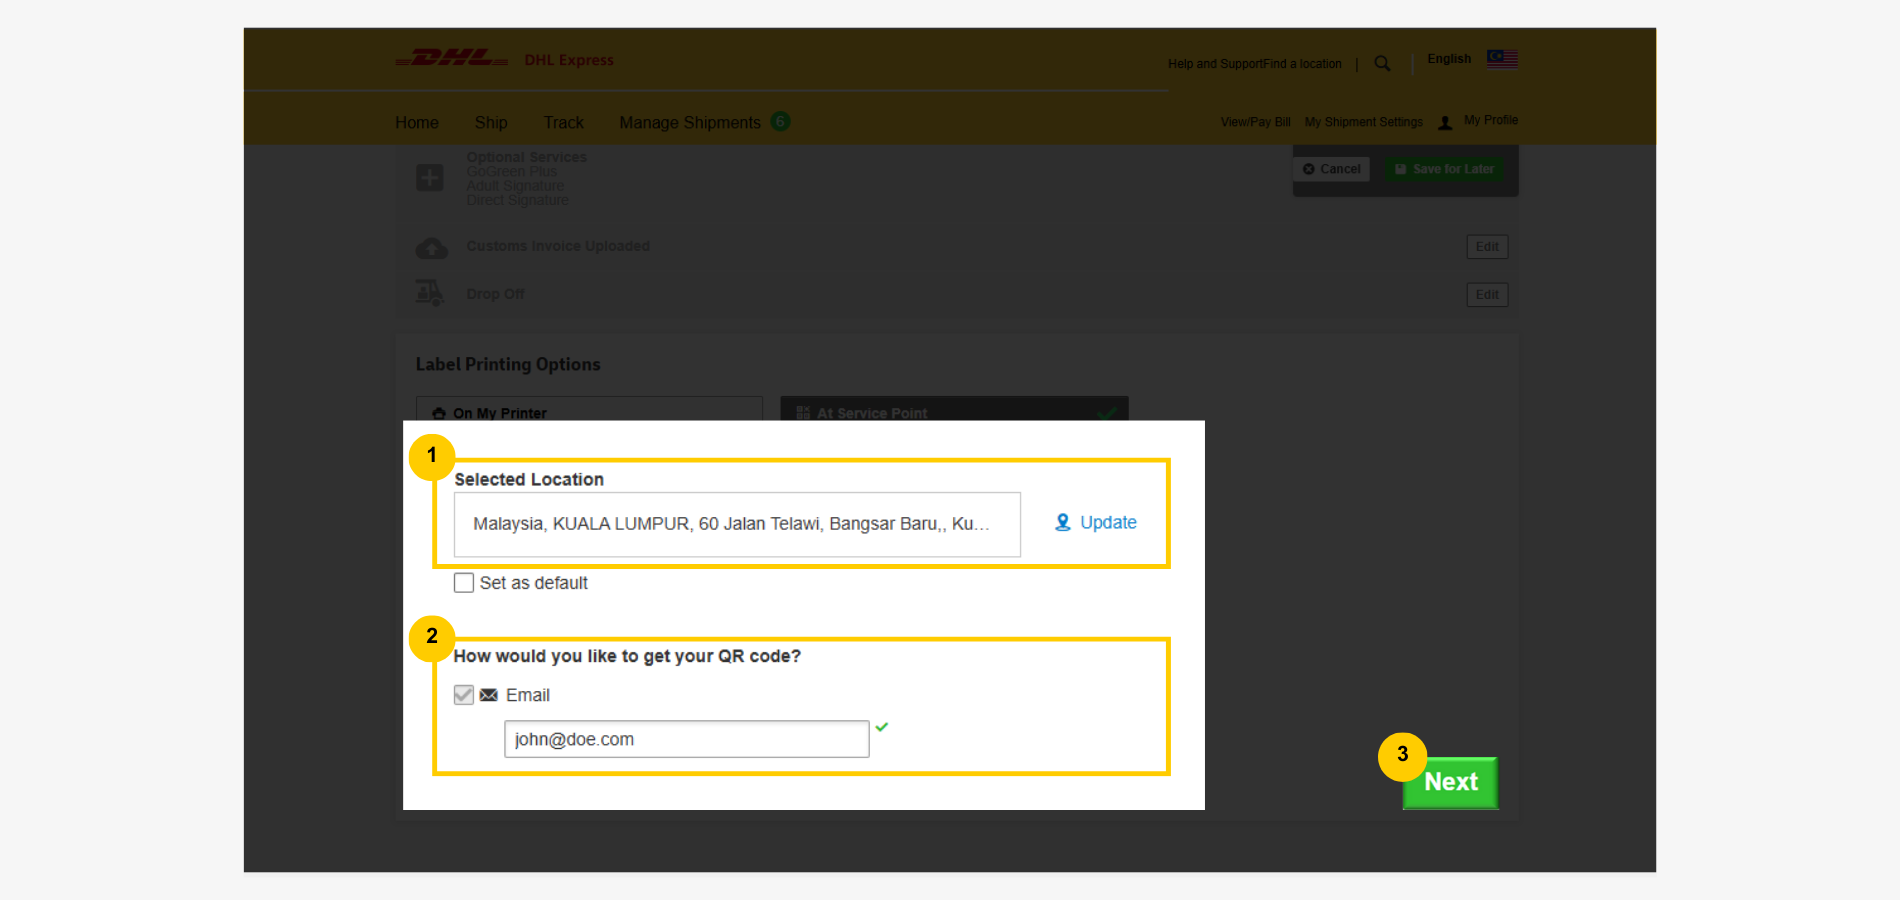
Step 4: Provide Email for QR Code Receipt
- Confirm the selected service point.
- Confirm or edit the QR code email receiver (applies to 'Print at Service Point' selection only).
- Click 'Next' to proceed.
Once booked, the QR code and other shipment details will be sent to the specified email address.
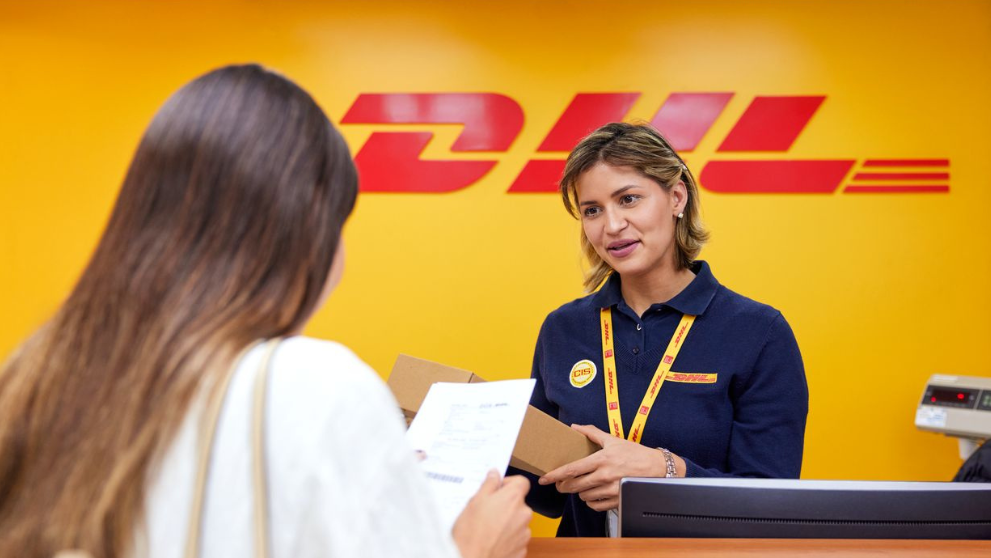
Show the QR code to the retail officer during shipment drop-off.
