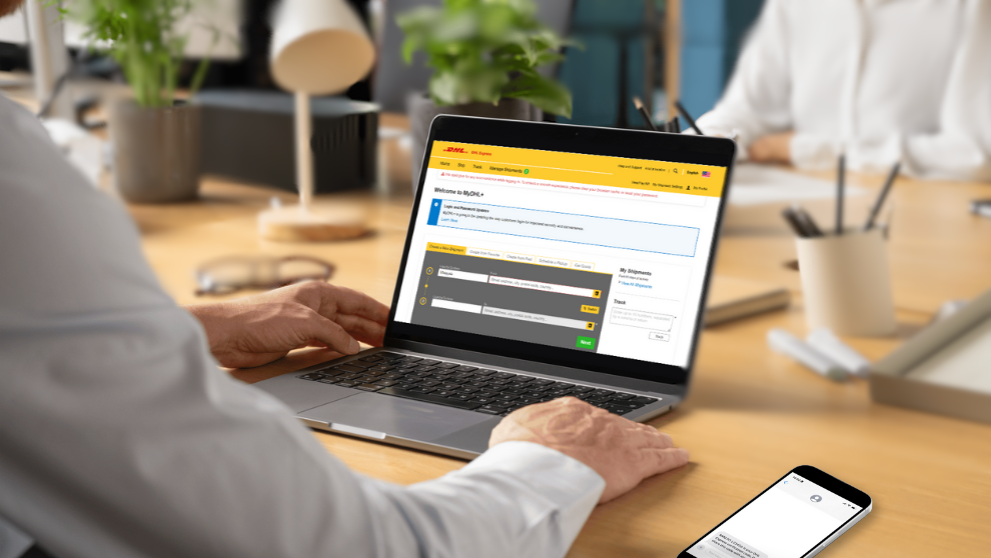
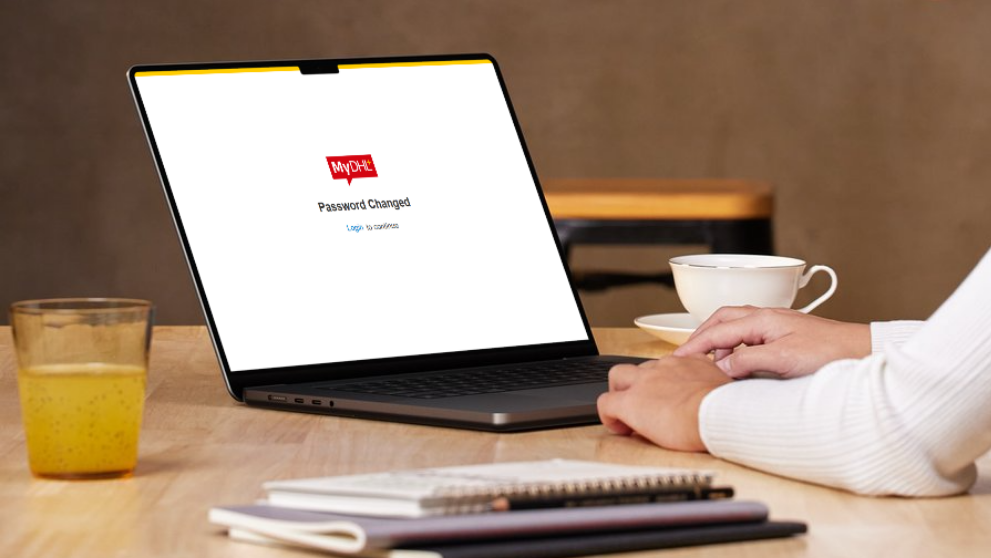
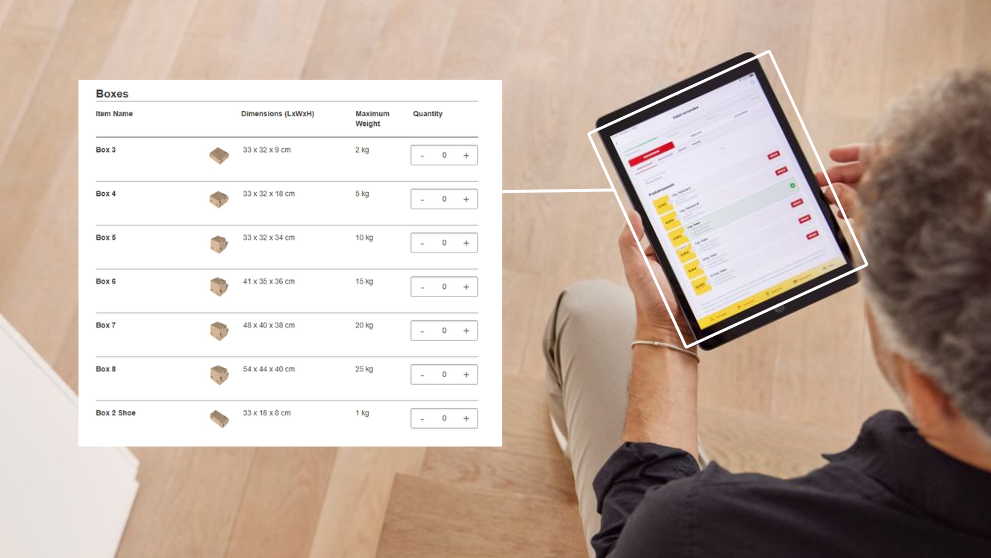
To protect our customers against fraud and unauthorized access, DHL Express requires identity verification for all account activities.
For faster, more convenient authorizations, follow this step-by-step guide to set up phone number verification.
To begin, go to MyDHL+ and select country of residence.
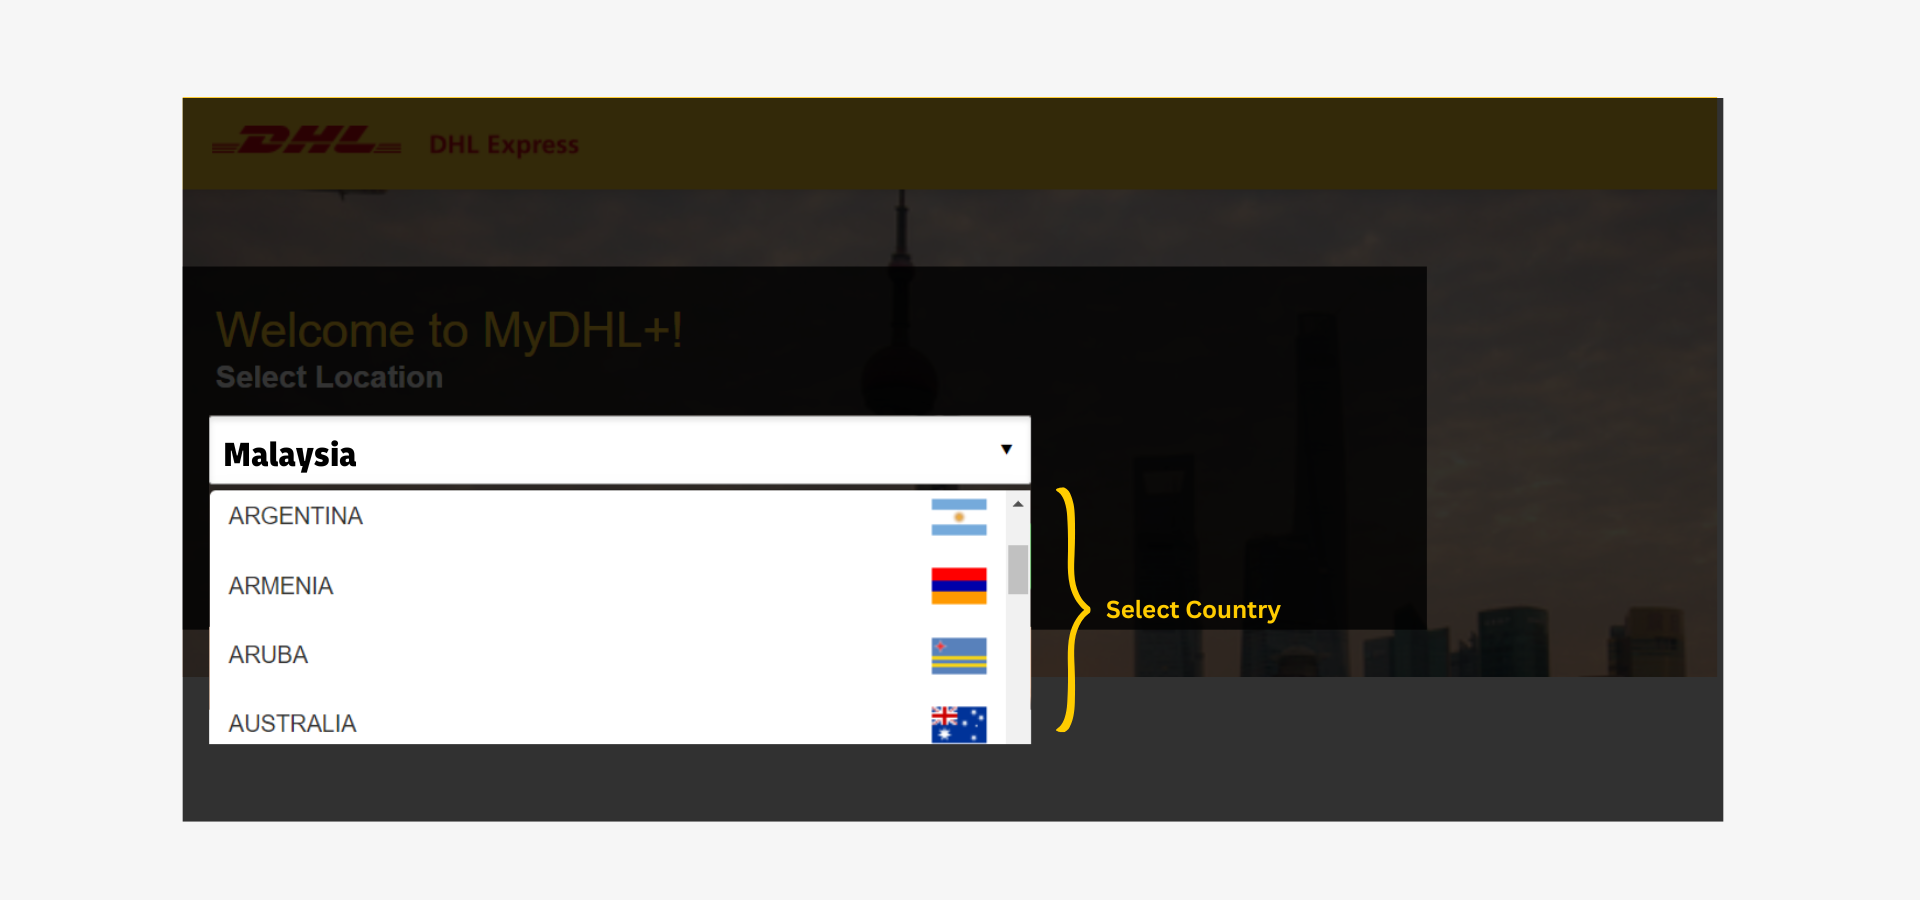
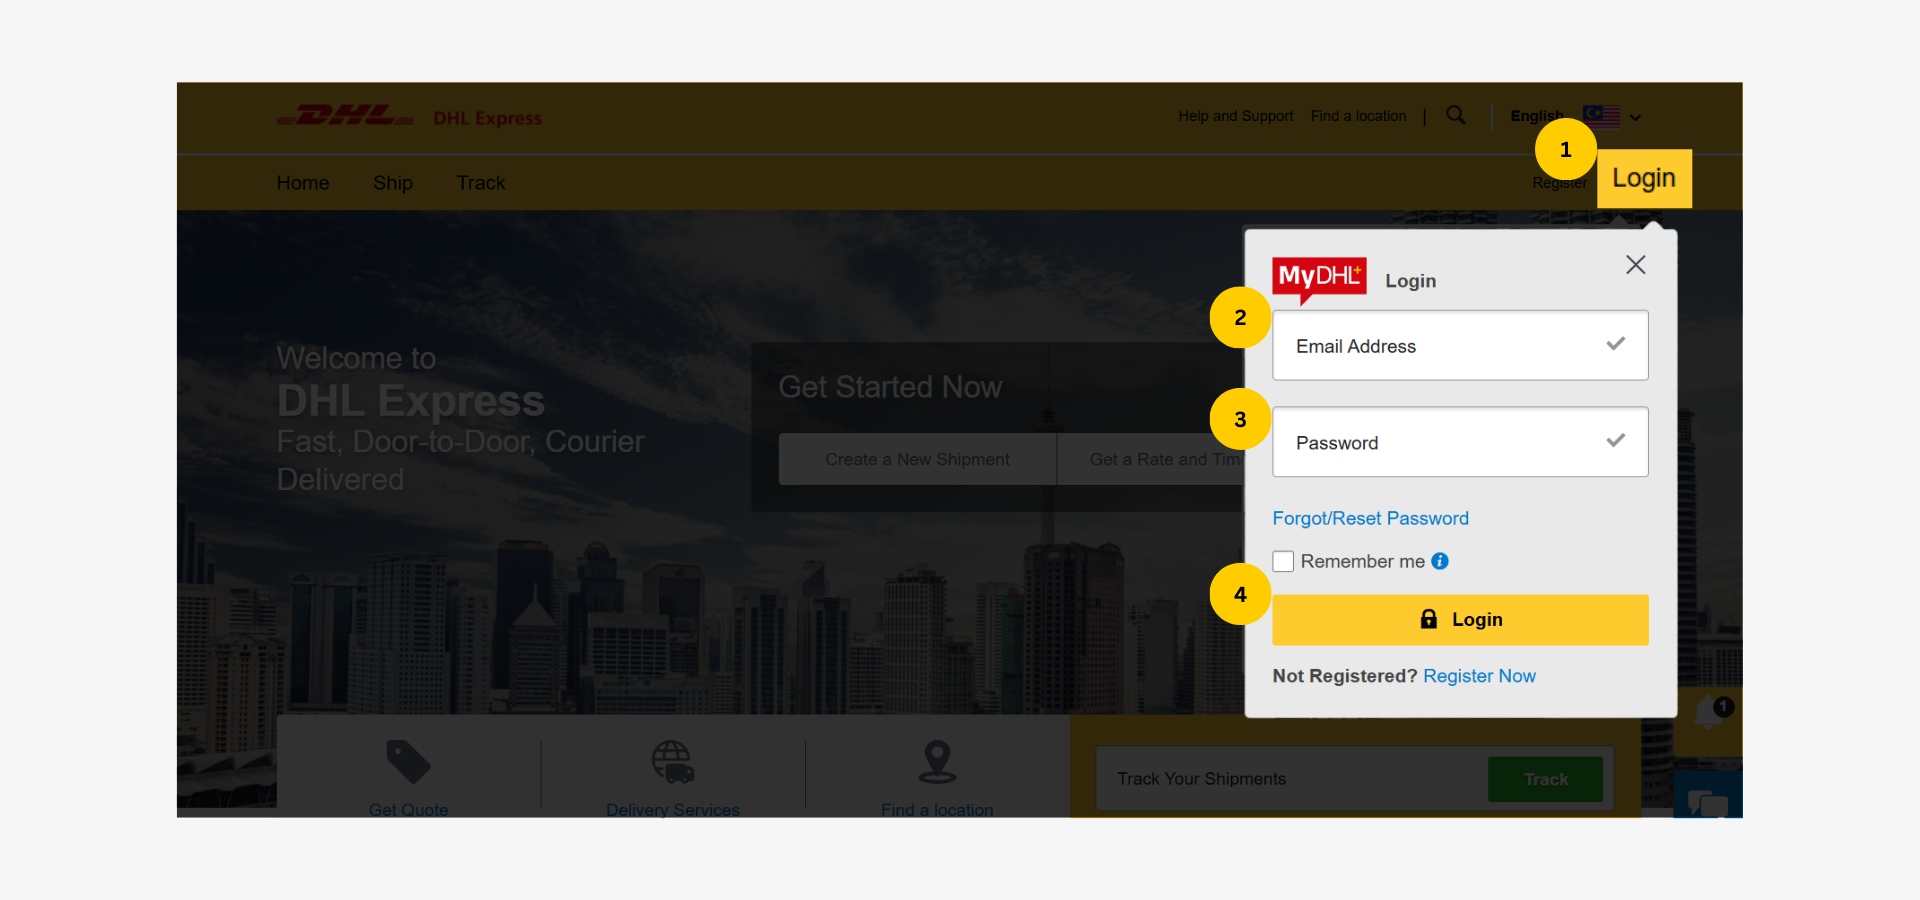
Step 1: Login to MyDHL+
- Click ‘Login’ at the top right corner.
- Enter registered email address.
- Enter password.
- Click ‘Sign In’ to access the account.
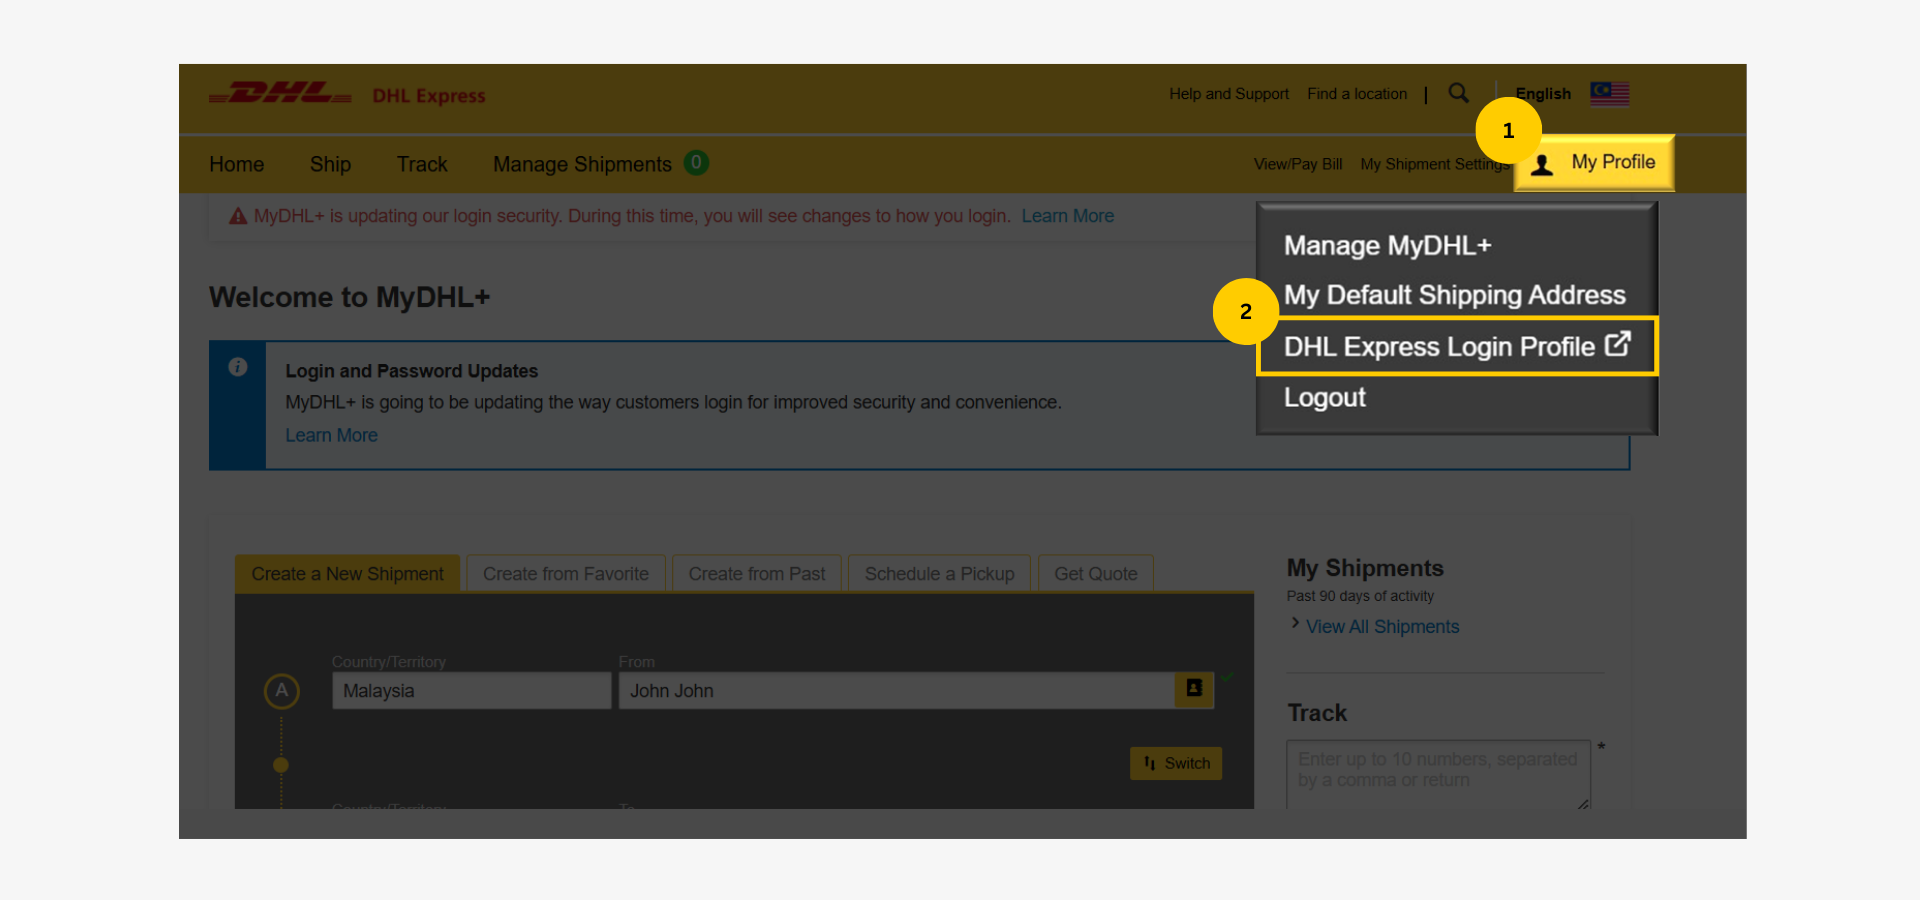
Step 2: Go to DHL Express Login Profile
After login, your account shipping dashboard will be displayed.
- Click 'My Profile’ at the top right corner.
- Select 'DHL Express Login Profile' from the dropdown.
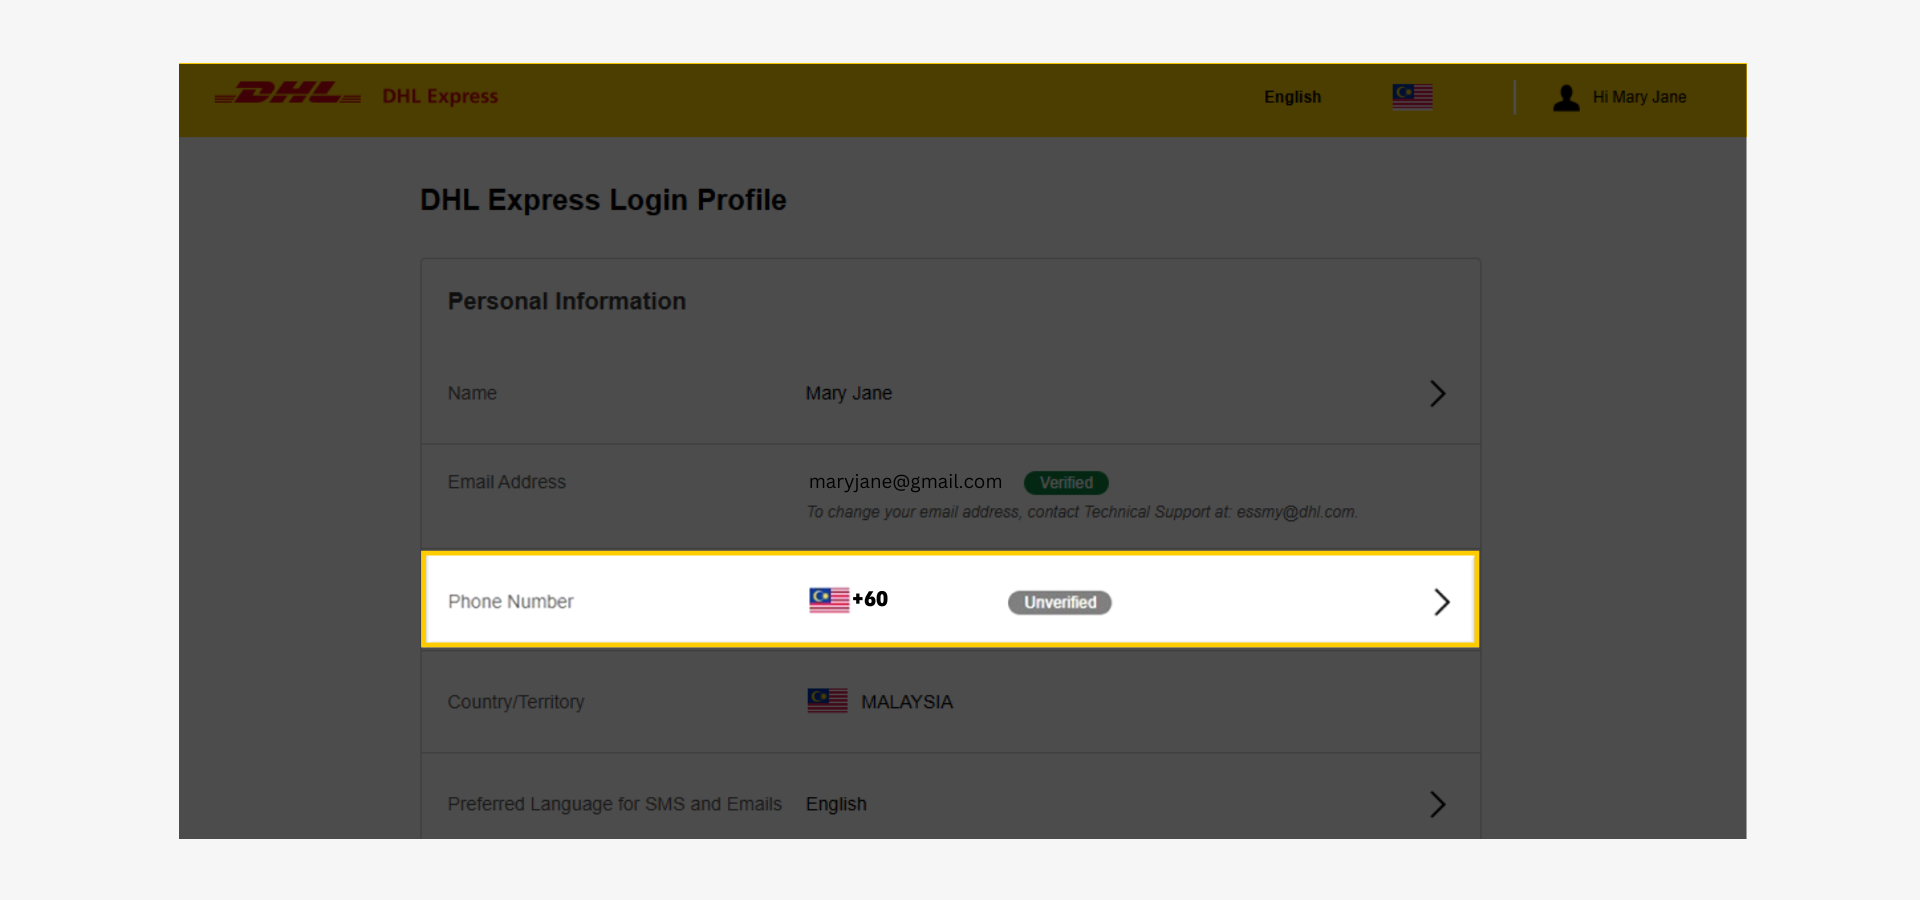
Step 3: Update Personal Information
On the Personal Information page, profile details will be displayed.
1. Click the arrow in the Phone Number section.
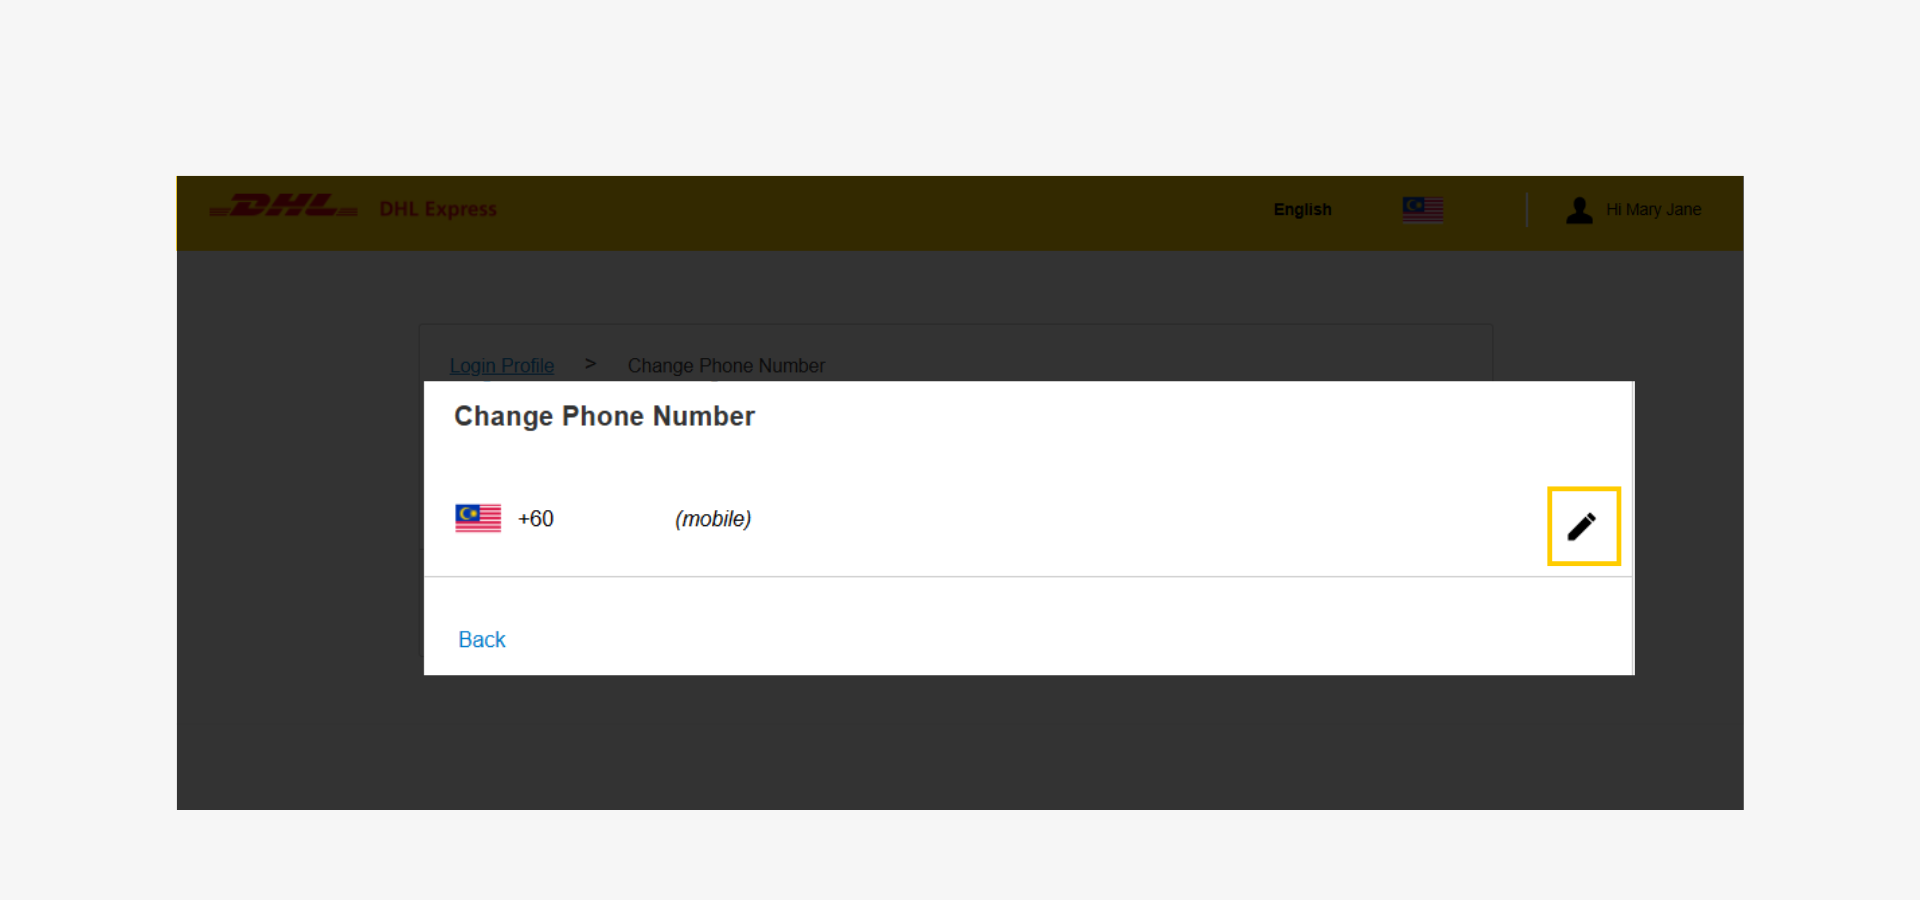
2. Click the pencil icon.
3. Check the email inbox for the code.
Note: Identity verification is required to ensure only authorized changes are made to the account.
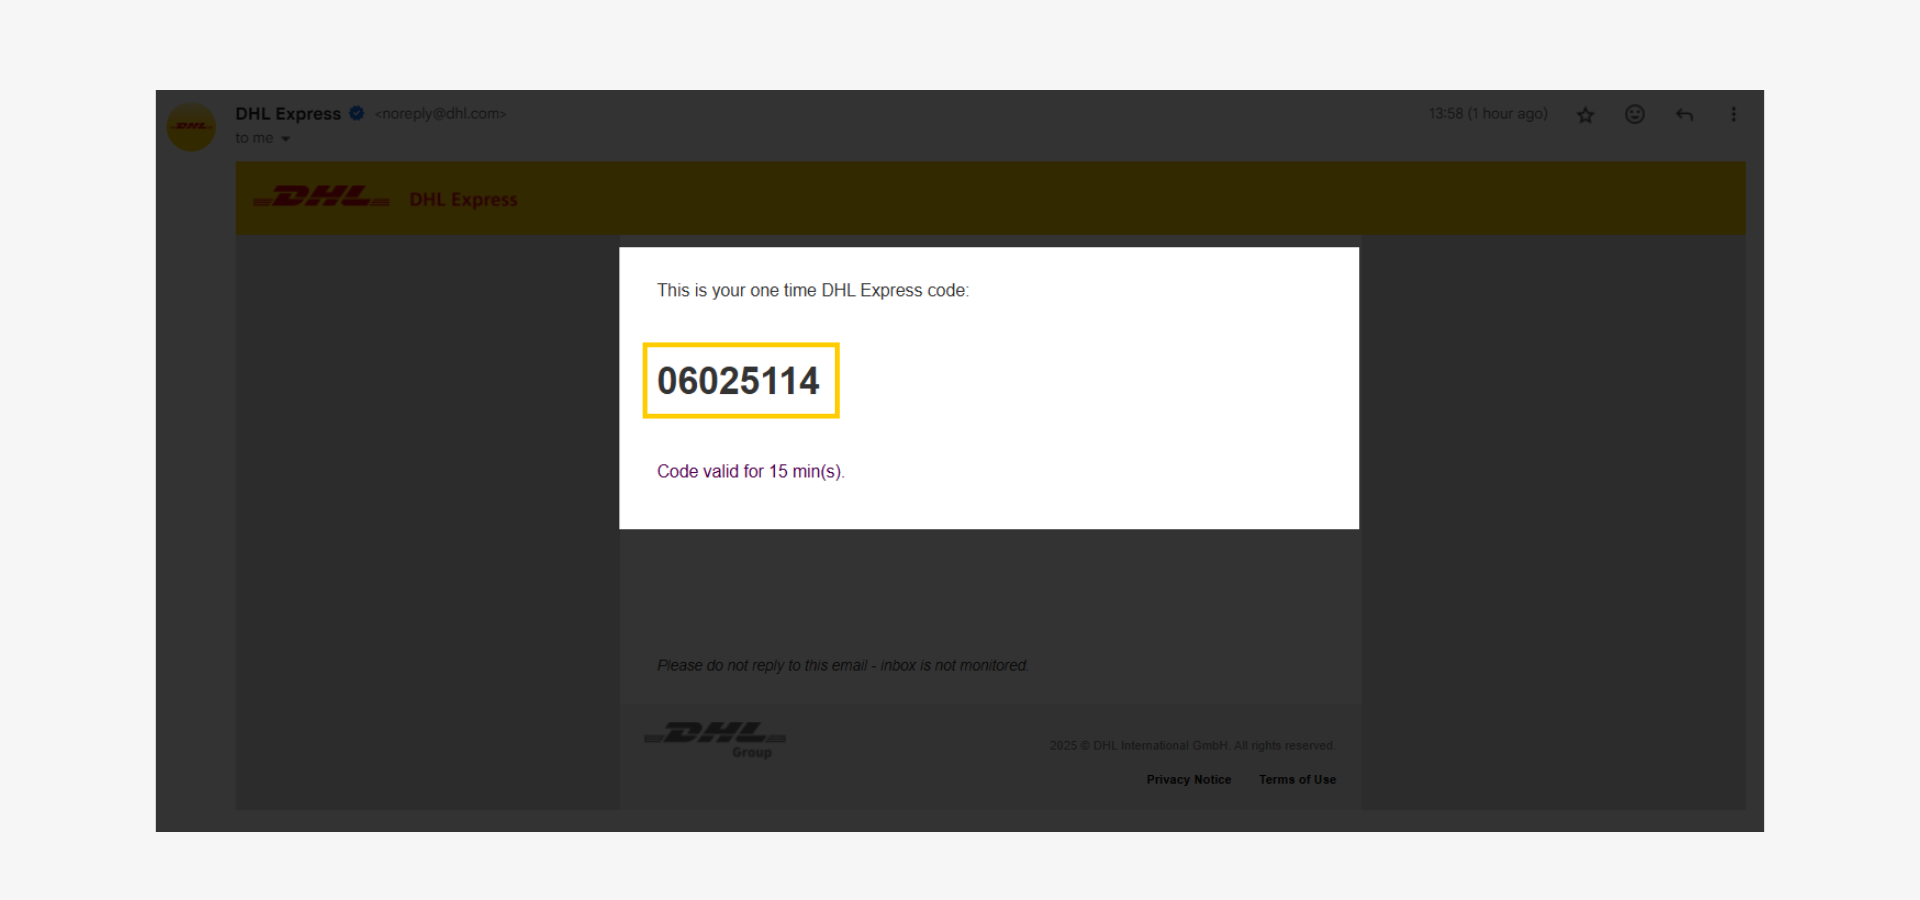
3. Enter the verification code.
4. Click 'verify' to proceed.
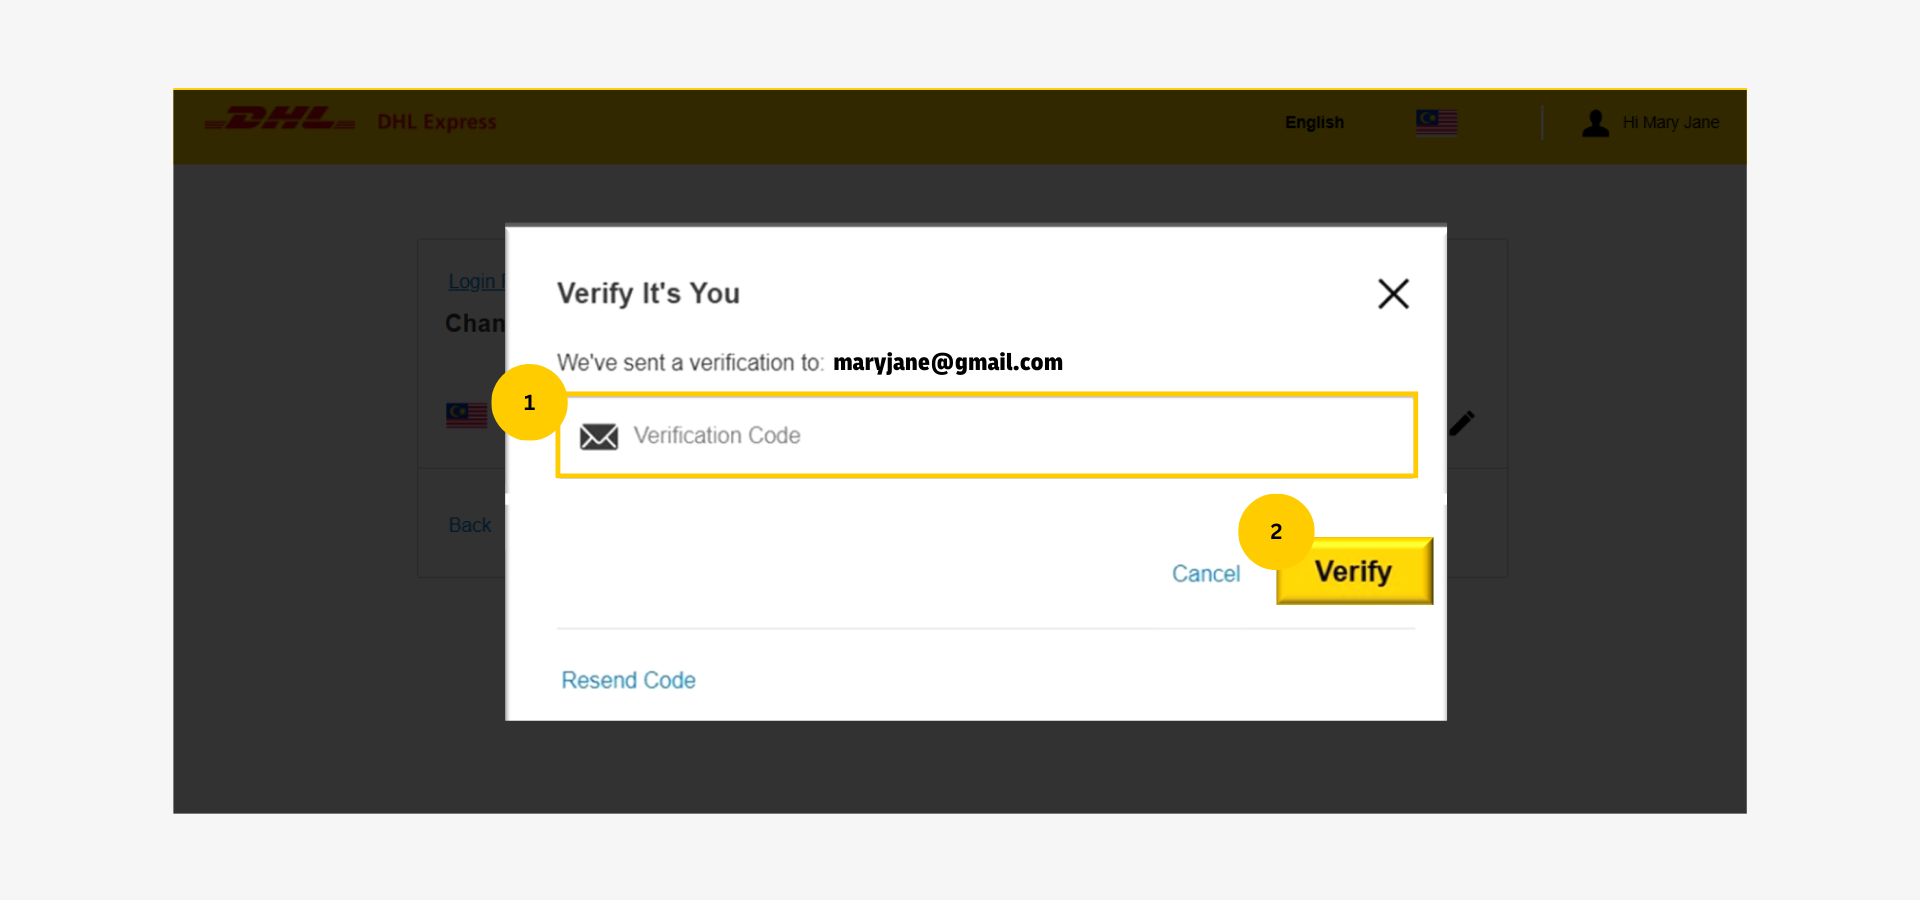
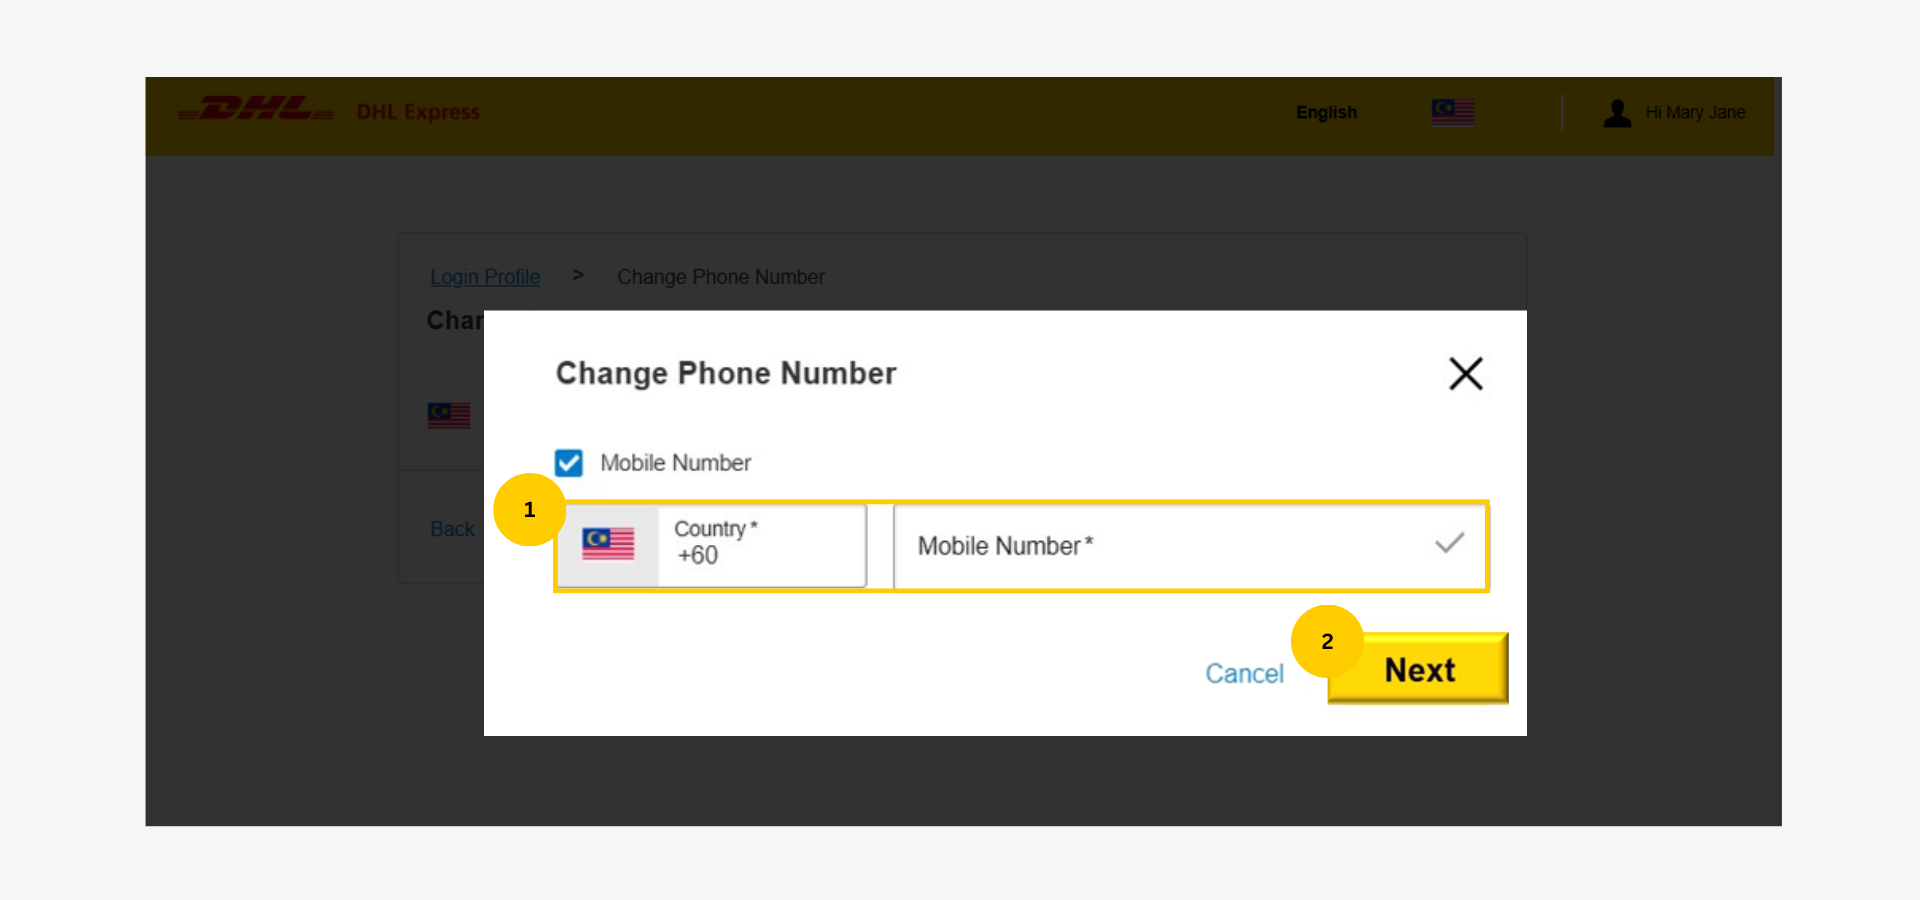
Step 5: Add Phone Number
- Enter the phone number without the leading '0'. (e.g. for 012 345 6789, enter 12 345 6789)
- Click ‘Next’ to proceed.
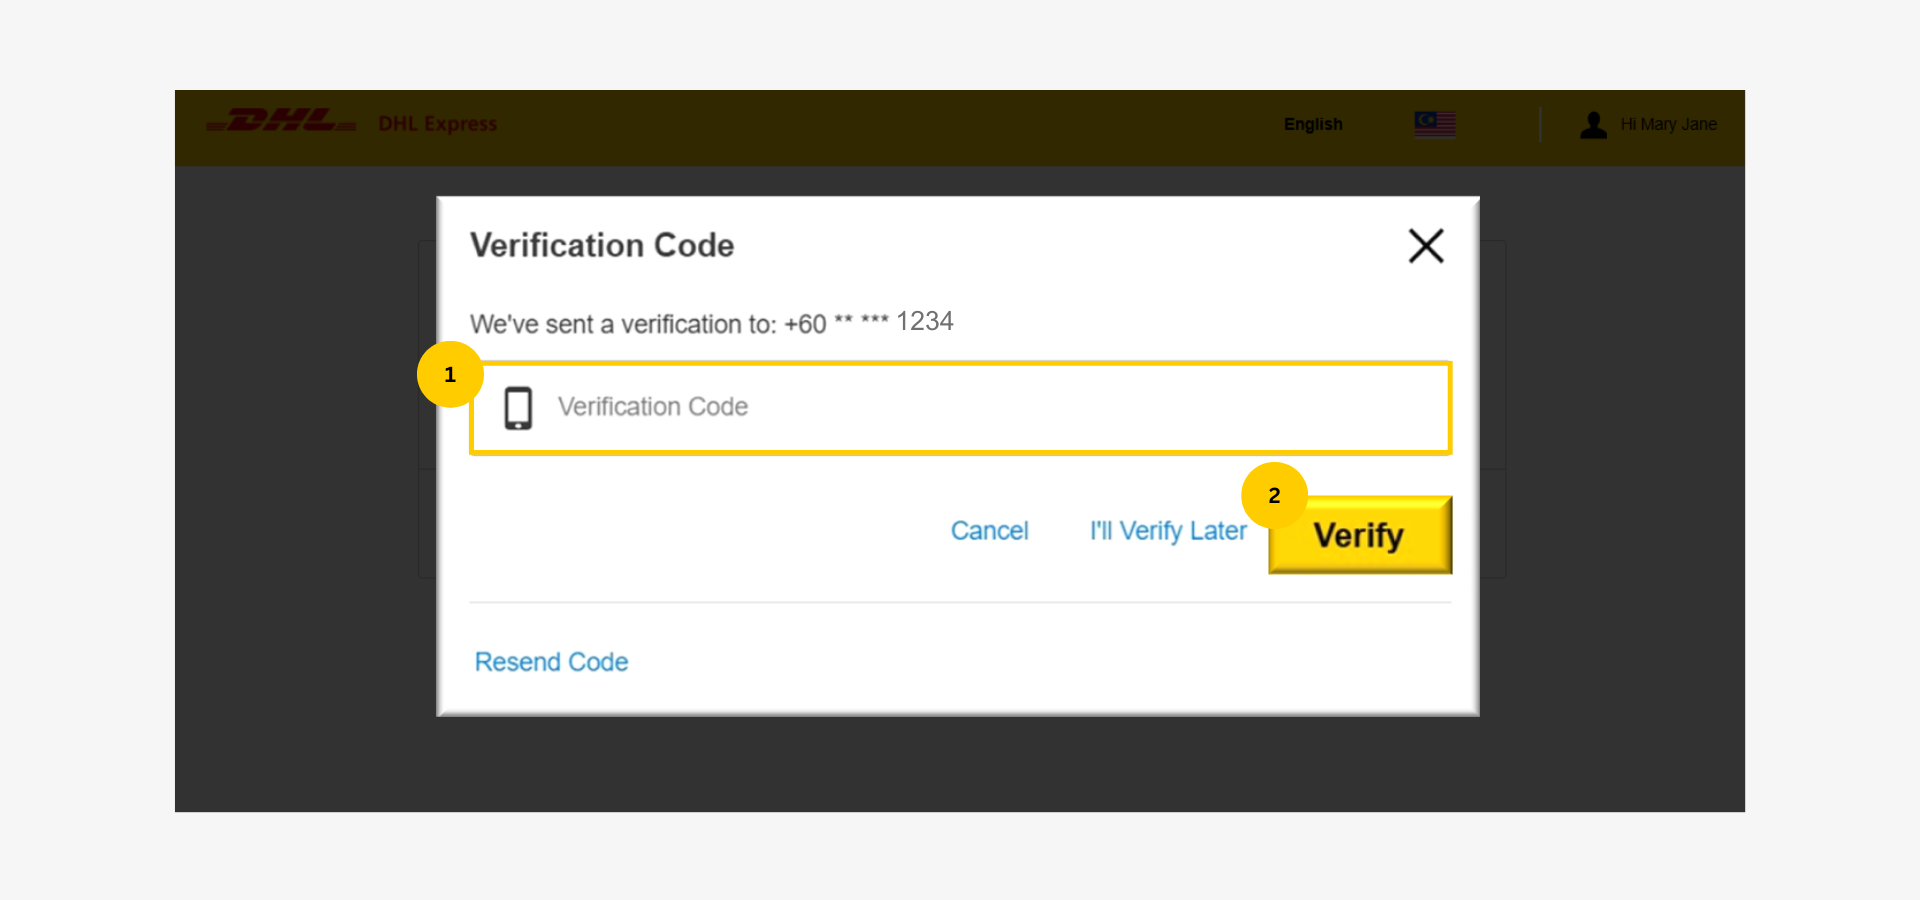
Step 6: Confirm Updated Phone Number
A verification code will be sent via SMS to the entered phone number.
- Enter the verification code.
- Click ‘Verify’ to proceed.
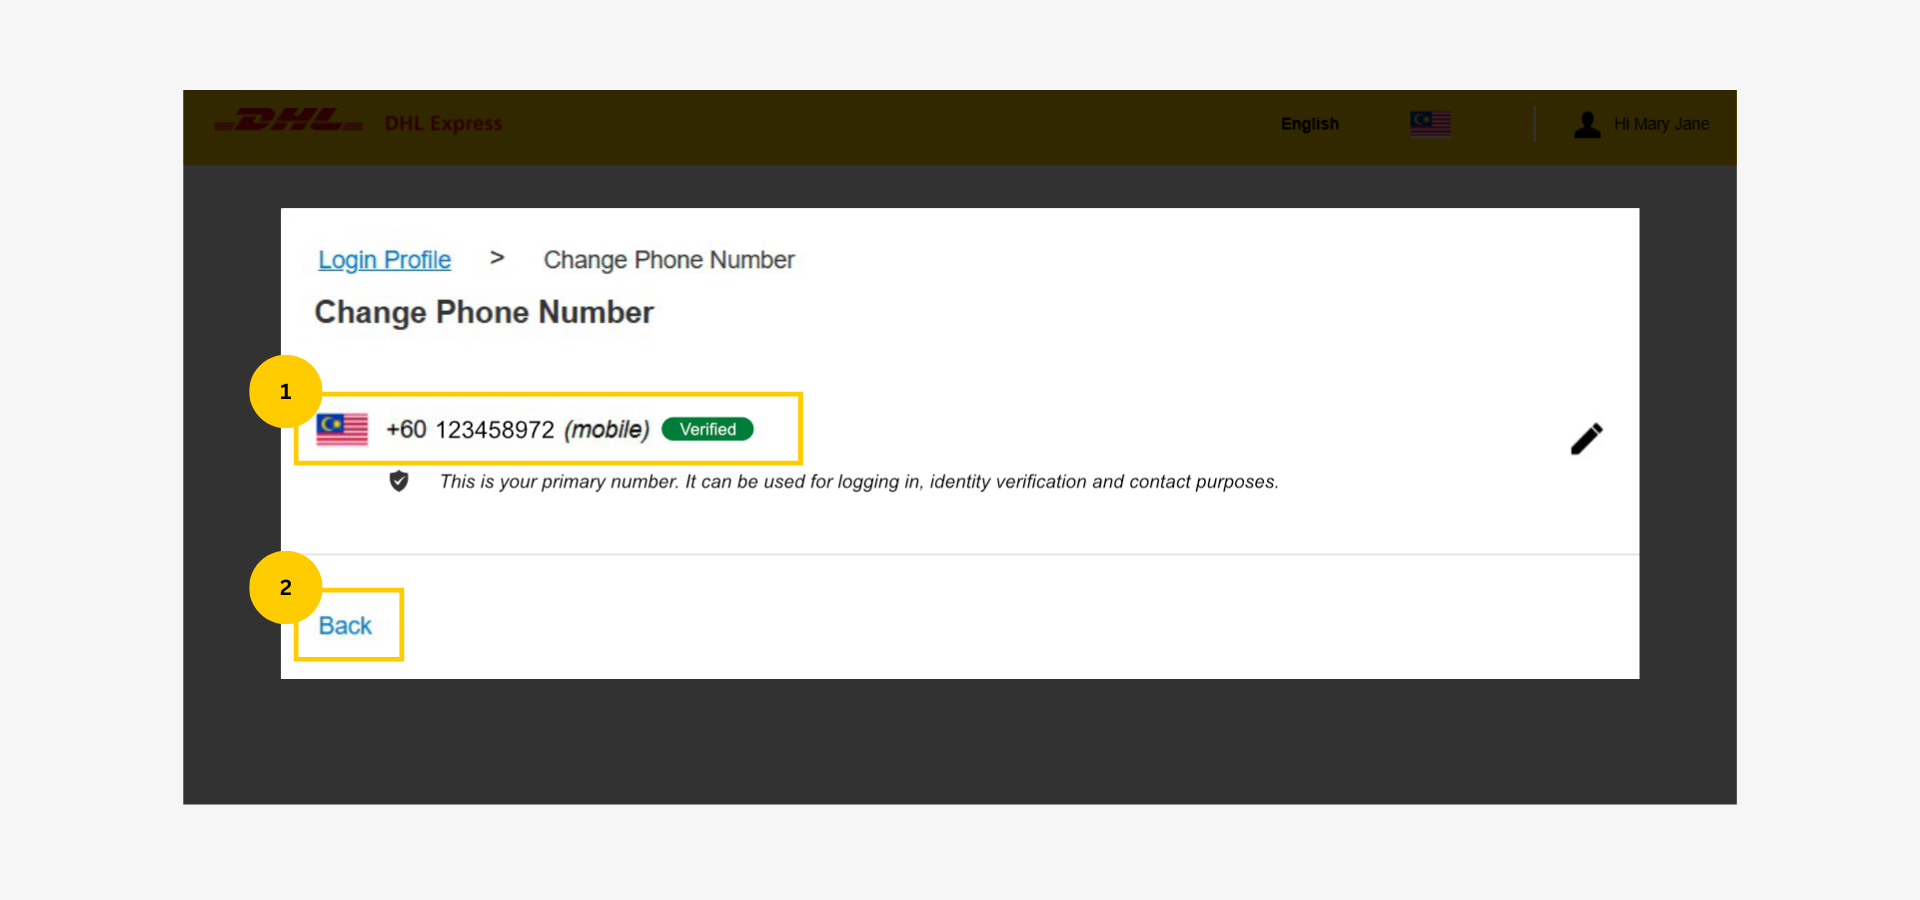
Now, the phone number has been added or updated successfully.
- Check: A green ‘Verified’ status will appear next to the phone number.
- Click ‘Back’ to return to the Personal Information page.
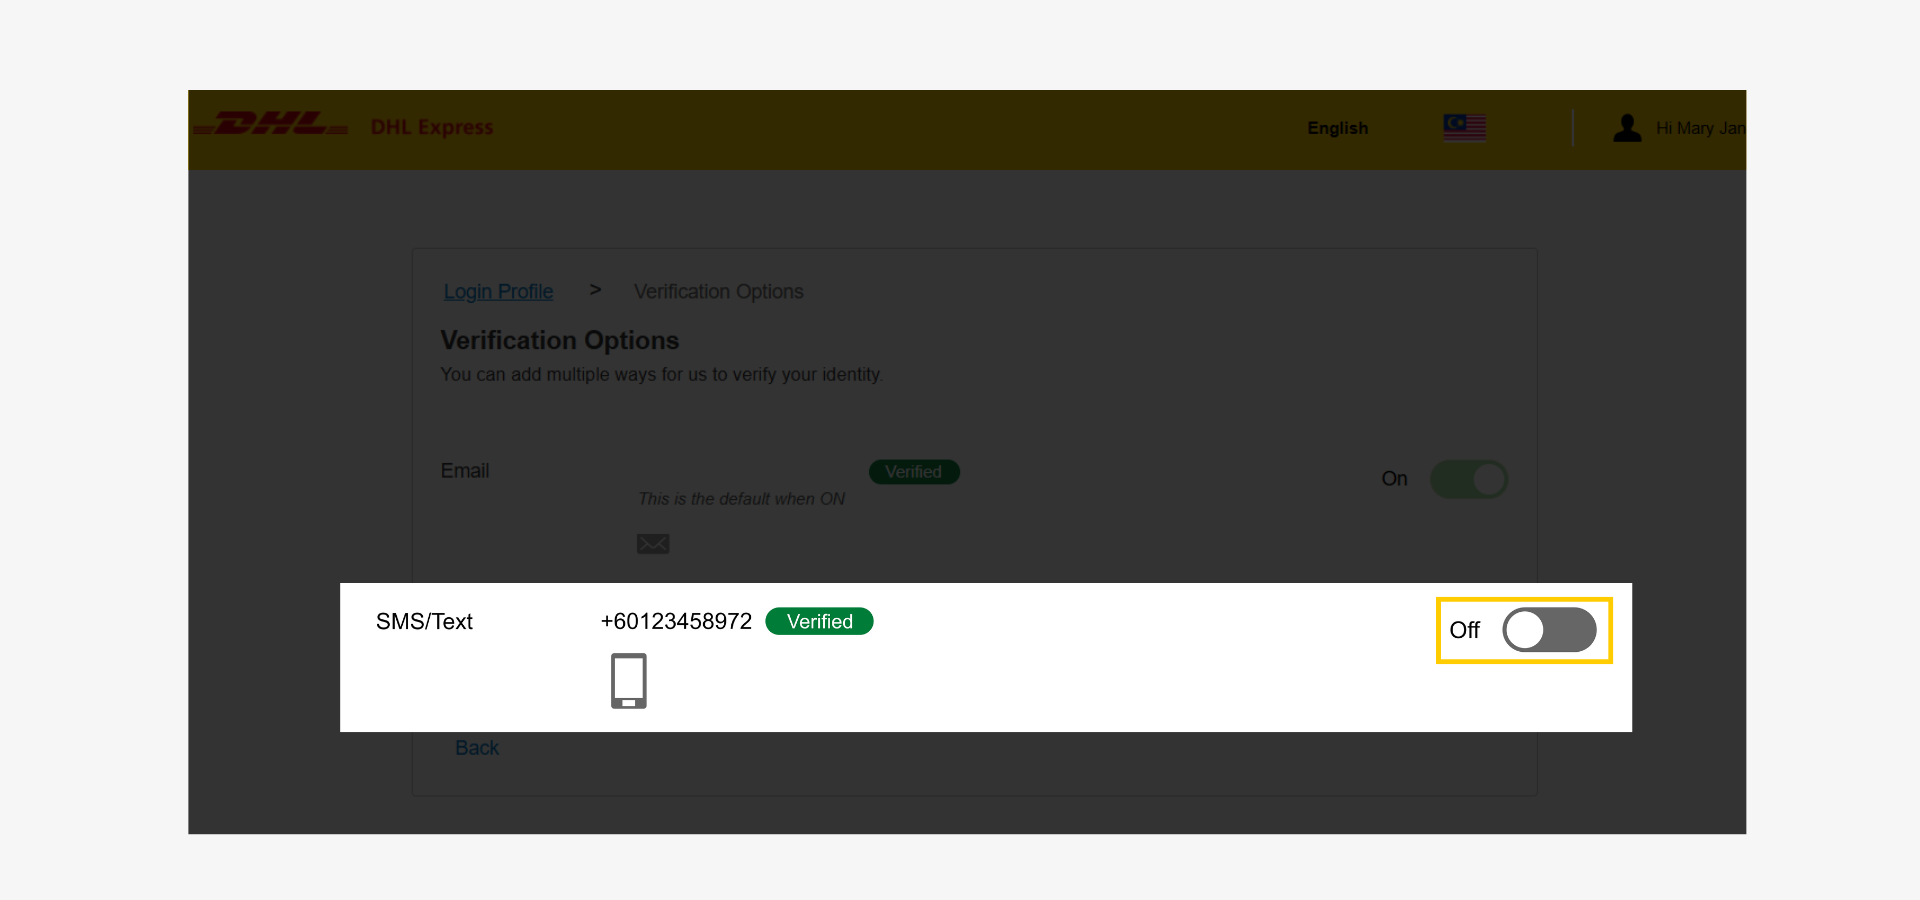
Step 7: Change Verification Setting
1. Scroll down and click 'Verification Options'.
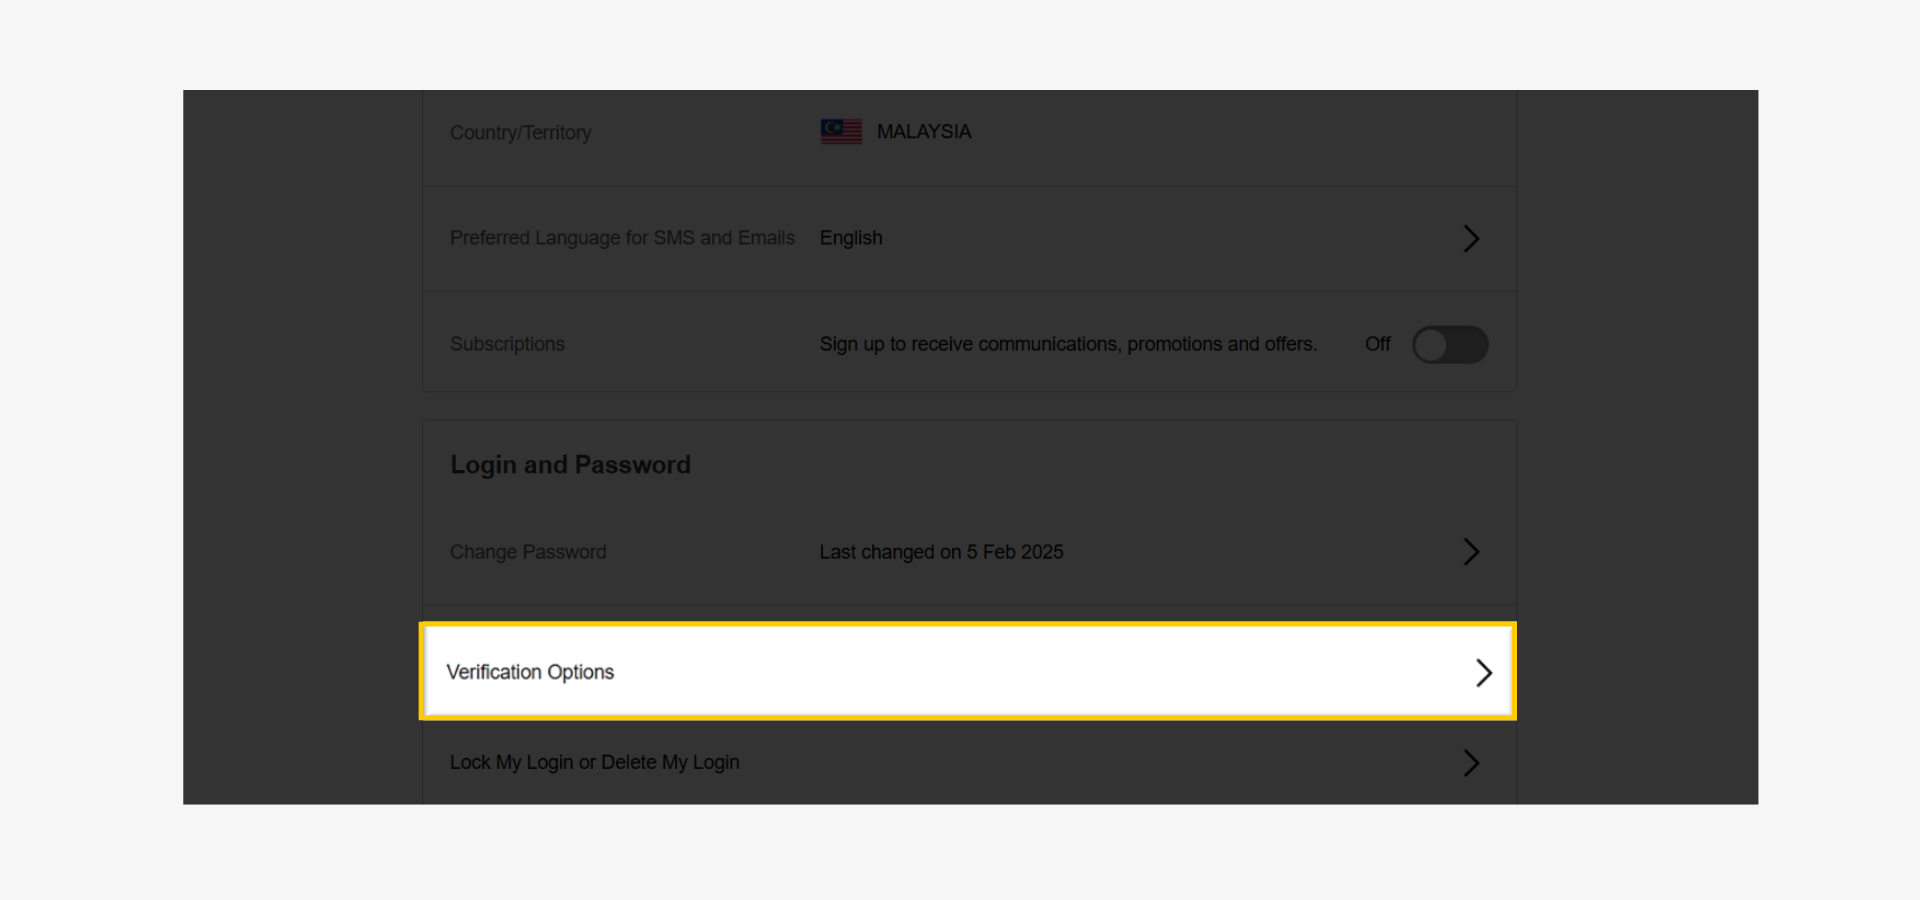
2. Click the toggle to turn on phone verification for all future authorizations.
