Step 1: Register for Proview via MyDHL+
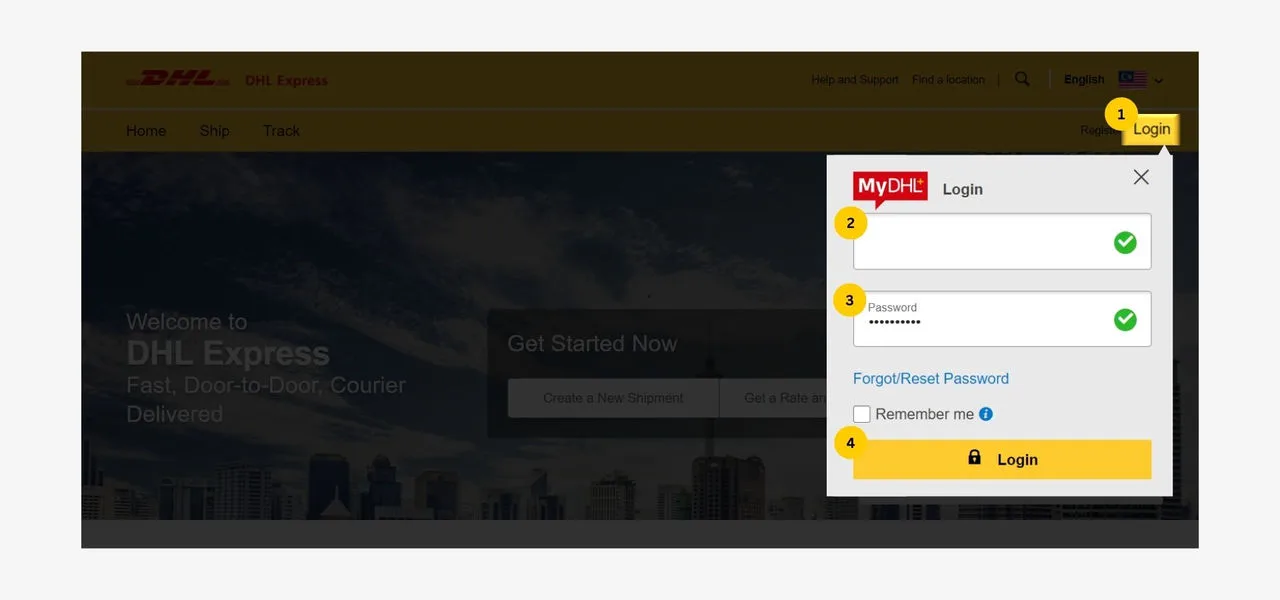
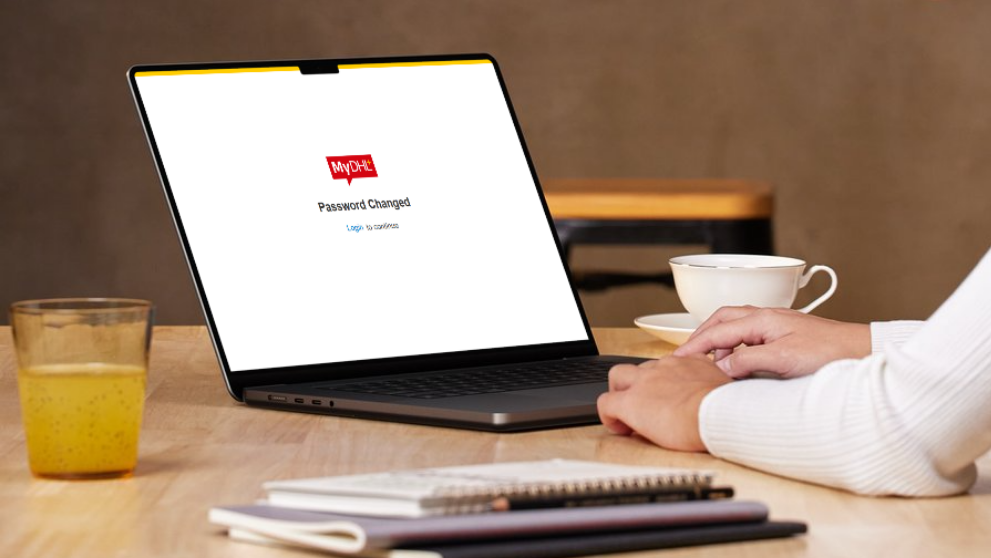
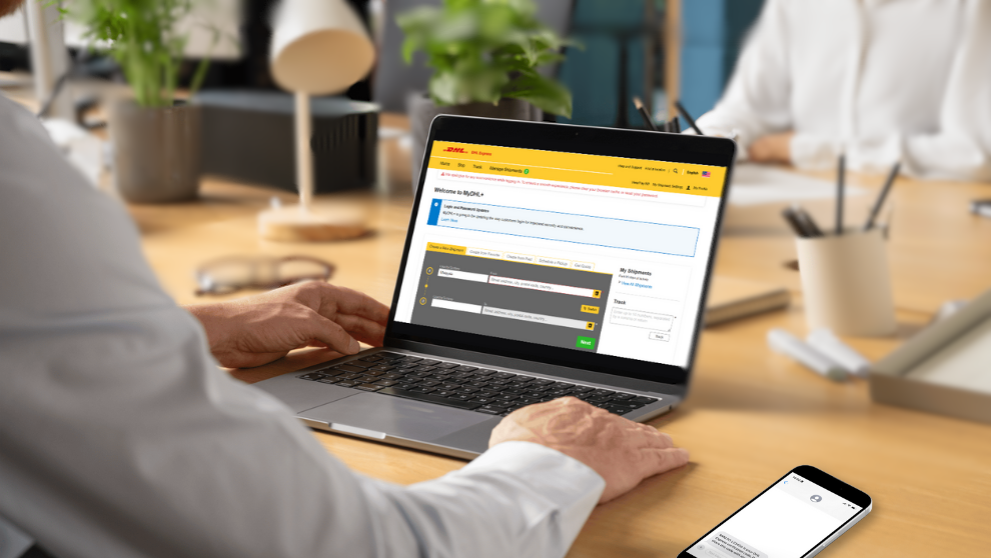
1.1 Login to MyDHL+
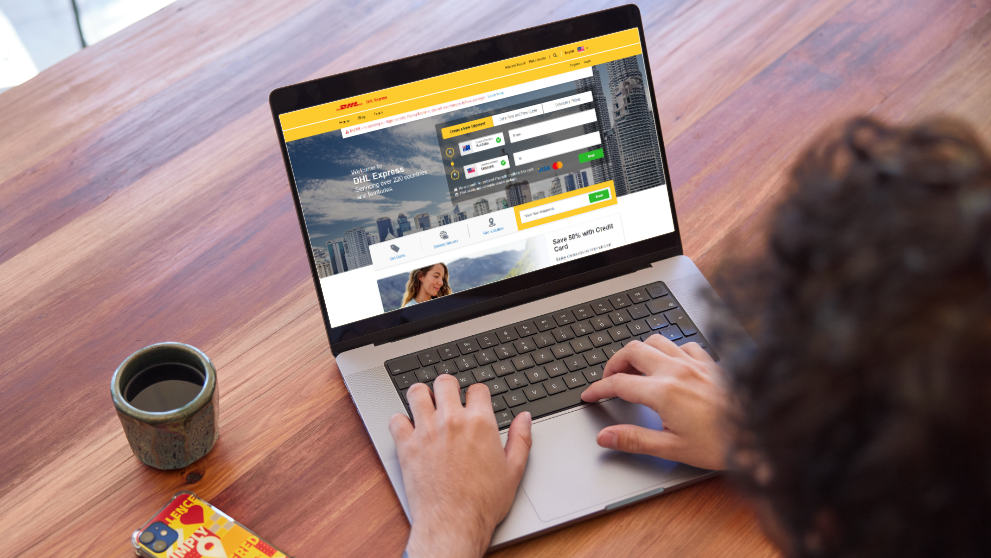
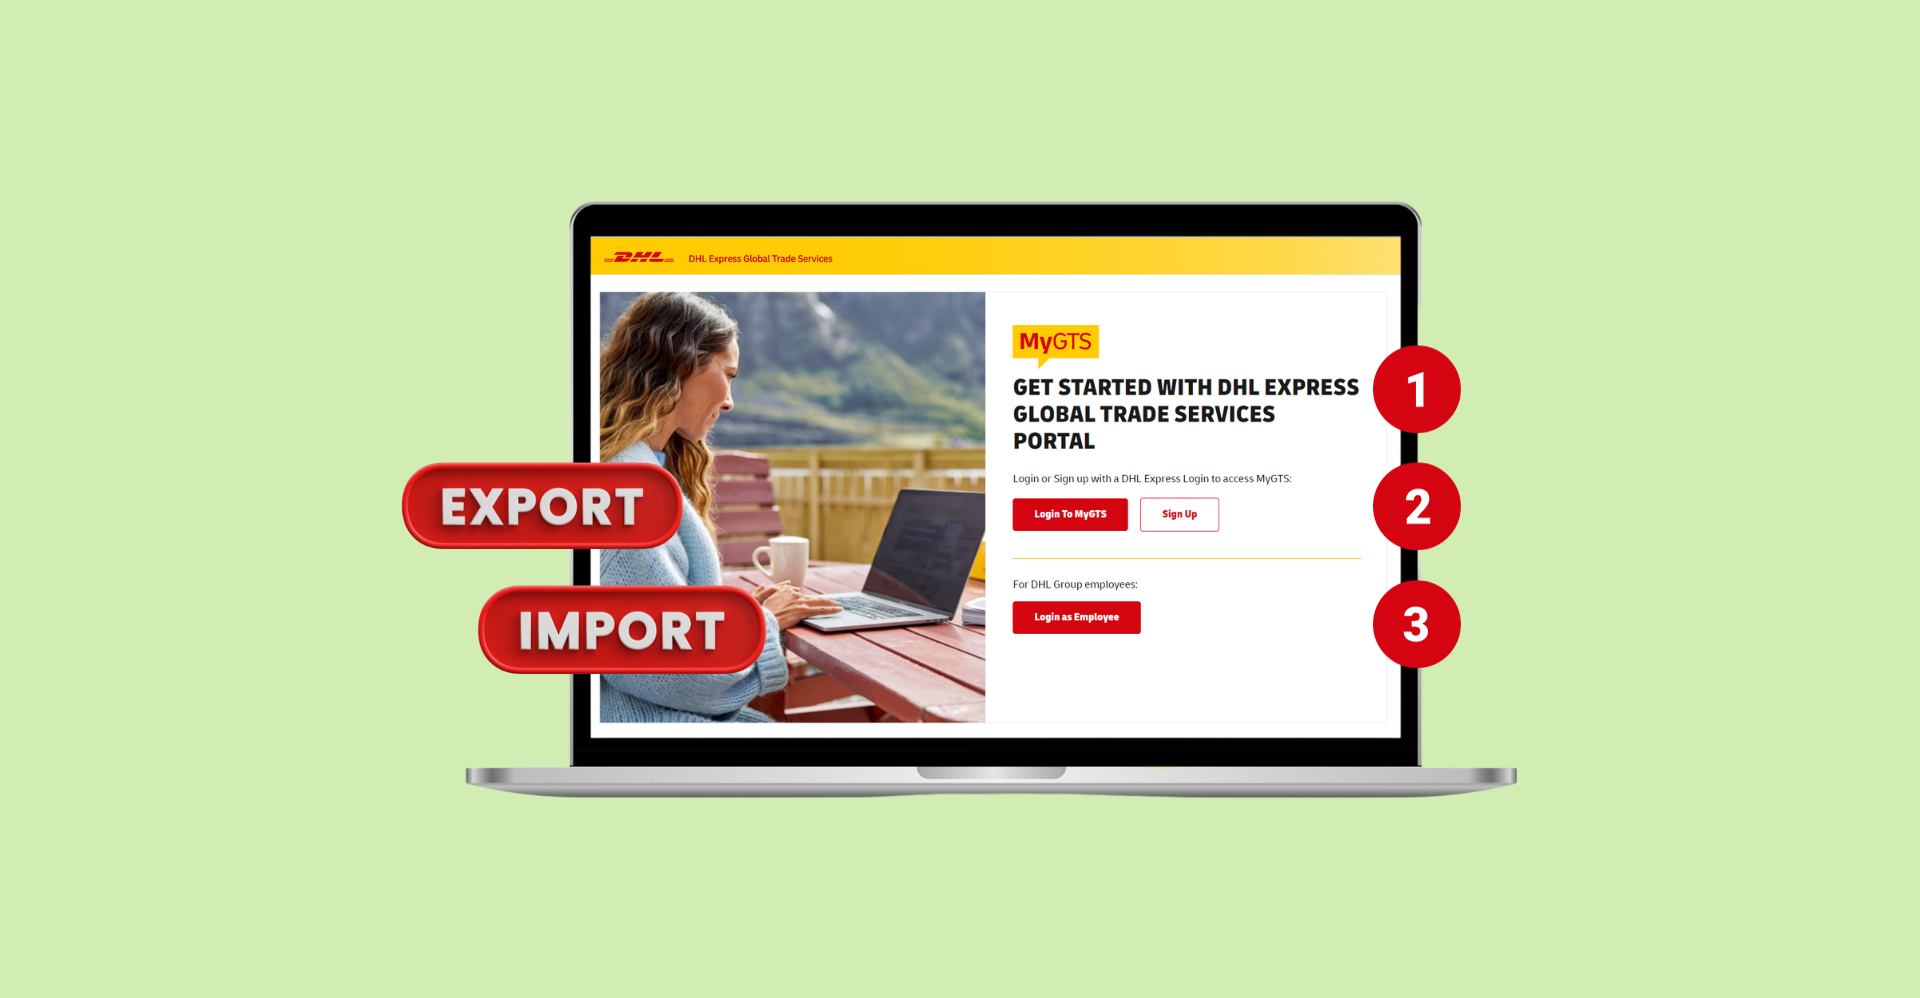
Go to MyDHL+.
- Click 'Login' at the top right corner of the page.
- Enter username.
- Enter password.
- Click 'Login'.
Note: Skip to step 2 if a Proview account is already set up.
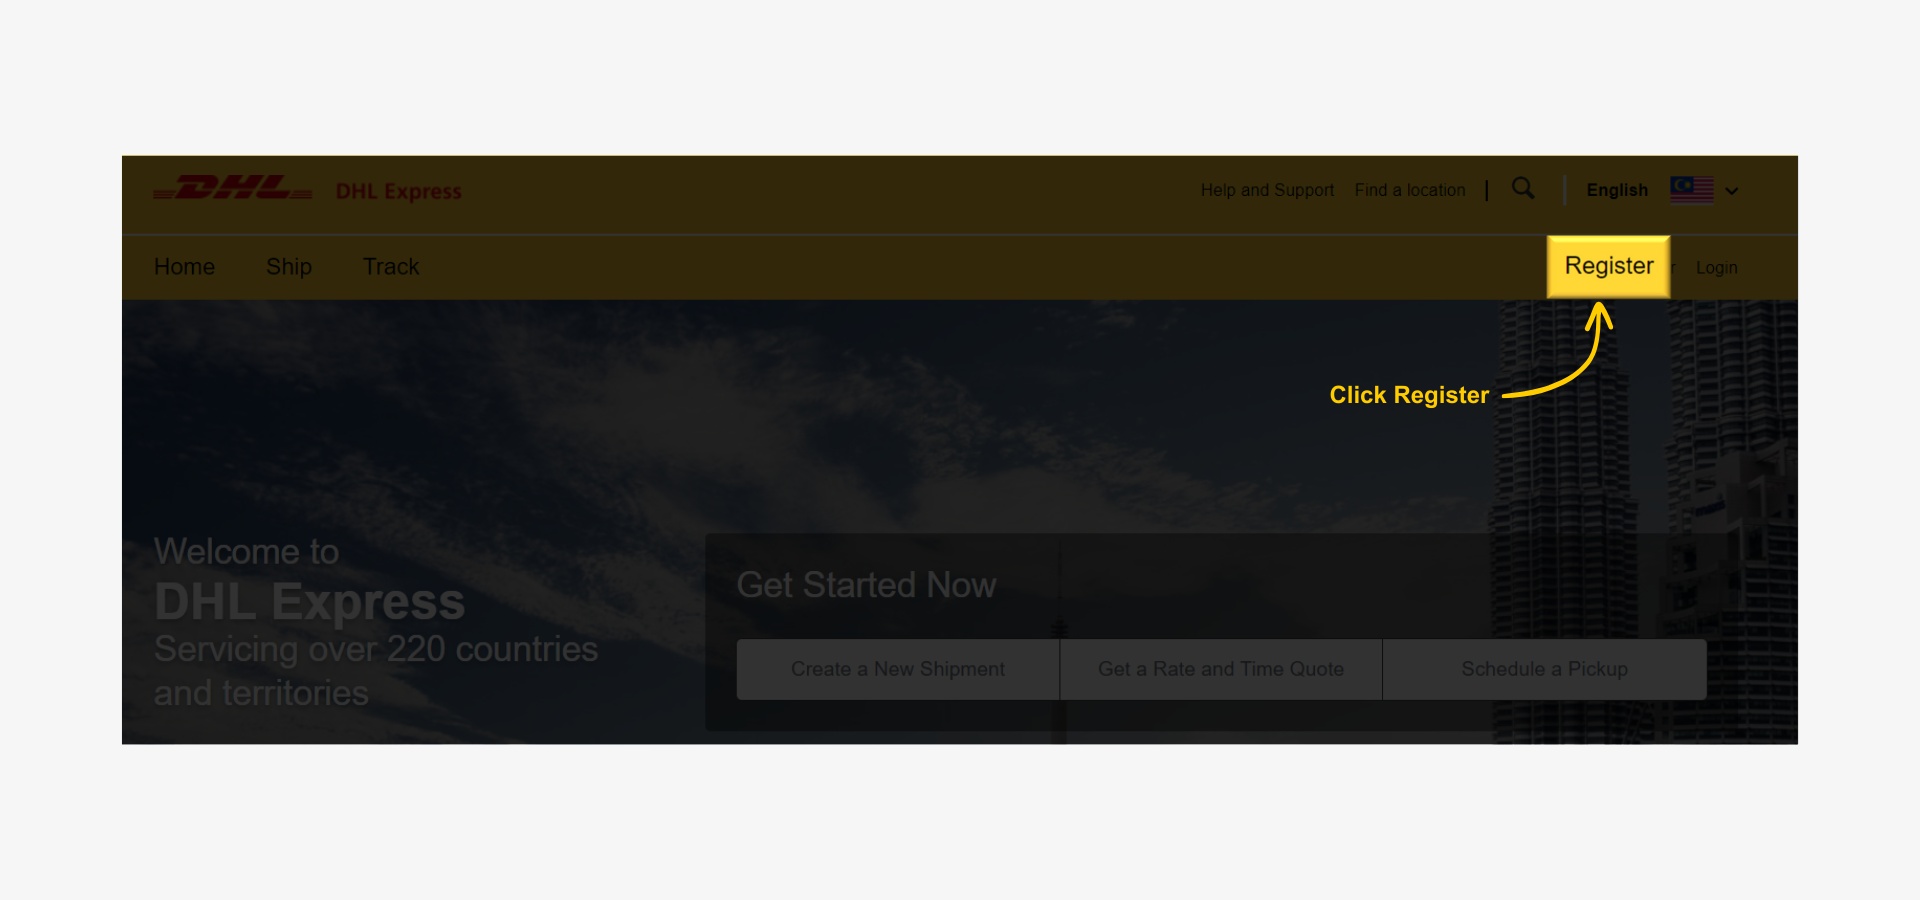
1.2 Register for Proview
Once login, click 'Register' on the top menu bar.
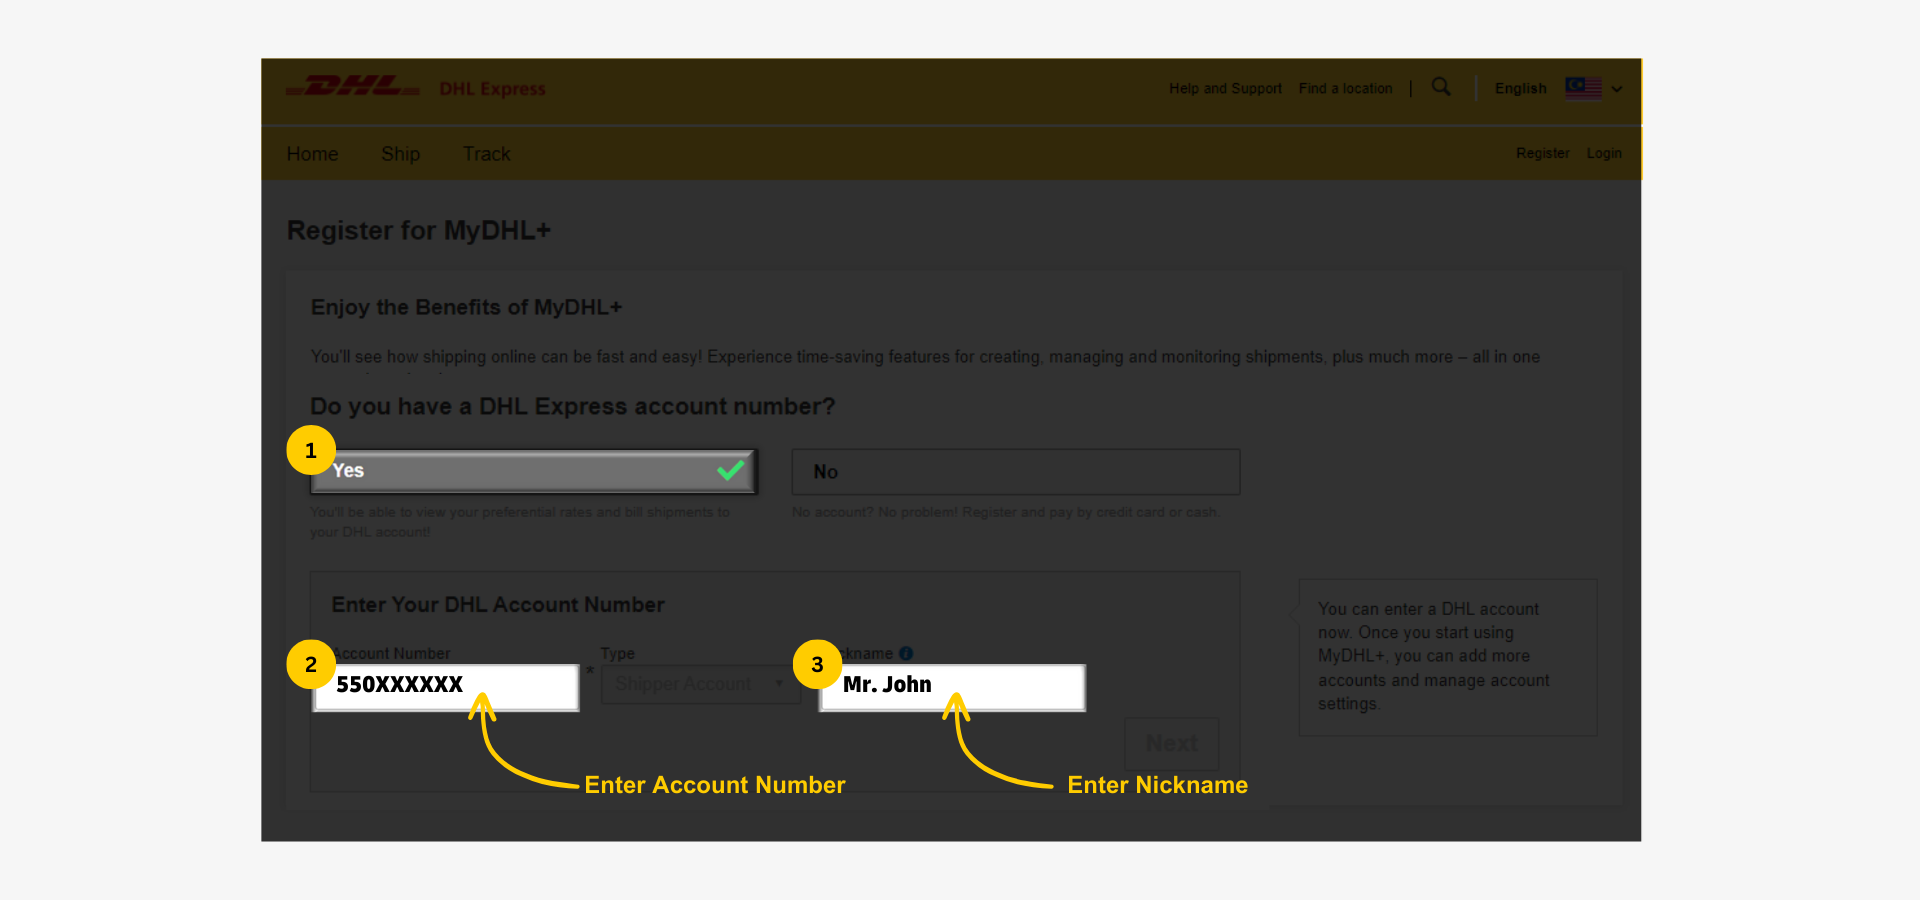
1.3 Create Proview Account
Input DHL Express account details:
- Select 'Yes' to indicate you have a DHL Express account number.
- Enter account number.
- Enter name.
Step 2: Access Proview
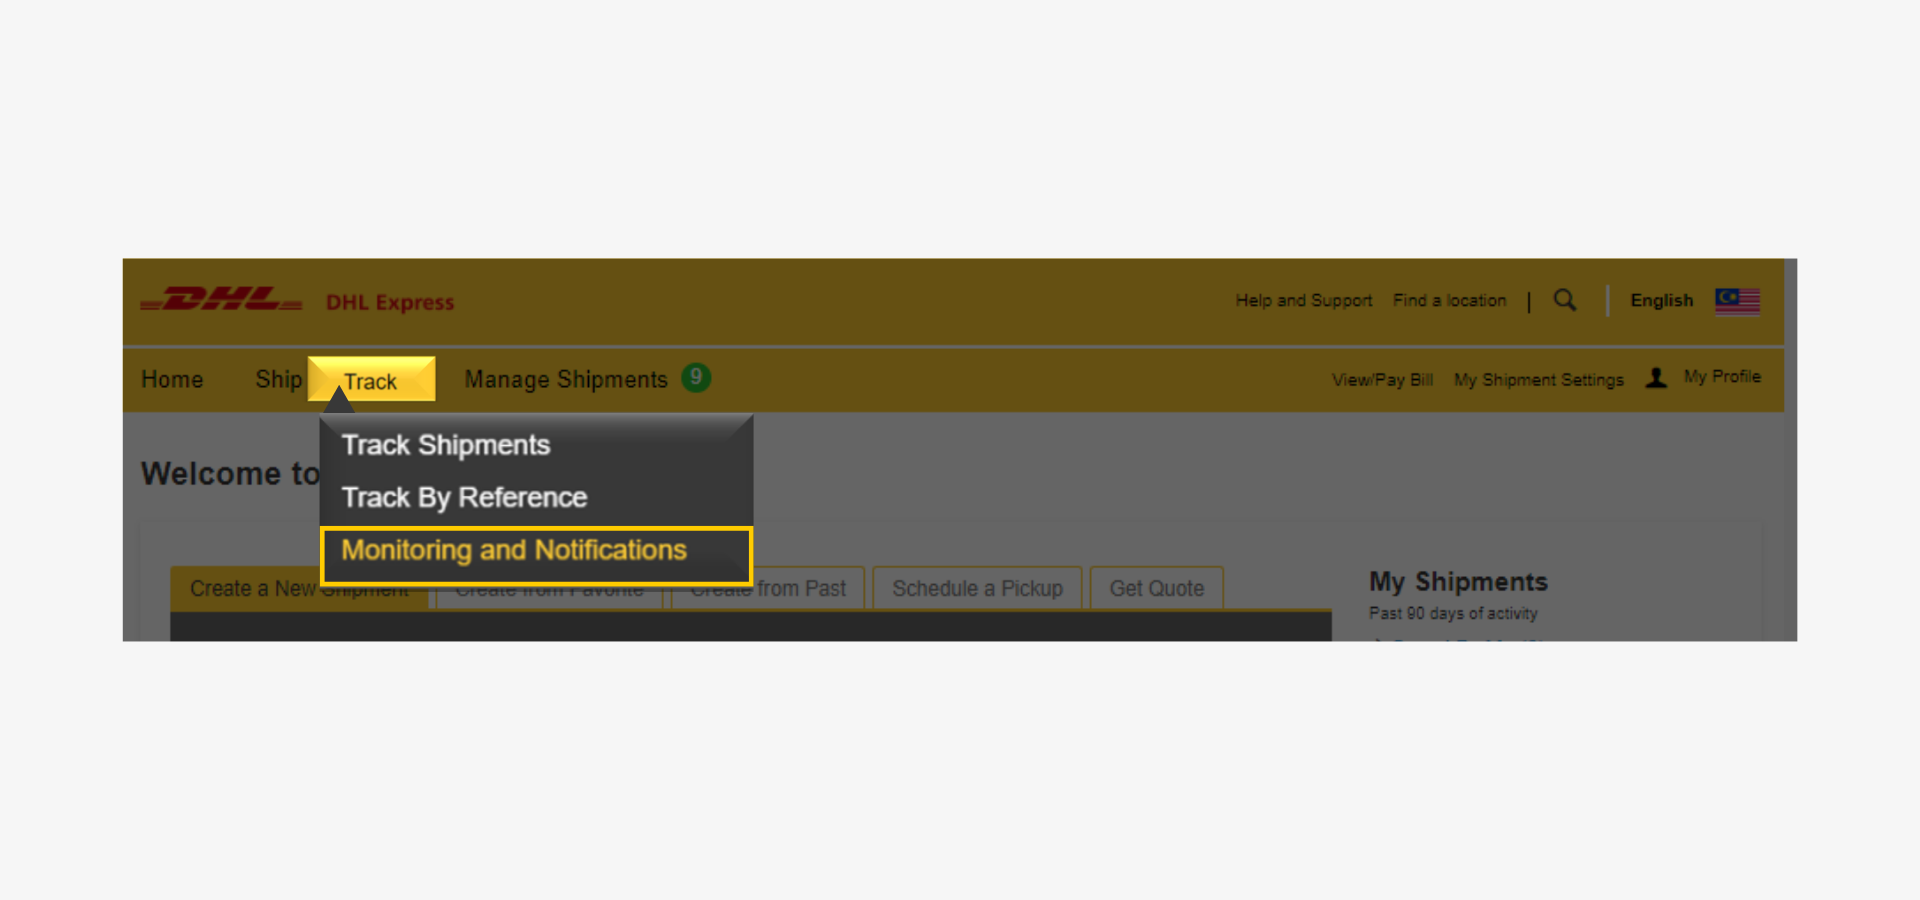
- Click 'Track' on the top menu bar.
- Select 'Monitoring and Notifications'.
Step 3: Add Account to Proview
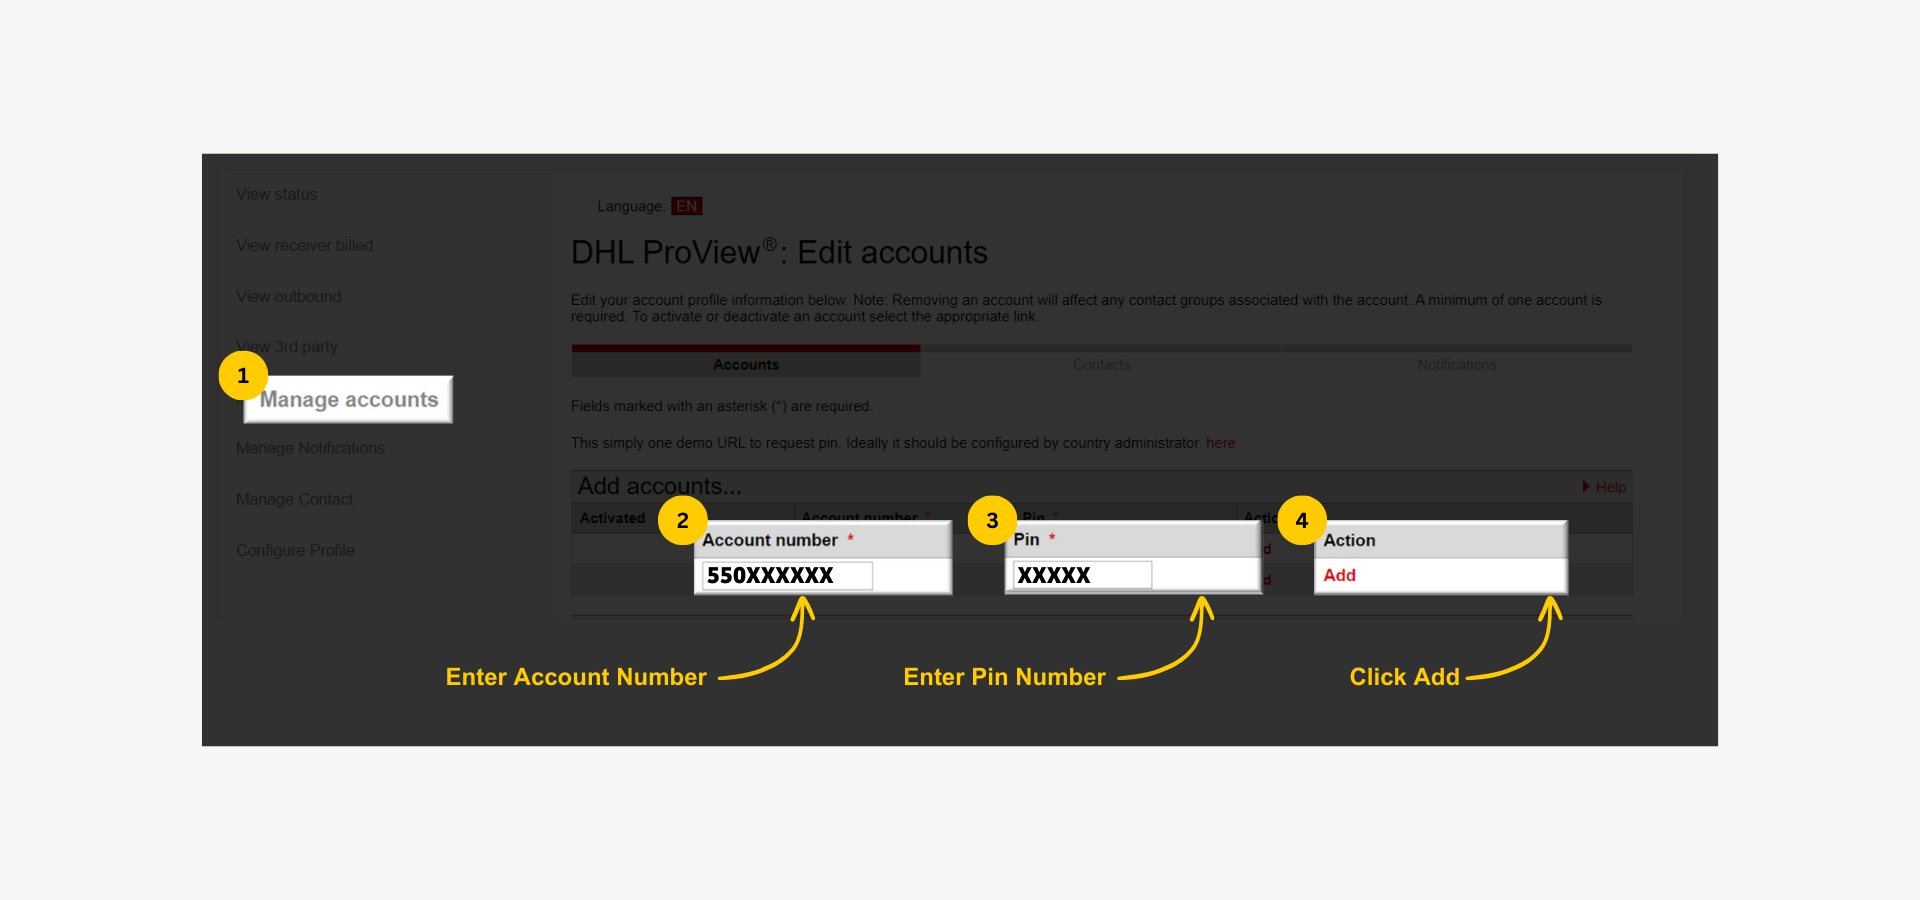
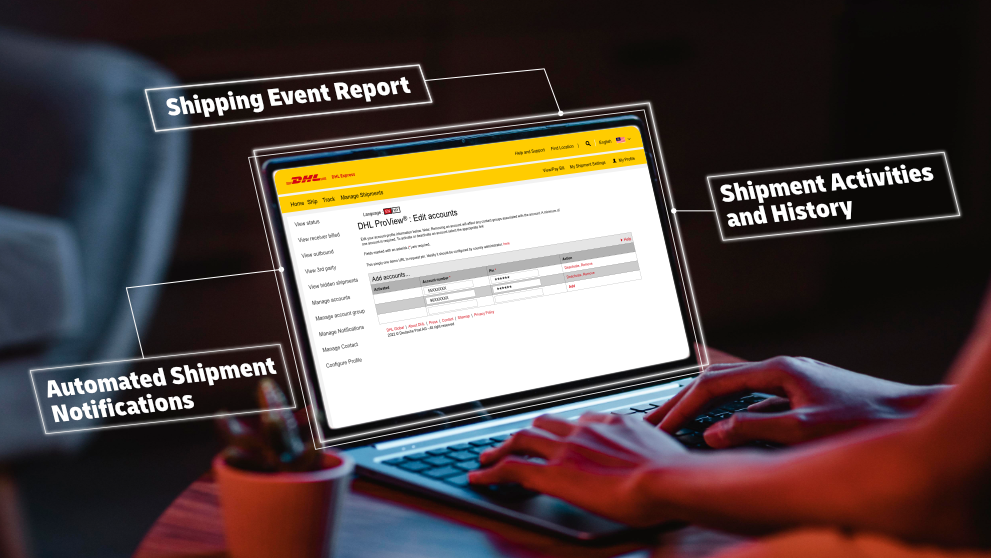
- Click 'Manage Account' on the left sidebar
- Add account number to the 'Account Number' field
- Enter pin number
- Click 'Add'
Step 4: Set Up Notification
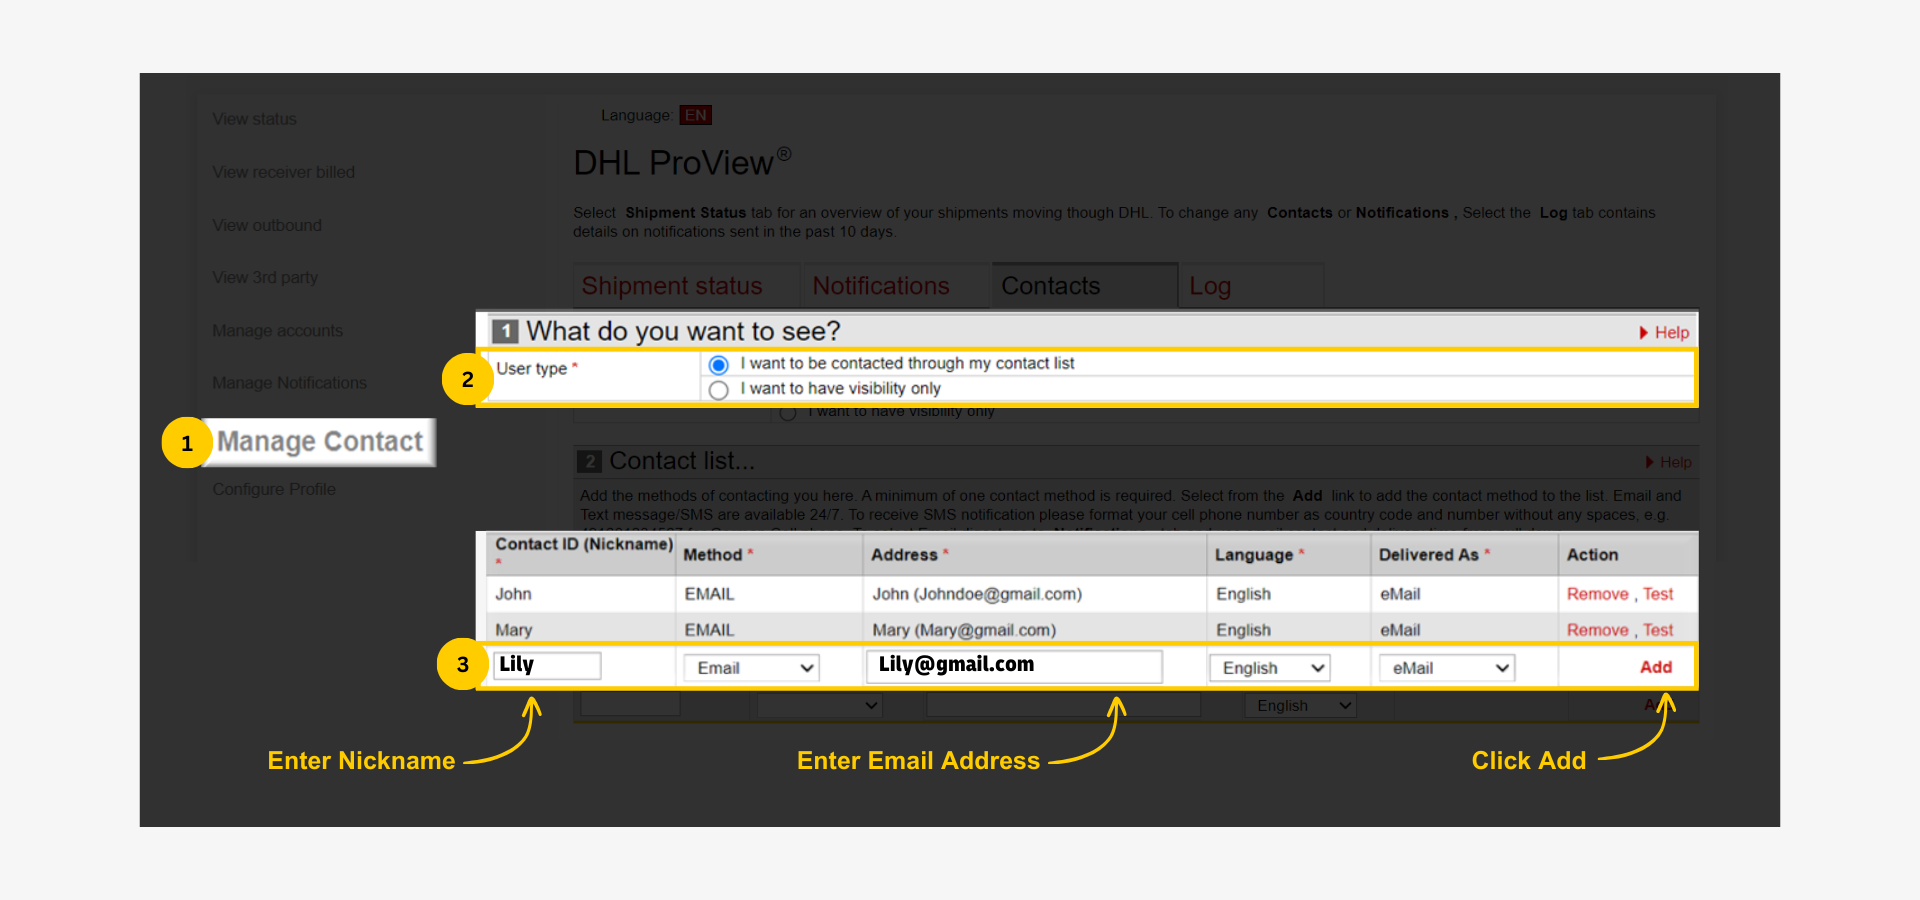
- Click 'Manage Contact' on the left sidebar.
- Select 'I want to be contacted through my contact list' under 'User Type' to enable the option of adding multiple contacts for shipment status updates. (user type 2 - 'I want to have visibility only' is for viewing of shipment report on Proview without setting up email notifications.)
- Enter Nickname.
- Enter email address.
- Click 'Add'.
Step 5: Set Up Event Notification for Contacts
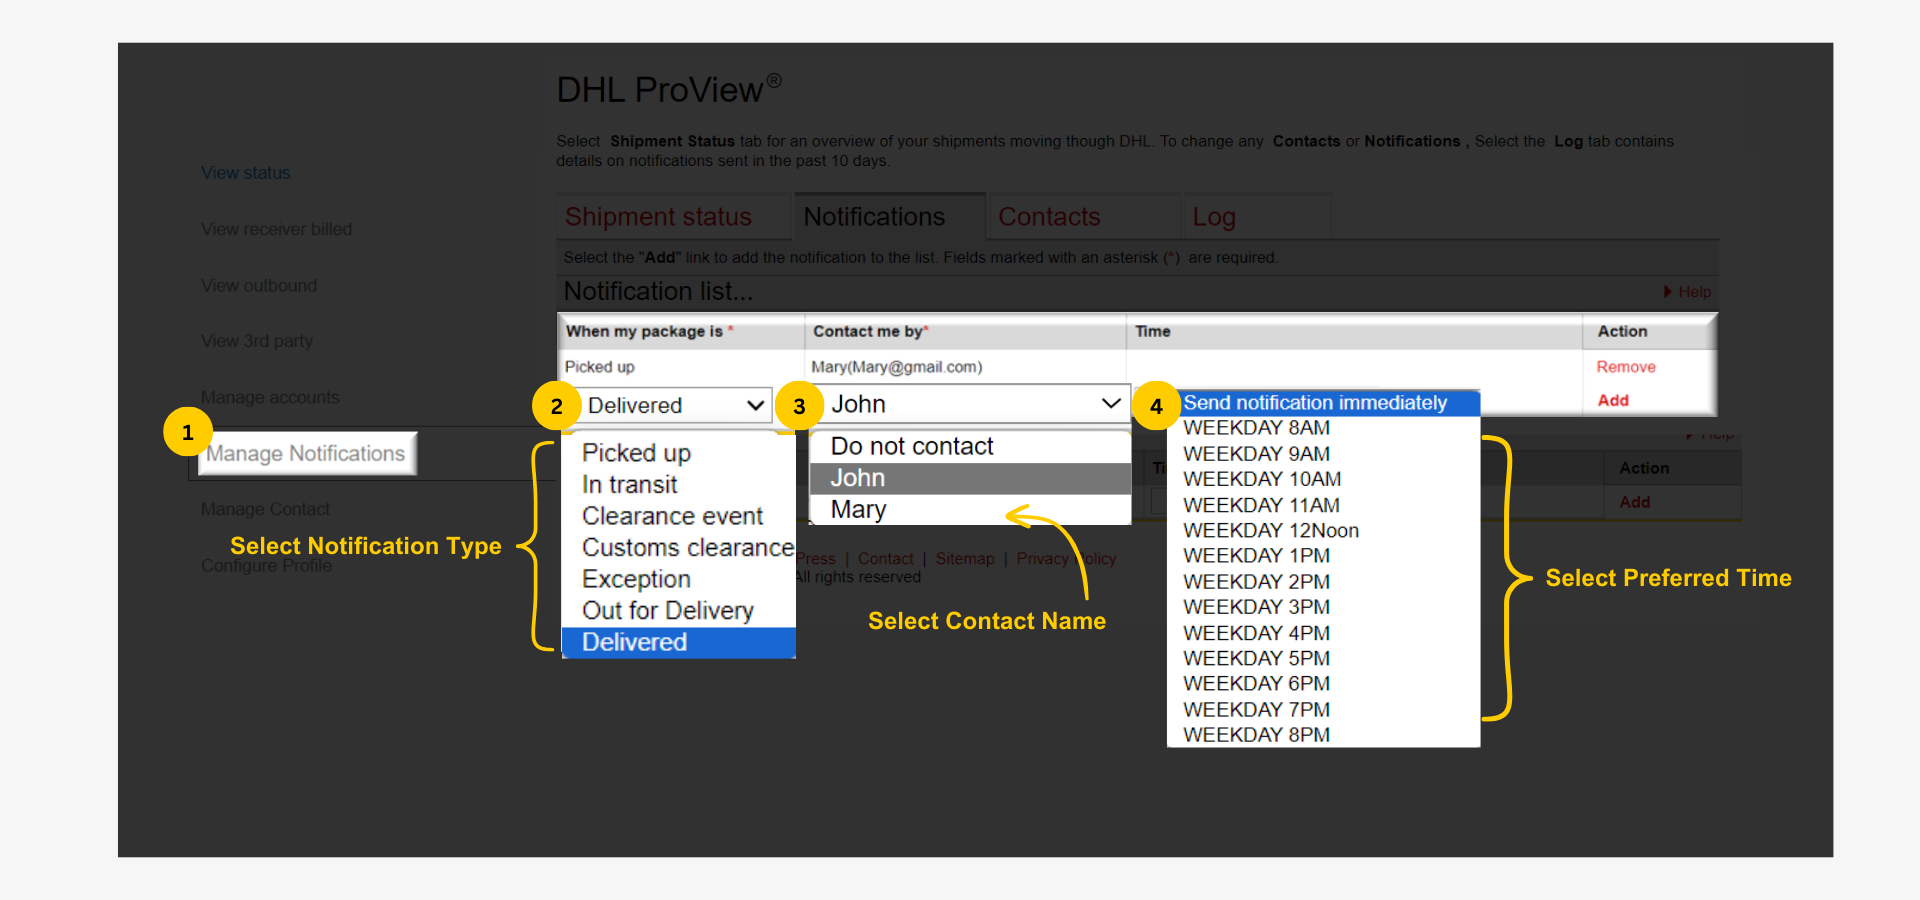
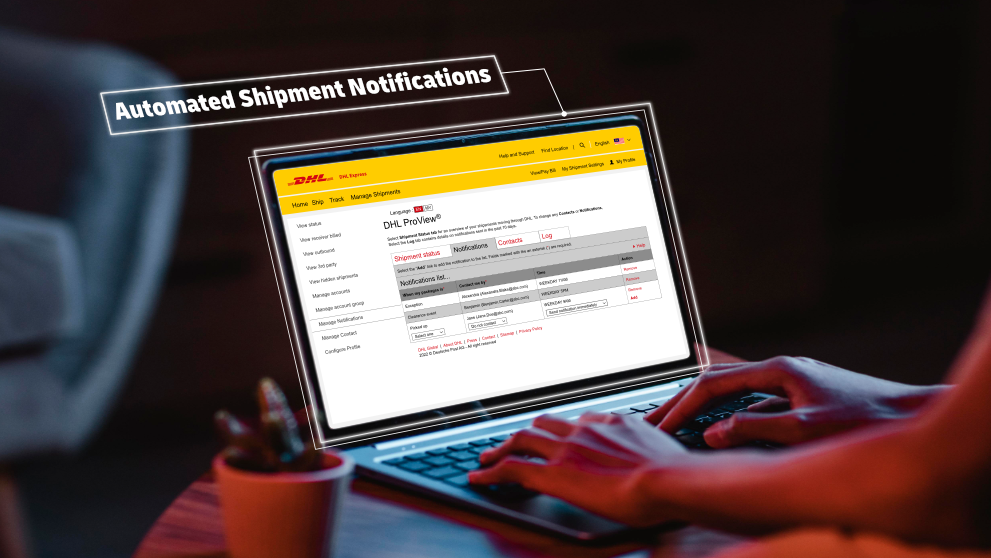
- Click 'Manage Notifications' on the left sidebar.
- Under 'Picked up', choose the desired shipping event for notification.
- Select a contact to receive the chosen shipping event notification.
- Select the time for the notification to be sent.
- Click 'Add'.
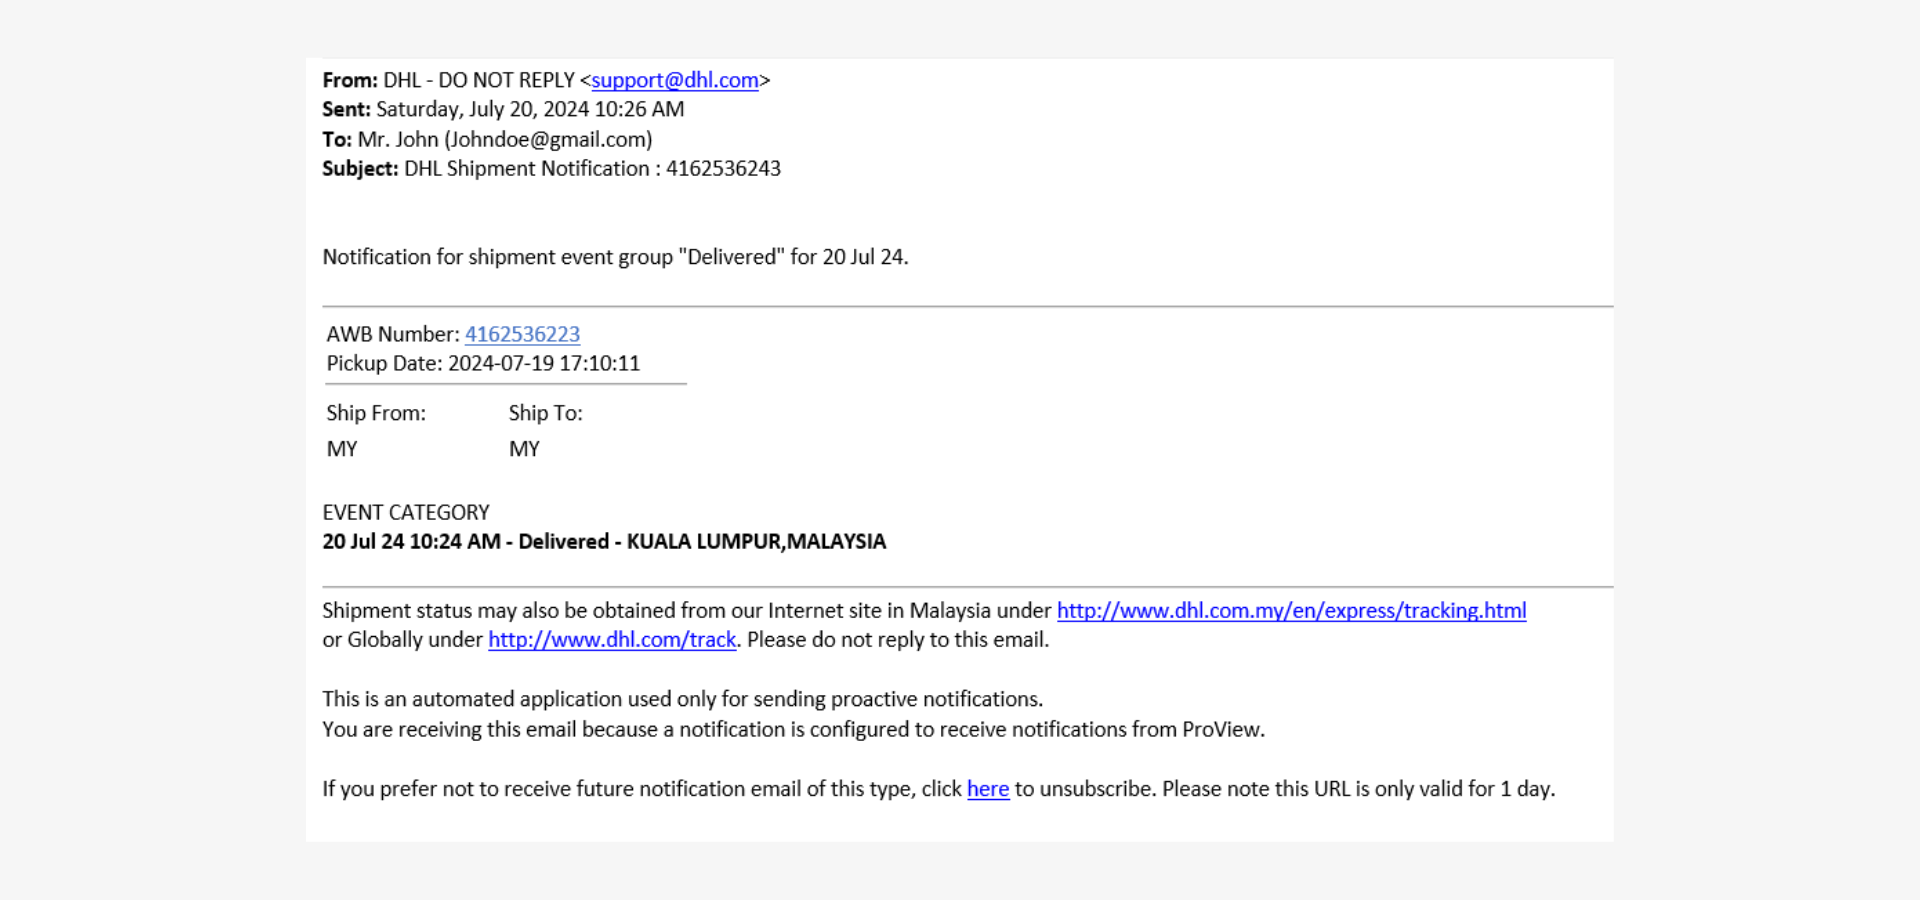
Shipment Notification Email Example
Emails will be sent from the official DHL domain, 'support@dhl.com'. In the event of receiving a similar communication from a different domain, disregard the message or contact DHL Express customer support to verify.
